wxWidgets with Clang++ on macOS
230613
Intro
wxWidgets is a set of libraries in C++ that can be used to develop native-looking desktop GUI apps in most of the major platforms (Windows, macOS, Linux, etc.). Also, they offer handy bindings that can be used with other languages, mainly Python and Perl.
In my previous post below, we saw how we can install and use wxWidgets on Linux (i.e. on Ubuntu and Fedora), as well as a deeper, step-by-step look at the wxWidgers “Hello World” program and finally, some fundamental settings on VS Code for starting using it with C++ and wxWidgets.
In this post here, we will see how we can install/build the wxWidgets libraries (as dynamic AND static libraries) on macOS, and how we can compile and run a couple of the official wxWidgets samples, that one can step on them and go further. Worth mentioning, that you will also see a real example of a makefile and how you can use it to compile and link a “fat” object file, able to run on both: x86_64 and arm64 architectures on macOS.
Installation
Prerequisites
Ensure about your current architecture
If your Mac is a relatively recent model, then it probably has an Apple Silicon CPU (e.g. M1, M2, etc.) which is based on the arm64 architecture. Also, it is most likely that The Rosetta 2 layer emulator is already installed in your system, allowing you to run applications that have been built for Intel-based Macs with x86_64 (i386) architecture.
Before proceeding, it is a good idea to know about these things on your system.
You can check if the Rosetta layer is installed, you can use the following command:
$ /usr/bin/pgrep -q oahd && echo Yes || echo No
You can check the active architecture of your running terminal window, via the command:
$ arch
Finally, you can switch from arm64 to x86_64 (and vice-versa) using the following commands:
$ exec arch -x86_64 $SHELL
and/or
$ exec arch -arm64 $SHELL
Outputs will be similar to the ones that are given below:
Get informed about C++ language installed on your Mac
Be aware, that in recent macOS versions, GNU gcc/g++ are no more supported by default. So, when we try to use any of them, it just redirects us to Clang++ (symlink).
Similarly, the linker ld being used is not the GNU ld linker which comes with GNU binutils, but it is the LLD linker provided by the LLVM toolchain.
Clang++ is the C++ version which is part of the Clang languages family and is the version that we are going to use here. ld linker is invoked automatically by the Clang++ compiler, so you are not expected to use the ld command directly.
Ensure that an appropriate version of XCode and XCode development tools are installed in your system
For macOS, we should be aware that the supporting implementation ‘port ’ wxOSX/Cocoa (the native port for Apple computers), supports 32 or 64-bit Intel and Arm Macs running macOS 10.11 or later (Xcode 7.2.1 or greater), and it currently can be built using Apple Clang. You can see more at [https://docs.wxwidgets.org/3.2/page_port.html].
Also, if you want to install wxWidgets on macOS, you can look at the official page at: [https://docs.wxwidgets.org/trunk/plat_osx_install.html]
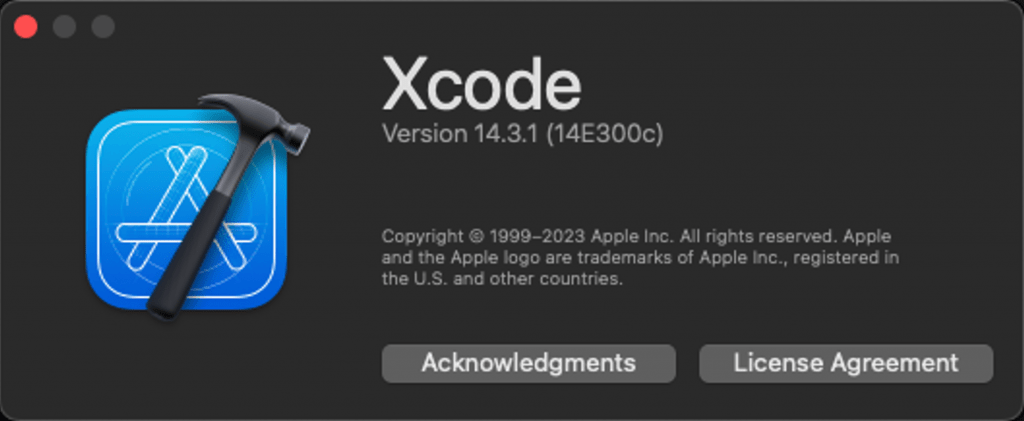
Besides, we also have to install the XCode developer tools. If no, then we can do that via the command and follow the instructions:
$ xcode-select --install
Ensure the GNU make utility has been installed on your system
Since we are going to use the GNU make tool for automating the process of creating our executables, it is necessary to have it installed on your system.
If you want, you can read more about make and makefiles in the following post of mine:
You can install ‘make’ via Homebrew formulae.
To check if ‘make’ has been installed, use the ‘brew list’ command:
To check its version use ‘make –version’:
If ‘make’ has not been installed yet, you can install it via ‘brew install’:
Note that even the fact that the GNU ‘make’ tool has been built for i386-apple-darwin11.3.0 (as you might noticed above) it works OK due the Rosetta.
Now, it’s time proceeding with the real installation.
Accessing the official Download(s) page
The most recent release can be found on the official page. At the time this post was being written, it was 3.2.2.
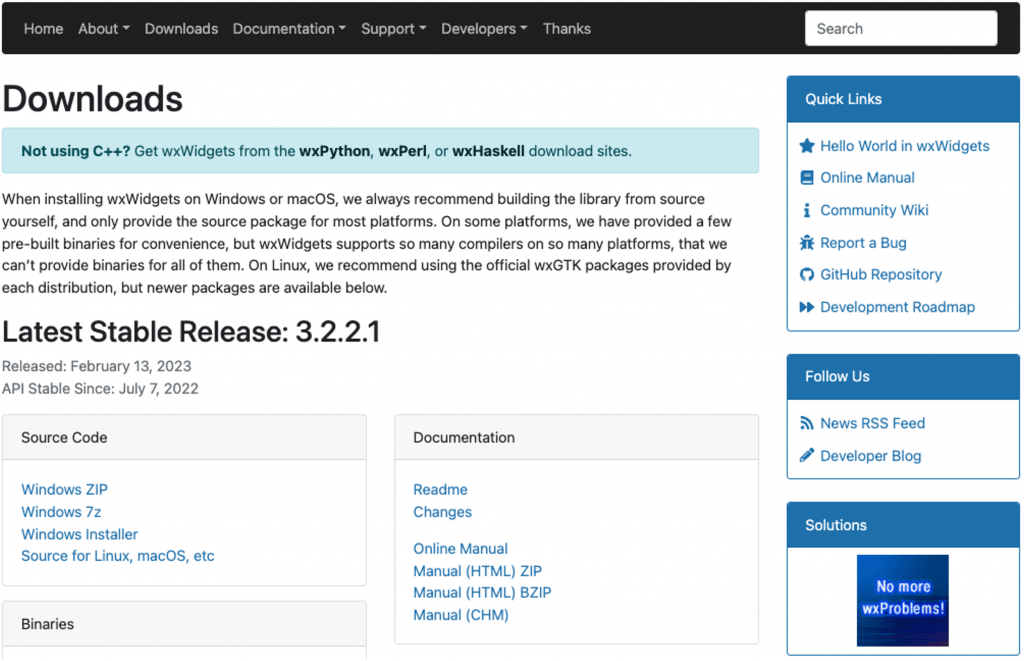
There are 2 ways one can obtain the wxWidgets libraries. Either you can get the already compiled library binaries, or you can build them on your own by obtaining the sources.
Getting wxWidgets via brew
For a macOS system, you can use the wxWidgets Homebrew package (formulae):
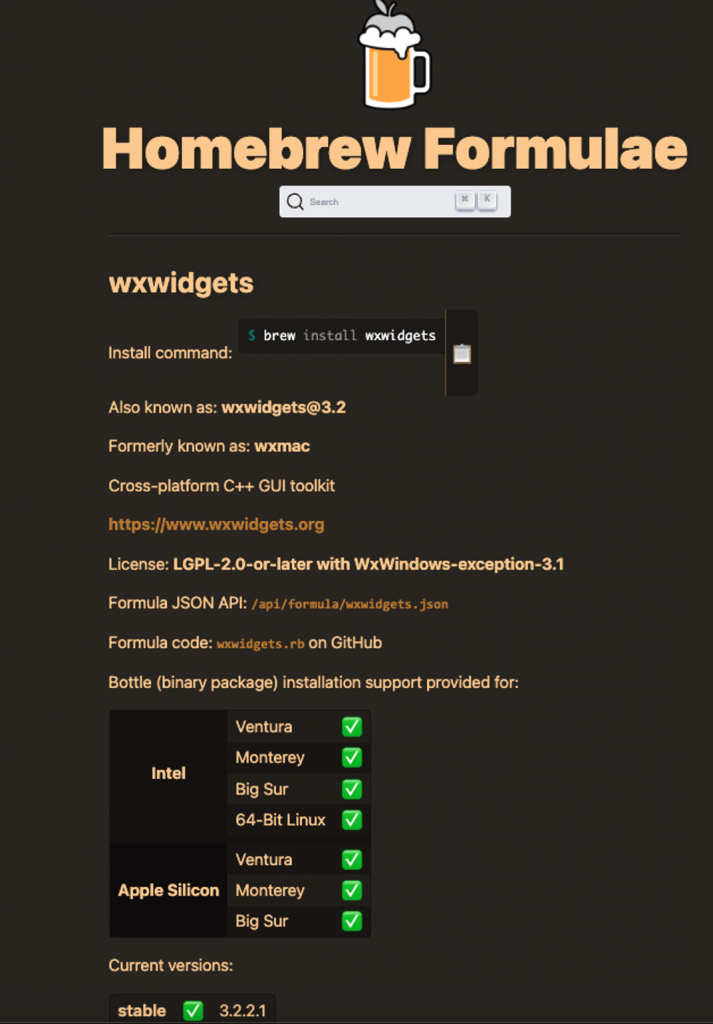
On your mac you can use the brew command:
$ brew install wxwidgets
Note: Before to execute it, ensure for the current architecture your terminal is, as we’ve previously seen.
After the installation, you can check the installation using the wx-config. The wx-config is a small command-line utility that can help you while building on Unix-like systems (including Linux and Mac OS X). For instance:
‘wx-config –version’ shows the version installed
‘wx-config –cxxflags’ informs you what compile flags to use
‘wx-config –libs’ tells you what link flags to use
You can also get the full list of options using the ‘wx-config –help’.
As you can see above, the installation is OK and ready for using it with your projects.
However, the recommended approach is to build from source the wxWidgets libraries, on your own.
Before proceeding, please note that if you have installed wxWidgets via brew, it is recommended to uninstall it, to avoid any misusing issues. You can uninstall it just via:
$ brew uninstall wxwidgets
You can also ensure it, by using the ‘brew list’ command:
$ brew list wxwidgets
Error: No such keg: /usr/local/Cellar/wxwidgets
$
Now we can proceed to build the wxWidgets from the source. Let’s do it.
Building from source
We can either build wxWidgets as dynamic or static libraries. Building dynamic libraries is the preferable approach, producing tiny executables. But when one deploys an app, she/he has to take care of ensuring the wxWidgets dynamic libraries are present on the target system and in the right place. On the other hand, wxWidgets static libraries produce “fat” executables, but they offer the ability to be distributed “free of dependencies”. You can use the executable and that’s all. It runs without any further installation concerns. So, it’s up to the developer to decide about this.
Here, we will cover both cases, and the building processes are pretty similar.
Before proceeding, we have first, to obtain the sources. We can either download the compressed file provided on the official download page:
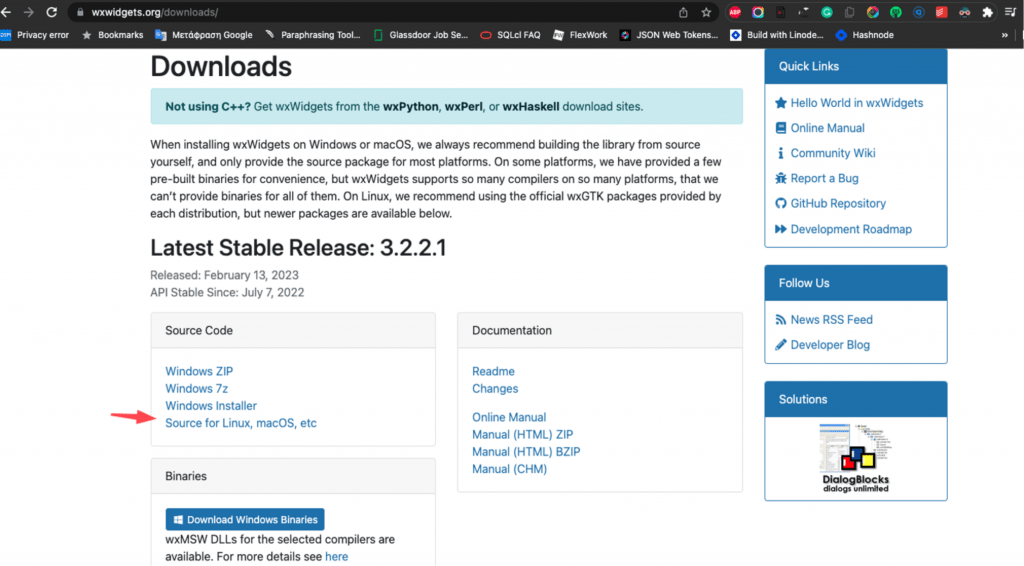
and un-compress it, or we can clone the wxWidgets GitHub repository. I prefer the cloning. You can use the following git command:
$ git clone --recurse-submodules https://github.com/wxWidgets/wxWidgets.git
After the cloning, you will have the whole sources folder structure transferred on your machine, under, probably, the wxWidgets folder.
The installation is pretty straightforward, and one can just follow the official instruction on this page:
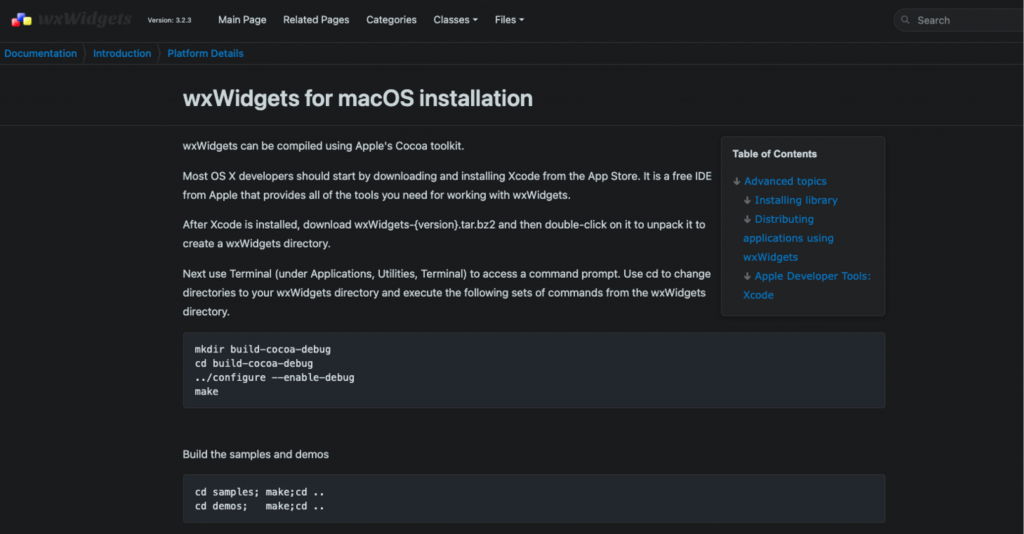
Building dynamic libraries
From within the cloned ‘wxwidgets’ folder, first, we have to create the build sub-directory and jump in.
$ mkdir build-cocoa-debug
$ cd build-cocoa-debug
Next, we have to run the ‘configure’ command. Since we aim to be able to build apps for both arm64 and x86_64 architectures, we can use the appropriate options, like that:
$ ../configure --with-osx_cocoa --enable-universal_binary=x86_64,arm64
The ‘configure’ command output ends with something similar to:
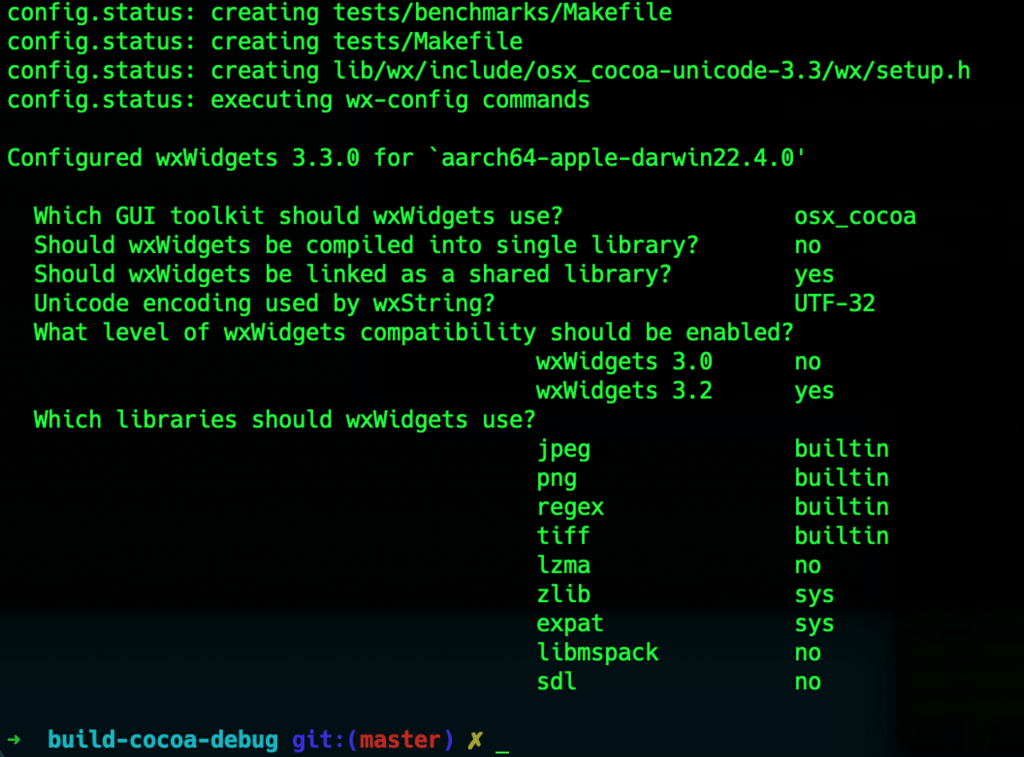
The next step consists just of tunning the ‘make’ command. It actually uses the Makefile and wx-config that have been auto-generated during the ‘configure’ process inside the ‘build-cocoa-debug’ folder.
$ make
The ‘make’ process takes some time (it took about more than 15 minutes on my MacBookPro Apple Silicon M1). Perhaps, during the process, you will be warned with 2-3 warnings, but generally we can ignore them.
After the ‘make’ process has been finished, you can check the installation. For that purpose, you can again use the ‘wx-config’ utility” (‘./wx-config –cflags’ and ‘./wx-config –libs’):
After that, generally, in a Linux system, we should have to run the ‘make install’ and ‘ldconfig’ commands, if we want to configure dynamic linker run-time bindings. ‘ldconfig’ command is used to manage the list of libraries that the dynamic linker searches when loading libraries for dynamically linked programs. However, for a macOS system, this is not the preferable approach.
As you may notice in the Advanced topics section on the official instruction page for macOS installation: “It is rarely desirable to install non-Apple software into system directories, so the recommended way of using wxWidgets under macOS is to skip the make install step and simply use the full path to wx-config under the build directory when building application using the library.”
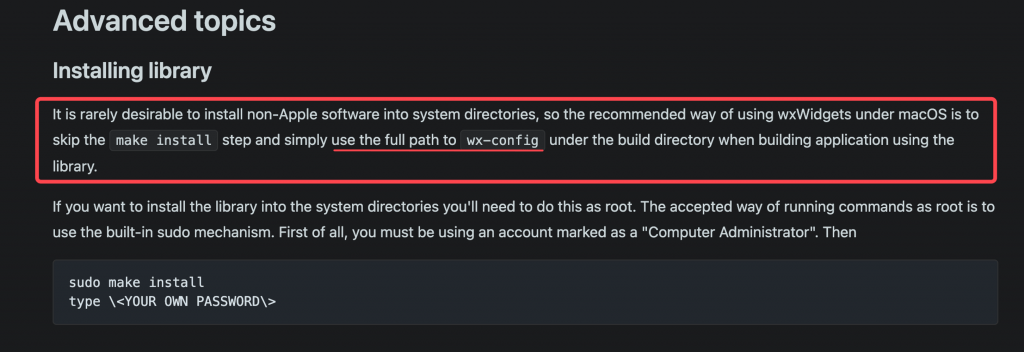
Thus, in our case, we can leave the wxWidgets compiled dynamic libraries at the build directory: ~/…/wxInstallation/wxWidgets/build-cocoa-debug.
So, that’s all about building wxWidgets dynamic libraries from the source. Now, we can proceed and use a couple of examples.
Example 1
As our first example, we will use the source ‘minimal.cpp’ file (from the ‘minimal’ example) provided in the ‘Samples‘ subdirectory of the cloned installation directory (which is actually recommended to be one of the first test examples). Moreover, since almost all provided examples are using the wxWidgets logo icon, we will also need to get the respective ‘sample.xpm’ file and use it together with the ‘minimal.cpp’ source file. You can locate it also in the root of the ‘Samples‘ subdirectory. BTW, one can also find all the samples in GitHub repositories, here.
For the purpose let’s create a new project folder naming it “myminimal” and copy there the ‘minimal.cpp’ and the ‘sample.xpm’ files. Open a terminal window and run the compile and link command:
$ clang++ -std=c++11 -Wall -o wx-myminimal minimal.cpp `~/cpp_arm64_Projects/wxInstallation/wxWidgets/build-cocoa-debug/wx-config --cflags --libs`
Note that you should change the full path-name of the wx-config, according your installation and build folder. In my case it is: ‘~/cpp_arm64_Projects/wxInstallation/wxWidgets/build-cocoa-debug/’.
The output executable should have been created with name ‘wx-myminimal’, so you can run it:
$ ./wx-myminimal
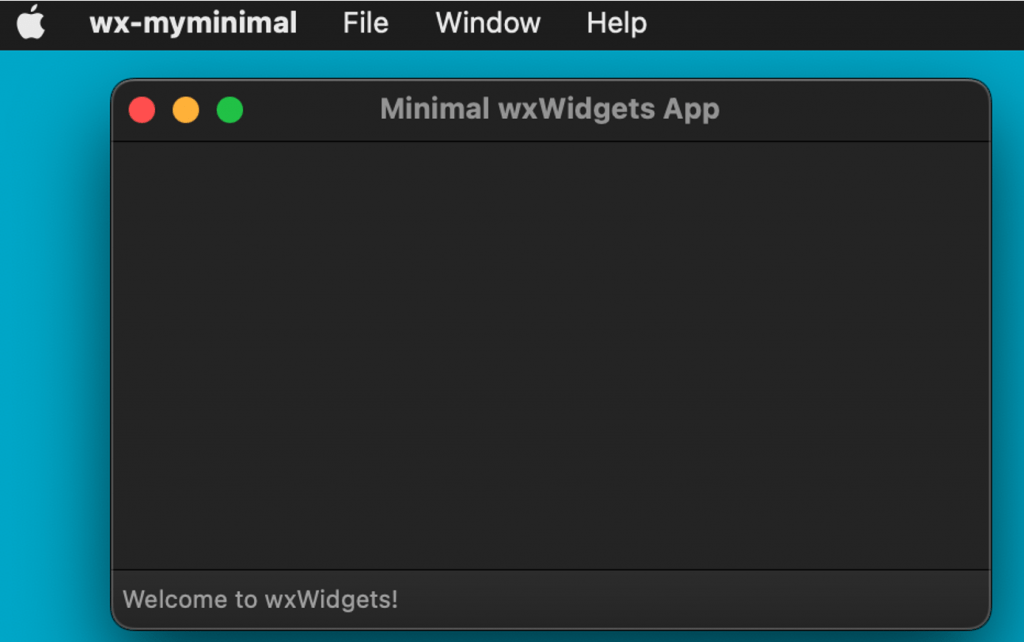
Pressing on wx-minimal menu, and then in drop-down : About (or F1), you also trigger the display of the about dialog:
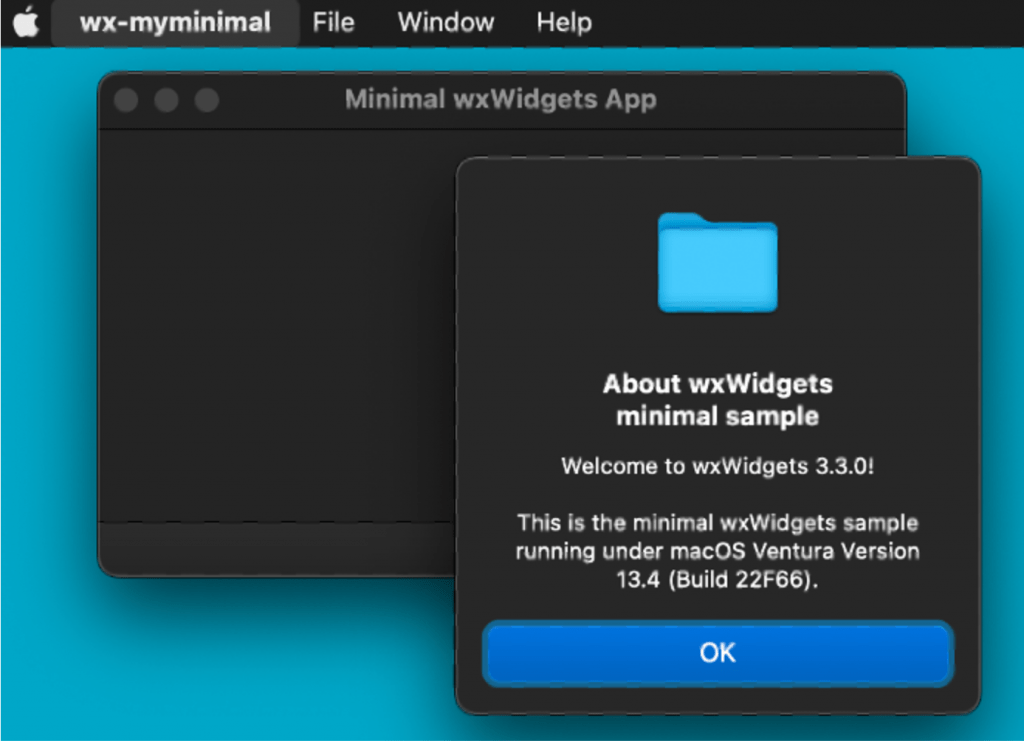
Note: You should be aware that by default, on a macOS system, the menu bar and some menus (e.g.: “File”) and particularly some special menu items such as “About”, are handled differently, (aka natively), than on other OSes like Linux or Windows.
That’s it! We did it!
Though, we can go a bit further on the compilation/linking process. As a first step here, we can split the compilation/linking process into 2 stages: This is how we can do that:
Compiling
$ clang++ -std=c++11 -Wall -c `~/cpp_arm64_Projects/wxInstallation/wxWidgets/build-cocoa-debug/wx-config --cflags` minimal.cpp -o minimal.o
The above command just compile the ‘minimal.cpp’ source file and outputs the ‘minimal.o’ object file.
Linking
$ clang++ minimal.o `~/cpp_arm64_Projects/wxInstallation/wxWidgets/build-cocoa-debug/wx-config --libs` -o wx-myminimal
The command above links the object file with all necessary dynamic libraries and produces the ‘wx-myminimal’ executable.
Example 2
As our 2nd example, we will use the Hello World Example provided by the official page in Programming Guides of wxWidgets, here. It has been chosen, because the official page above, provides introductory instructions to start using wxWidgets using this example. Besides, I will also give some guidelines going, step-by-step, through it.
So, create a new project folder with the name ‘myhello’ and copy the source code in the ‘wxhello.cpp’ file (towards the bottom) of the above page.
From within the ‘myhello’ project folder, you can use the previous commands to compile and link the ‘wx-myhello’ executable, in a similar manner:
Compile:
$ clang++ -std=c++11 -Wall -c `~/cpp_arm64_Projects/wxInstallation/wxWidgets/build-cocoa-debug/wx-config --cflags` wxhello.cpp -o wxhello.o
Link:
$ clang++ wxhello.o `~/cpp_arm64_Projects/wxInstallation/wxWidgets/build-cocoa-debug/wx-config --libs` -o wx-myhello

After that you can run the app:
$ ./wx-myhello
Bellow you can see some of the snapshots of the running app:
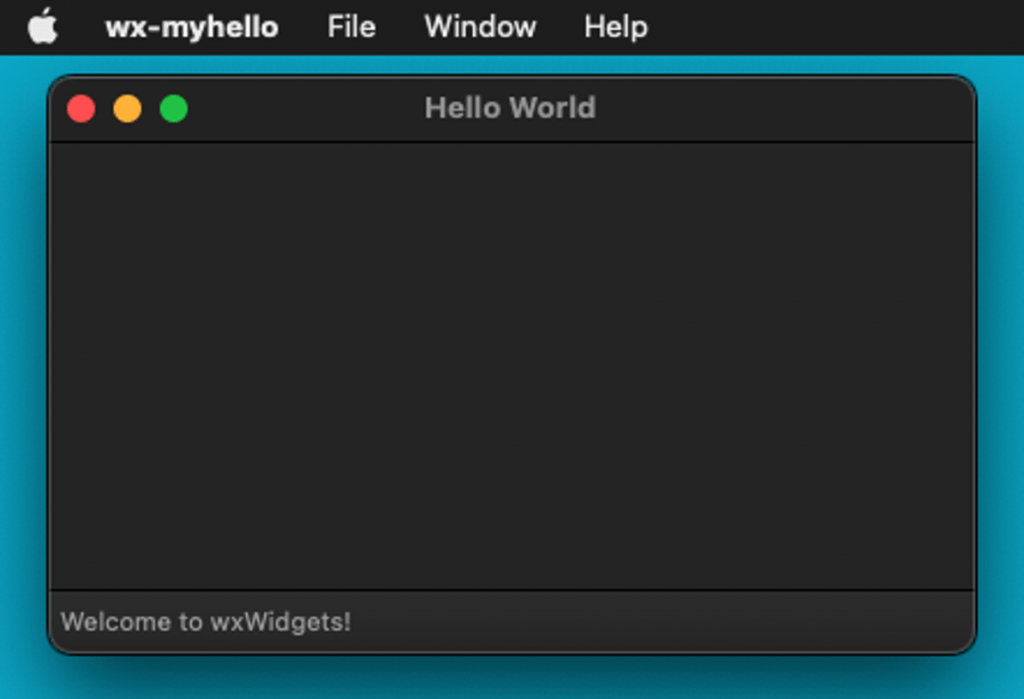
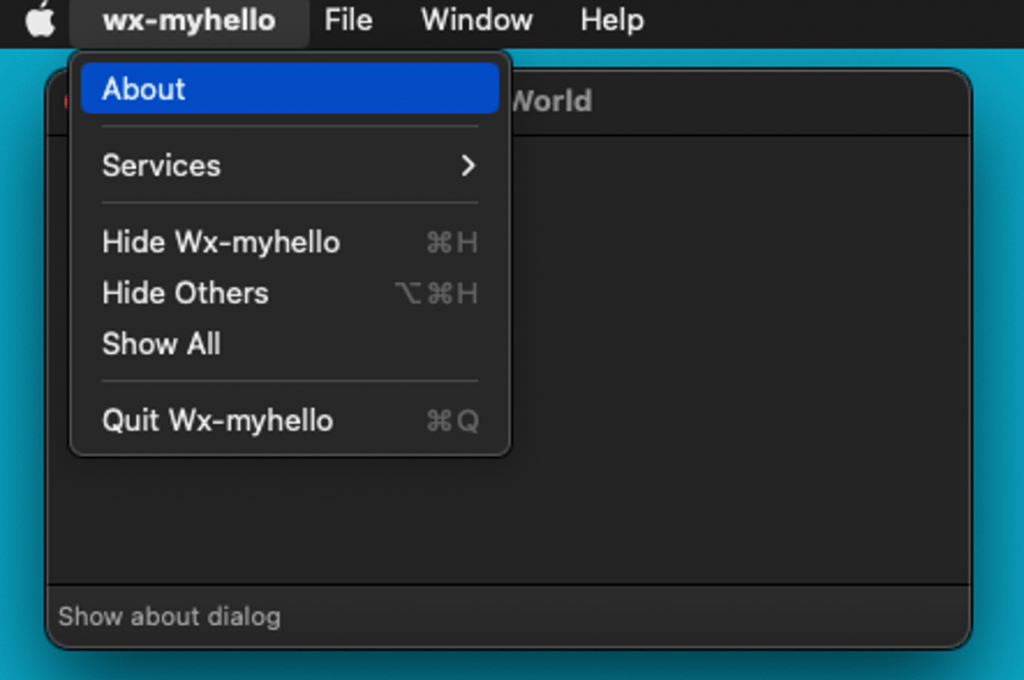
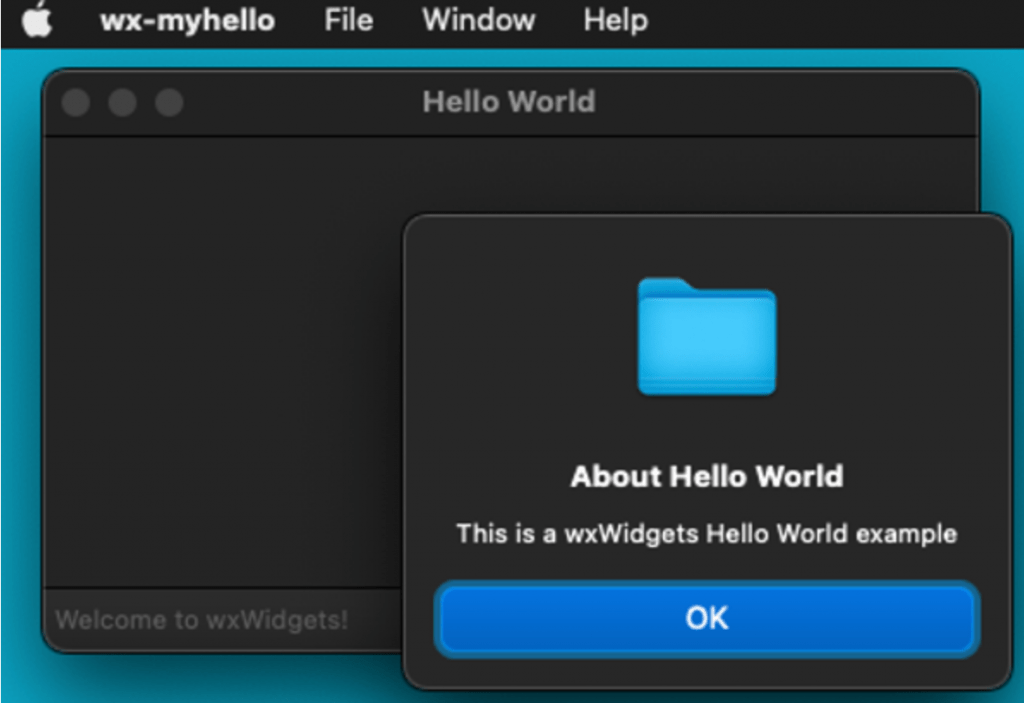
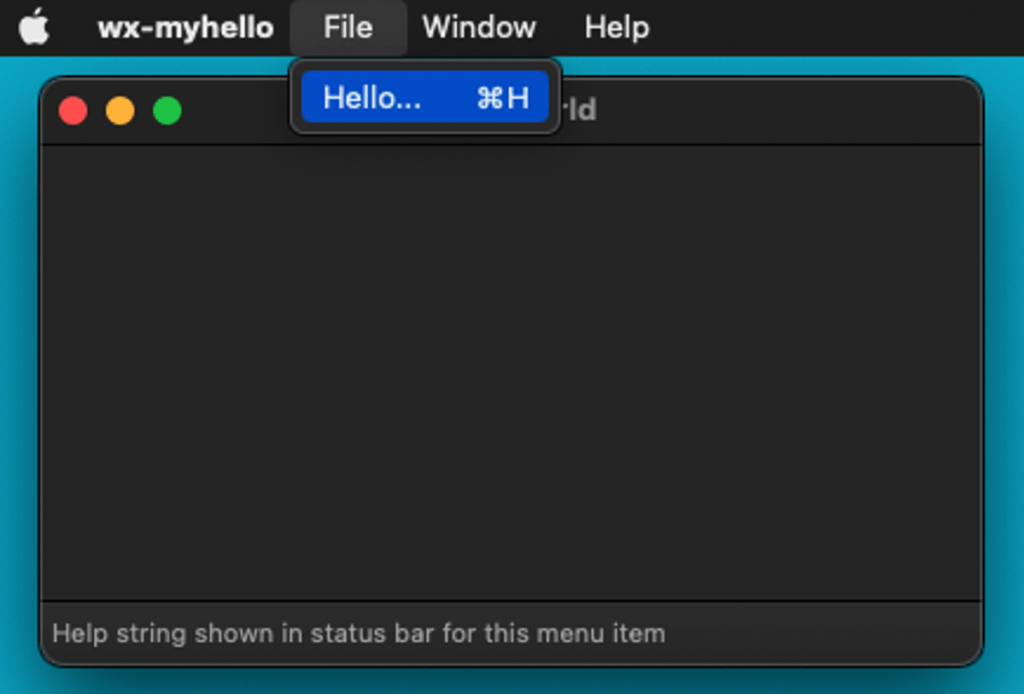
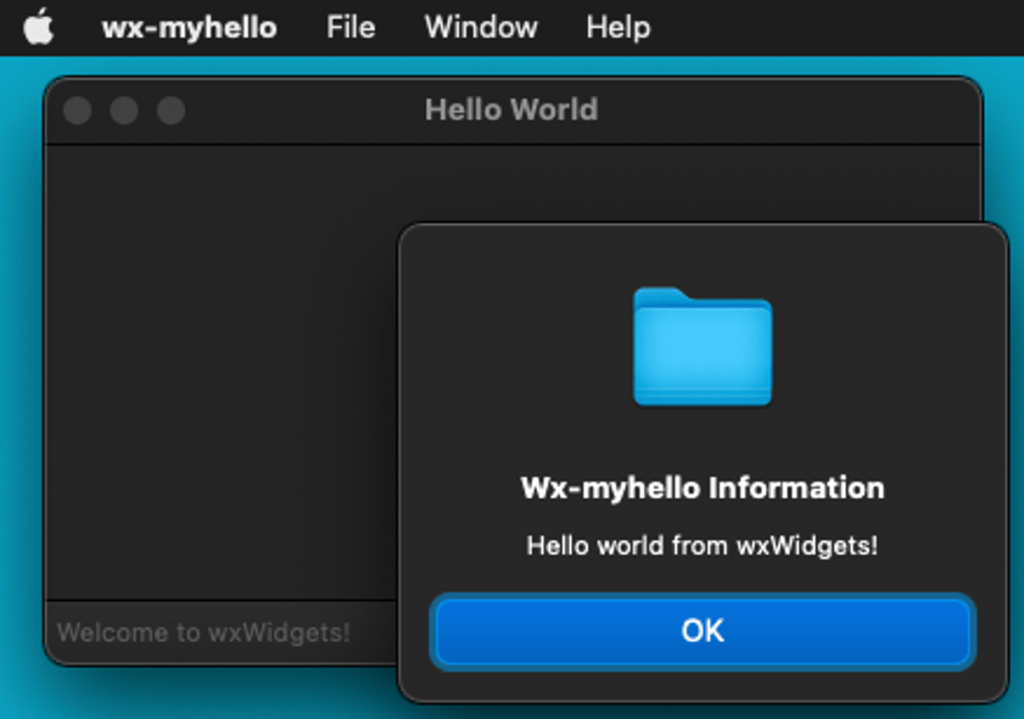
Note, that you can find a deeper look on how wxWidgets work with the official “Hello World” program, in my post below:

So far so good. Now let’s go to build wxWidgets static libraries.
Building static libraries
As we’ve said, the process is pretty similar. In the wxWidgets installation folder, we create a new sub-folder, naming it for example “build-static”. (Recall that the build folder where we build dynamic libraries is the “build-cocoa-debug”). Again we can jump into the “build-static” subfolder and run the ‘configure’ command, as we before did, but this time, passing it the ‘–disable-shared’ flag:
$ ../configure --with-osx_cocoa --enable-universal_binary=x86_64,arm64 --disable-shared
The commands’ output is something similar to:
After that we can run the ‘make’ utility
$ make
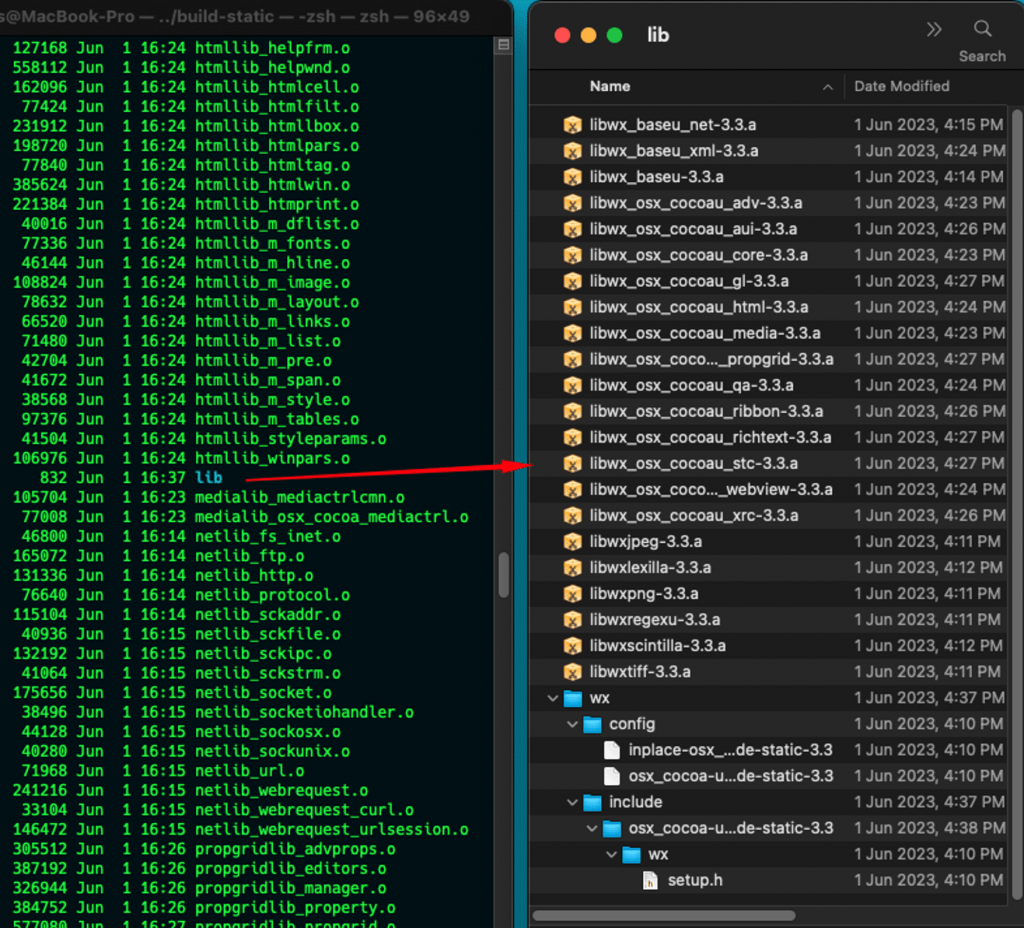
The ‘make’ process again takes some time (maybe more than 15 minutes). As we’ve said, generally we can ignore 2-3 warnings that might be shown. After the static compilation there is a new wx-config file created in the build-static folder. Furthermore, all the static libraries are inside the build-static/lib folder.

Afterward, we can check again the installation of the static libraries, using again the ‘wx-config’ utility” (‘./wx-config –cflags’ and ‘./wx-config –libs’):
That’s it! Now, we have both, wxWidgets libraries as dunamic and static ones.
Compiling and statically linking the “Hello World” program (Example 2)
In order to compile and link our “Hello world” example program, the only thing that we have to change is the location of the ‘wx-config’ utility, which, for static libraries, is now located inside the ‘~/cpp_arm64_Projects/wxInstallation/wxWidgets/build-static’, instead of ‘~/cpp_arm64_Projects/wxInstallation/wxWidgets/build-cocoa-debug’ subfolder:
Compile:
$ clang++ -std=c++11 -Wall -c `~/cpp_arm64_Projects/wxInstallation/wxWidgets/build-static/wx-config --cflags` wxhello.cpp -o wxhello.o
Link:
$ clang++ wxhello.o `~/cpp_arm64_Projects/wxInstallation/wxWidgets/build-static/wx-config --libs` -o wx-myhello
However, as you can see below, the executable created this time using the static libraries is quite bigger than the one created using the dynamic libraries (note that I have renamed the executable created with dynamic libraries as ‘’wx-myhello_d, in order to compare them):

Both of the executables run and behave the same way. However, when you deploy the one created with dynamic libraries, the wxWidgets dynamic libraries should be available on the target system. But this is not the case with the one created with static libraries. You can test this, in any other macOS system, or even in your own system, by just removing the installation folder (actually, don’t remove it! What you should do is just rename the sub-folder temporarily).
If there is no access to the libraries, when you try to run the executable created with dynamic libraries, you get an error of type: “dyld[81634]: Library not loaded: . . . ”. On the other hand, the statically created executable has no problem, it works OK!
So, it’s up to you to decide which one of the approaches is suitable for your particular project.
Now, we can go further and create an even more “fat’ executable, able to run in both: arm64 and x86_64 architectures!
Compiling and linking for both: arm64 and x86_64 architectures
The Clang++ compiler offers us the ‘-arch’ option flag. Using it we can force the compiler to compile the object for a particular architecture. We can do it using either the dynamic or the static libraries of wxWidgets.
For instance, in our first example (Example 1 using the minimal.cpp) the following command creates an arm64-based object file:
$ clang++ -std=c++11 -Wall -arch arm64 -c `~/cpp_arm64_Projects/wxInstallation/wxWidgets/build-cocoa-debug/wx-config --cflags` minimal.cpp -o minimal.o
Where, the following one creates an x86_64-based object file:
$ clang++ -std=c++11 -Wall -arch x86_64 -c `~/cpp_arm64_Projects/wxInstallation/wxWidgets/build-cocoa-debug/wx-config --cflags` minimal.cpp -o minimal.o
Moreover, we can use twice the ‘-arch’ option flag and have an object file compatible with both arm64 and x86_64 architectures:
$ clang++ -std=c++11 -Wall -arch arm64 -arch x86_64 -c `~/cpp_arm64_Projects/wxInstallation/wxWidgets/build-cocoa-debug/wx-config --cflags` minimal.cpp -o minimal.o
Of course, the object file, generated for the 2 architectures, has almost twice the size of the 1-architecture object file.
This is OK, but what about linking? Well, by default, when the Apple linker ld is invoked via clang++ compiler, it produces an executable according to the architecture defined in the shell (in the terminal shell). Please recall that the linking command is:
$ clang++ minimal.o `~/cpp_arm64_Projects/wxInstallation/wxWidgets/build-cocoa-debug/wx-config --libs` -o wx-myminimal
So, suppose you have created the ‘minimal.o’ fat object file. Then, if you are in an arm64 Apple Terminal, the linker creates an arm64 executable, and when you are under an i386 Apple Terminal, it creates an x86_64 executable. You can check this by switching architectures in your terminal, and also, by using the macOS/Apple lipo tool. Below, you can see this in action:
As you can see above, the lipo tool can be used to inform us about the architecture of a particular binary. E.g.:
$ lipo -archs wx-myminimal
Furthermore, the lipo tool can also be used to create universal binaries, e.g. by concatenating 2 executables of different architectures in one universal executable. [You can see more options on ‘man lipo’ pages].
So, what we have to do, is to create 2 separate executables, each one for the respective architecture arm64 and x86_64, again from the same “fat” object file. However, this time, instead of switching terminal architectures, we can use the linker’s ‘-target …’ flag with the Target Triple option, twice, like that:
Linking Dynamic Libraries: creating an executable for arm64 architecture -only:
$ clang++ minimal.o `~/cpp_arm64_Projects/wxInstallation/wxWidgets/build-cocoa-debug/wx-config --libs` -target arm64-apple-macos13 -o wx-arm64-myminimal
Linking Dynamic Libraries: creating an executable for x86_64 architecture -only:
$ clang++ minimal.o `~/cpp_arm64_Projects/wxInstallation/wxWidgets/build-cocoa-debug/wx-config --libs` -target x86_64-apple-macos13 -o wx-x86_64-myminimal
Then, after having created 2 separate executables, one for arm64 and one for x86-64 architecture, we can use the macOS lipo tool to create just one “fat” executable, able to be run under any one of the 2 architectures:
Creating a universal binary
$ lipo -create -output wx-universal-myminimal wx-x86_64-myminimal wx-arm64-myminimal
So, generally, this is how we can create a universal executable.
So far, we have used the dynamic wxWidgets libraries, however, the same procedure can be also followed for static linking. The commands for compiling and dynamic linking are pretty similar (below I have used the ‘-st’ suffix in naming, to distinguish clearly that the output is based on static libraries):
Compiling an object for both architectures:
$ clang++ -std=c++11 -Wall -arch arm64 -arch x86_64 -c `~/cpp_arm64_Projects/wxInstallation/wxWidgets/build-static/wx-config --cflags` minimal.cpp -o minimal-st.o
Linking Static Libraries: creating an executable for arm64 architecture -only:
$ clang++ minimal-st.o `~/cpp_arm64_Projects/wxInstallation/wxWidgets/build-static/wx-config --libs` -target arm64-apple-macos13 -o wx-arm64-st-myminimal
Linking Static Libraries: creating an executable for x86_64 architecture -only:
$ clang++ minimal-st.o `~/cpp_arm64_Projects/wxInstallation/wxWidgets/build-static/wx-config --libs` -target x86_64-apple-macos13 -o wx-x86_64-st-myminimal
Creating a universal binary:
$ lipo -create -output wx-universal-st-myminimal wx-x86_64-st-myminimal wx-arm64-st-myminimal
Again, as you can see, the size of statically linked object and binaries are pretty big. But the benefit is that you can take the created ‘wx-universal-st-myminimal’ executable and run it in an arm64 or i386 macOS machine, without any concerns about dynamic wxWidgets libraries presence on the target machine.
Bonus: The “universal” makefile
Most of the times, it is much more preferable -if not necessary- to use the make automation tool with a ‘makefile’ that carries out the real building process, easily and consistently.
Probably, at the beginning of this post, and specifically in the Prerequisites section about the ‘make’ automation tool, you have noticed that I’ve already mentioned one of my posts “Make… you makefile(s)”. You can use this post if you wish to get familiar with how you can create a makefile and use it with a project of you.
Below, I provide you with an example of a ready-made macOS -only- makefile. You can use it to build a binary executable with wxWidgets cross-platform GUI framework dynamic or static libraries. Note that, this makefile works ONLY with macOS (arm64 and x86-64) via clang++.
In a macOS Ventura with Apple Silicon M1/M2 arm64 chip, clang++ can produce a fat object for both arm64 and x86_64 object files (using the flags: -arch arm64 -arch x86_64). It does it regardless of the shell architecture (i386 or arm64).
It is supposed that you work in a project with a folder structure similar to:
|-- bin
|   `-- execbin_uni
|-- include
|   `-- wxhello.h
|-- lib
|   |-- libtest1.dylib
|   `-- libtest2.a
|-- makefile
|-- obj
|   `-- wxhello.o
`-- src
    `-- wxhello.cpp
The folder structure can be auto-created by using the ‘setup’ PHONY target, e.g.: ‘make setup’. Any .cpp source files are moved to the ‘src’ subfolder and any .h header files are moved to the ‘include’ subfolder. You can place any custom libraries in the ‘lib’ folder. Object files are created inside the ‘obj’ subfolder. All executables produced, are placed inside the ‘bin’ subfolder.
Running without any parameter, i.e.: ‘make’, means that it runs with the default settings. This fires the compiling and linking process with wxWiddgetes dynamic libraries and results in a universal binary with the default name: “execbin_uni” able to run in both arm63 and x86_64 macOS architectures.
Below, there are some running examples:
Dynamic linking. Creates the ‘minimal_uni’ universal executable
$ make exNAME=minimal
Dynamic linking. Creates the ‘minimal_x64’ executable only for macOS x86_64 chitecture
$ make exNAME=minimal TRG=x64
Dynamic linking. Creates the ‘mimimal_arm’ executable only for macOS arm64 chitecture
$ make exNAME=minimal TRG=arm
Dynamic linking. Creates the ‘minimal_uni’ universal executable for macOS x86_64 and m64 architectures (default)
$ make exNAME=minimal TRG=uni
Static linking. Creates the ‘mywxhello-st_uni’ big ‘fat’ universal executable for macOS x86_64 and arm64 architectures
$ make LINKTYPE=static exNAME=mywxhello-st
That’s it for now! I hope you enjoyed it!
Thanks for reading and stay tuned!
