
Installing Docker Desktop on MAC with Apple M1/M2 Silicon (arm64)
")
230409
Motivation
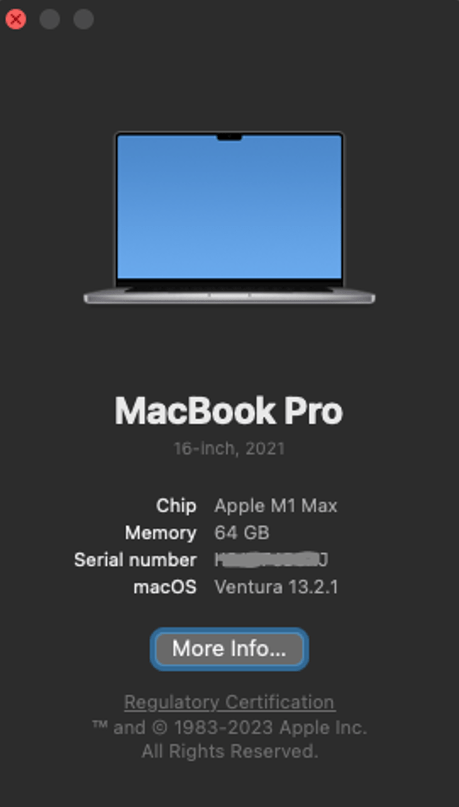
Recently I have moved to my new MacBook Pro based on M1 Max Apple Silicon (ARM64) chip, and I have used the Migration Assistant to transfer all my data and Apps to my brand-new MacBook Pro.
However, when I tried to run my Docker Desktop, I encountered an Environment Error “Incompatible CPU detected”.

As you probably guessed, this was because my old MacBook Pro was an Intel-based one. Sο, I had to replace the old installation with the newest Docker Desktop available version for macOS M1 Silicon.
Before to proceed, a good idea is to have a look to some other approaches that one can think about.
Other approaches
Docker Engine
Docker Engine (docker CLI), is my preferred approach for Linux distros. However, for macOS, there is no stand-alone installation for it. The official documentation states that the Docker Engine is provided either via the Docker Desktop or via static binaries installation. As you can see here, the officially provided binaries include only the Docker client, without the dockerd daemon which is required to run containers.
docker-machine
One can still use the deprecated docker-machine using brew package manager with the support of some virtual machine/hypervisor, e.g.: xhyve. However, the docker-machine project seems to be deprecated and probably alternative ss to use its fork rancher machine, instead. Following such an approach on a new M1 Mac might be considered a bit risky, and thus we can leave it aside for now.
Podman
Apart from the above, we can follow another alternative and install Podman Engine with or without a GUI (e.g.: Podman Desktop). On a Mac, each Podman machine is backed by a QEMU-based virtual machine. Note that the brew package manager is again used for installing Podman Engine. The Podman Desktop can be installed by obtaining the appropriate .dmg archive file here. While officially it is recommended to obtain the “universal” binary file which will work irrespective of the chip architecture Mac uses, one can also get the applicable .dmg file depending on your Mac Hardware Architecture (that is Intel or Apple M1). However, this could be a totally different approach that can be also followed regardless of the Docker Desktop. This perhaps can be done later on.
For now, we will stick on Docker Desktop for MAC M1. Let’s do it.
Other approaches
You can access the official download page here.
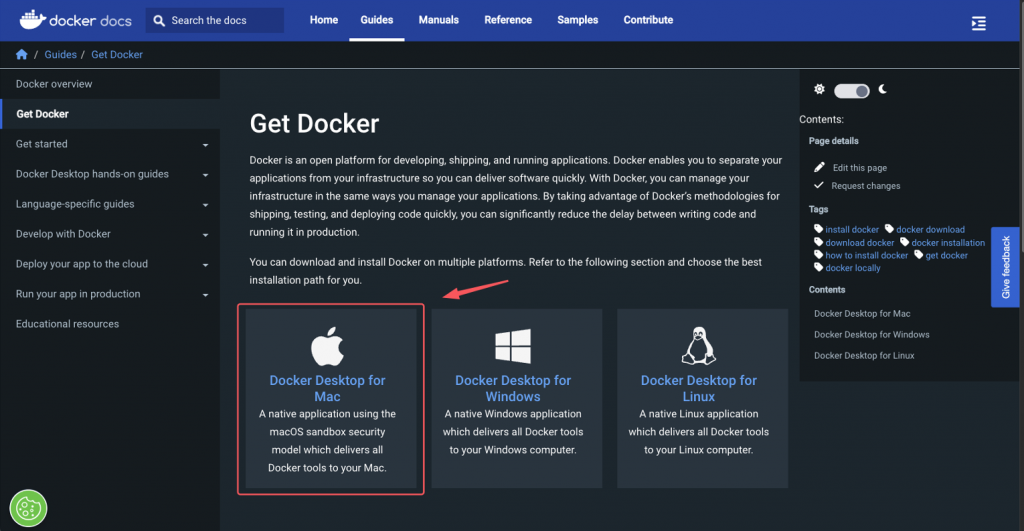
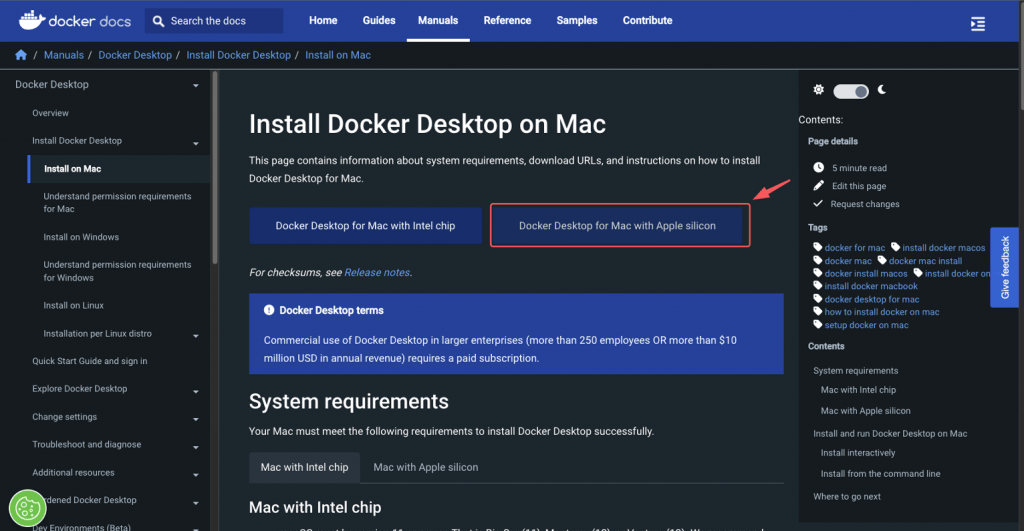
Choose Docker Desktop for Mac and then click on Docker Desktop for Mac with Apple silicon to get the .dmg file:
Installation of the Rosetta 2 is not strictly necessary; however, it is recommended for getting “the best experience”. (Rosetta Lets Intel Mac Apps Run on Apple Silicon). If you are not sure if Rosetta has been already installed in your Mac, you can use one of the following one-line command scripts to check it:
➜  ~
➜  ~ if [ $(/usr/bin/pgrep oahd >/dev/null 2>&1;echo $?) -eq 0 ]; then echo 'rosetta installed'; fi
rosetta installed
➜  ~
➜  ~ /usr/bin/pgrep -q oahd && echo Yes || echo No
Yes
➜  ~
If it is not, installing it is pretty simple:
➜  ~
➜  ~ softwareupdate --install-rosetta
➜  ~
Then you can install the latest version of the Docker Desktop obtained via the .dmg file on your Mac. You can find the officially provided instructions here.
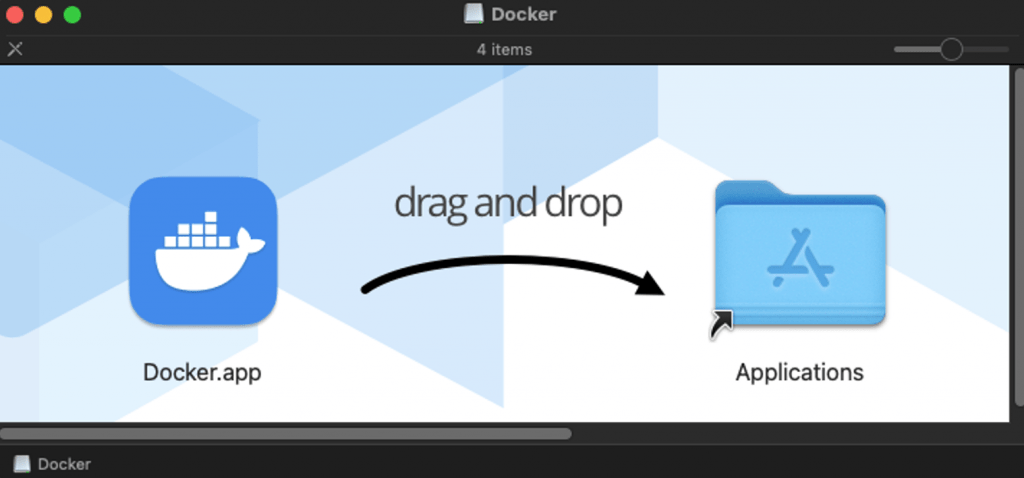
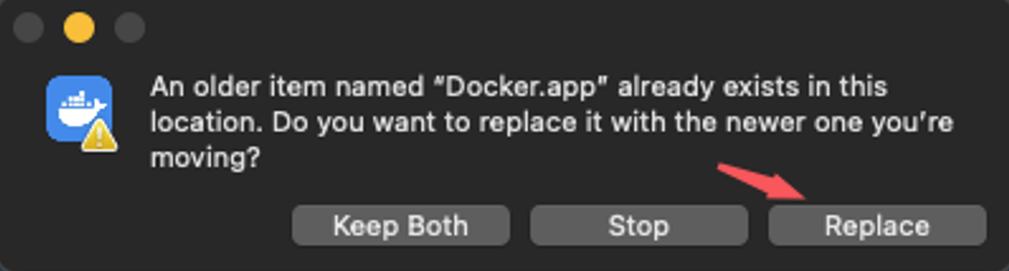
Replace the old version:
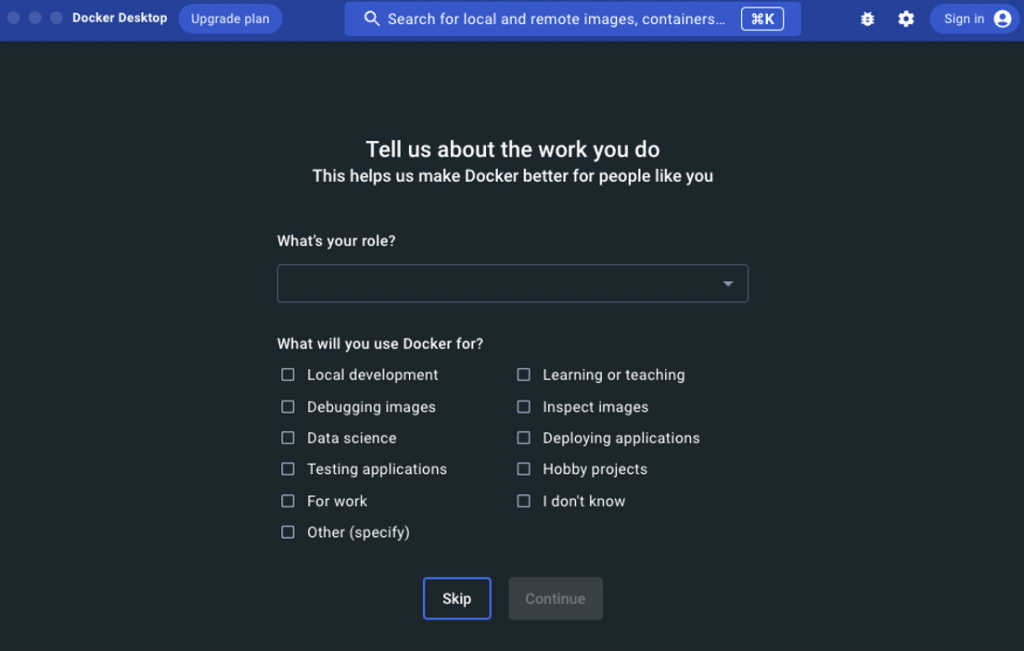
Since this is the 1st time you run the new version of Docker Desktop, the app will ask you to answer a number of questions:
After that you get the Docker Desktop running on your system:
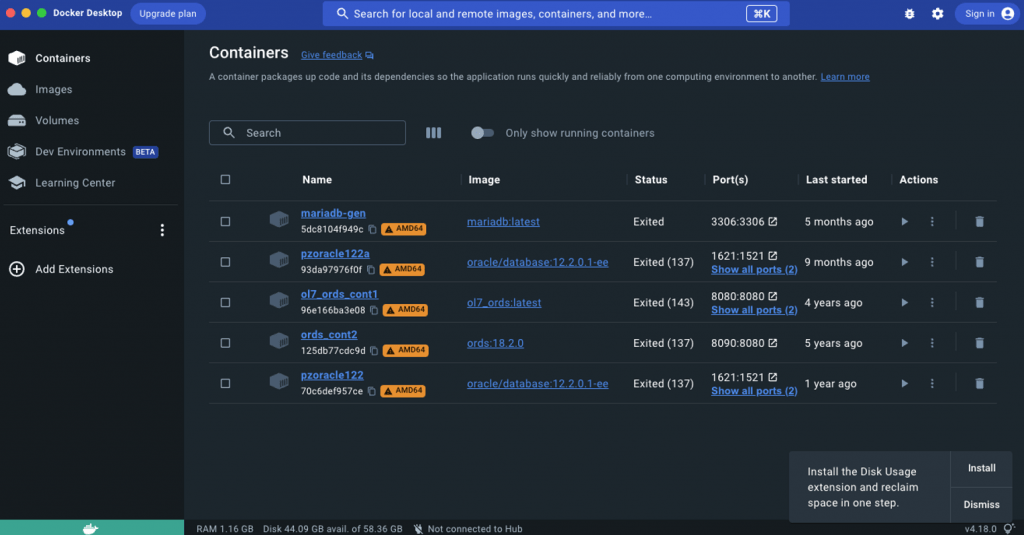
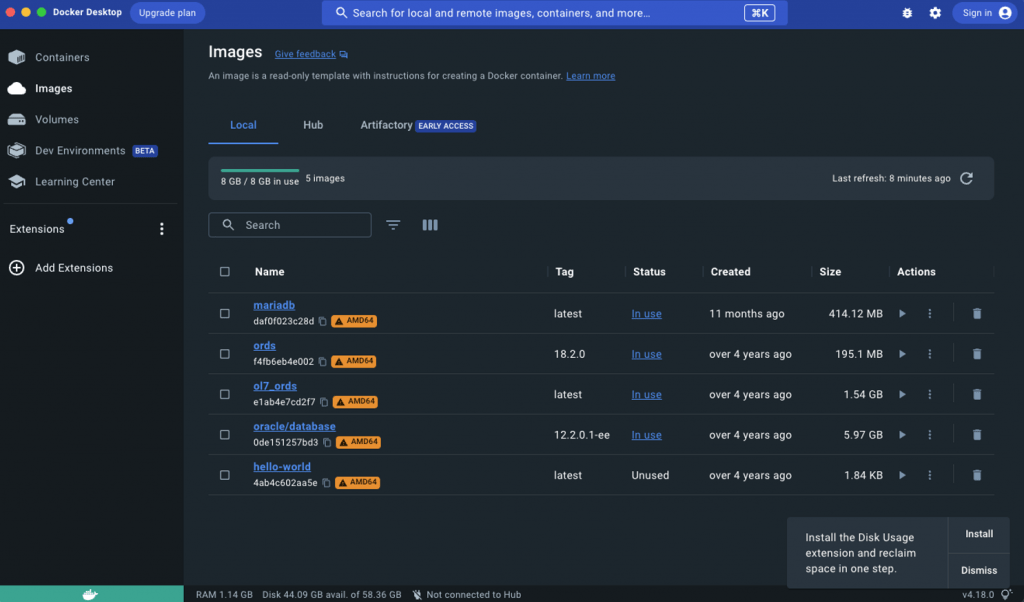
In my case as you can see above, all the previously installed images and containers, are in place. However, all of them are marked with warnings that those are containers build for AMD64 architecture.
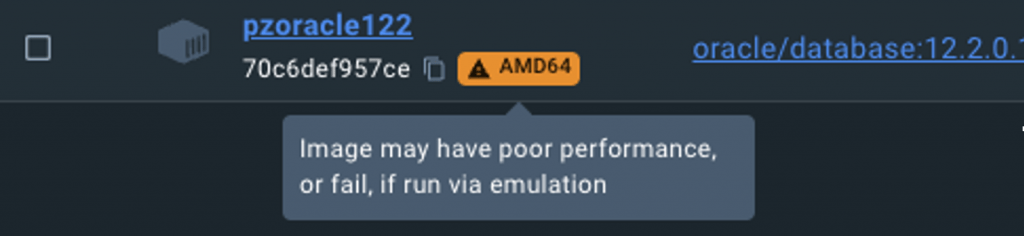
This means that such an image or container may have poor performance, or fail, if run via emulation.
Let’s see what happens when we run one of those containers:

The container seems that started normally:


You can normally navigate it and for the above container, you can use the mysqlsh to check the running instance of MariaDB:
➜  ~
➜  ~ mysqlsh -h localhost -P 3306 -u root  -prootuser
➜  ~
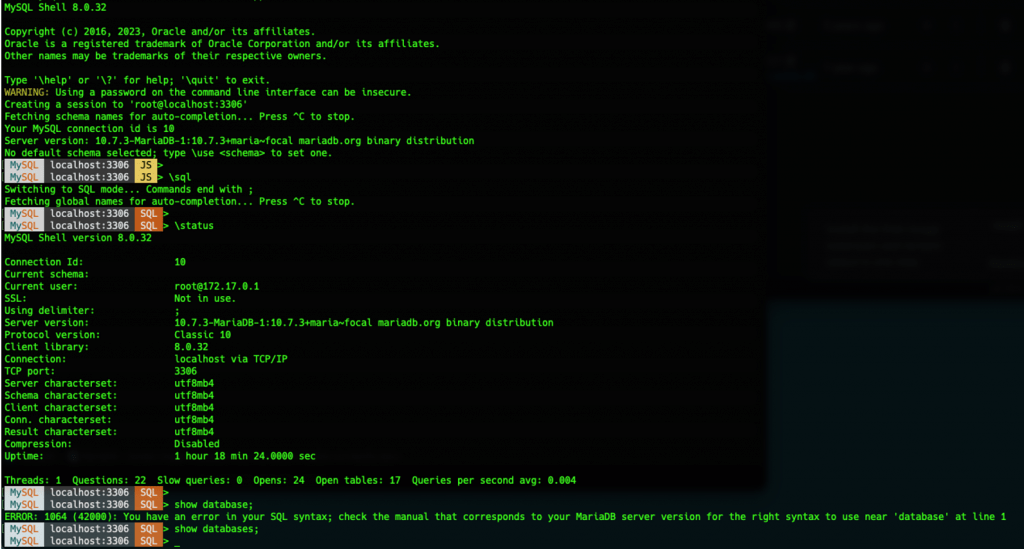
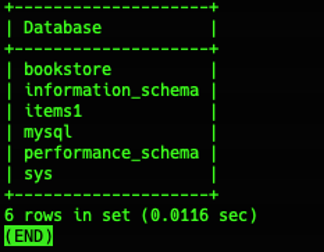
show databases;
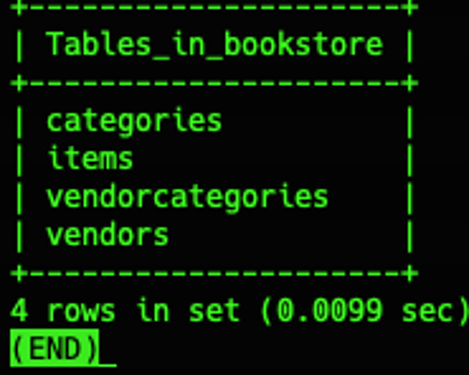
use bookstore;
show tables
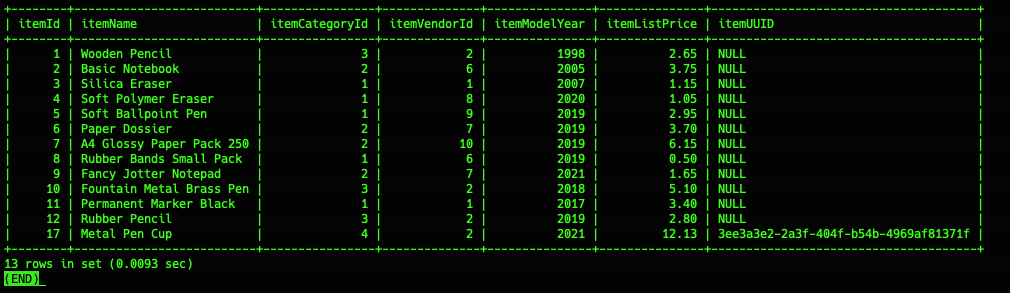
select * from items;
That’s it for now!
I hope you enjoyed it!
Thanks for reading and stay tuned!