Spring Boot Security Configuration, practically explained – Part4: Custom Authentication Provider for password verification via a stored procedure

221211
Summary
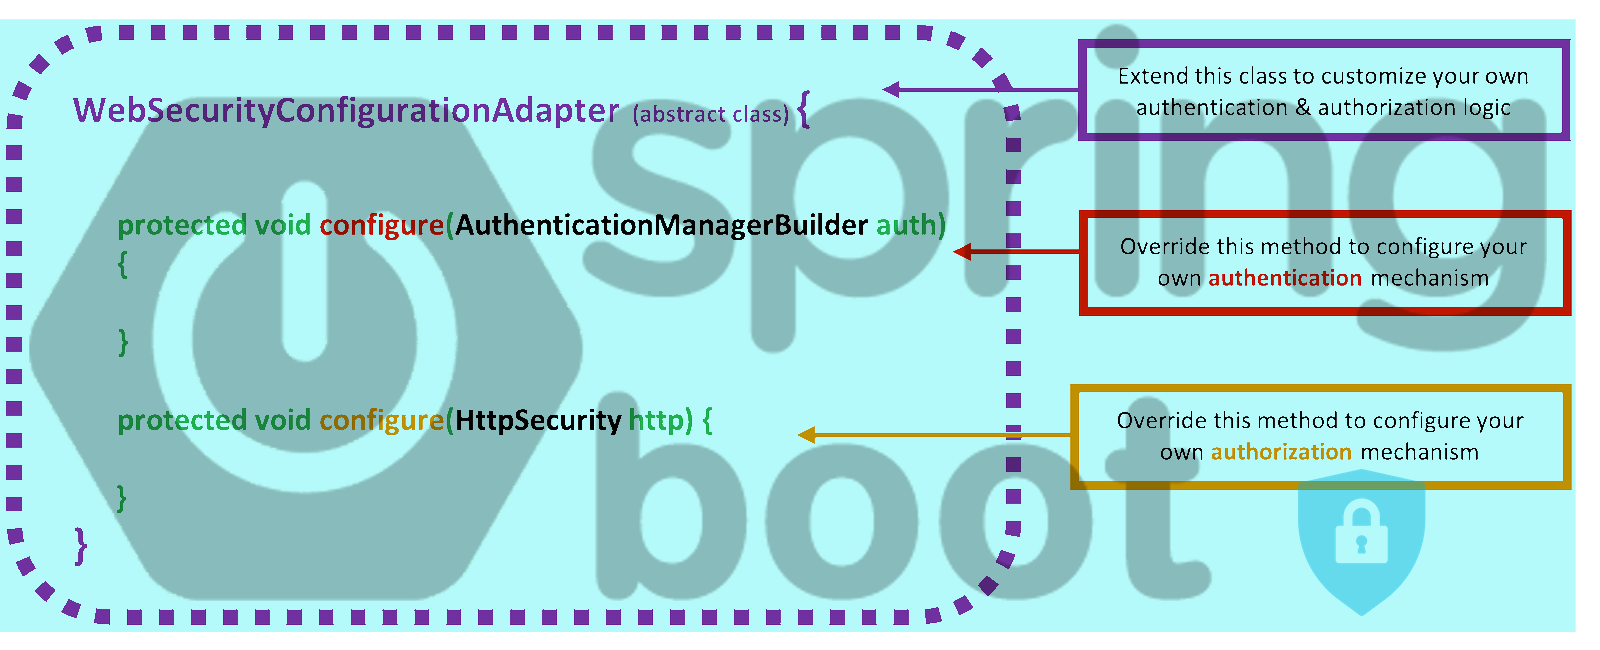
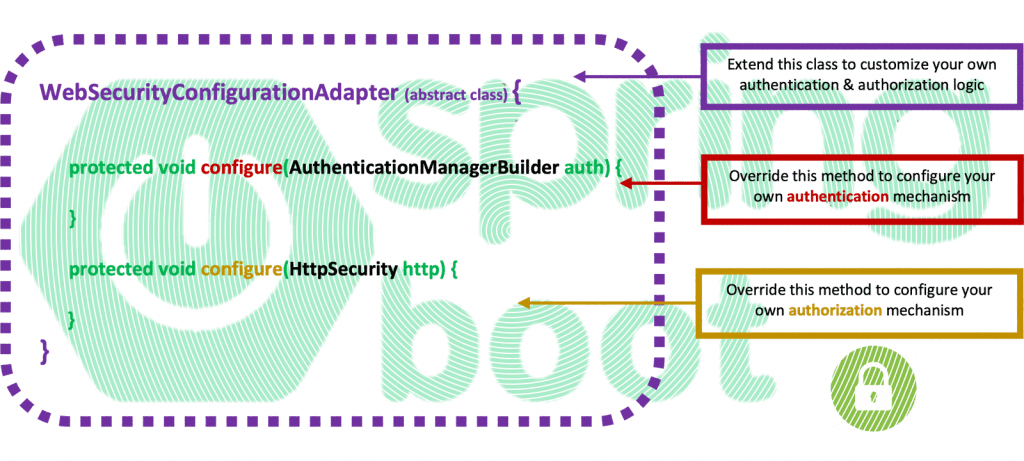
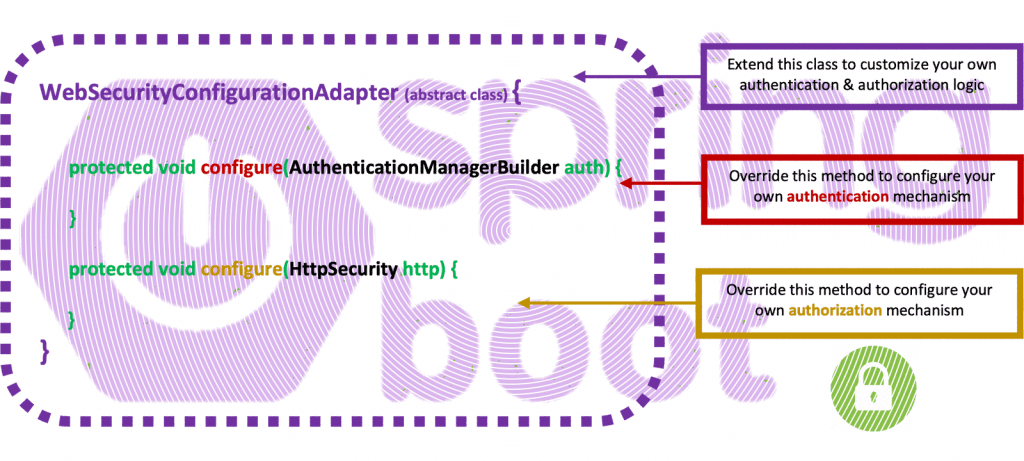
This is the 4th in a series of posts about the Spring Security customization based on the implementation of the well-knownWebSecurityConfigurerAdapter abstract class. You can access the previous posts at the end of this article.
Here you will see how simple is to create your own Custom Authentication Manager. Actually, we are going to create and use a CustomAuthenticationManager implementation class, that will allow us to authenticate and authorize a user (via HTTP Basic Authentication credentials) using our own database stored function for password verification.
So, you will also see how we can initialize our database, using not only some demo tables and data (via schema.sql and data.sql) but how we can also define and use a SQL block separator which allows us to include other database objects, such as triggers and stored procedures/functions into the schema.sql file.
Intro
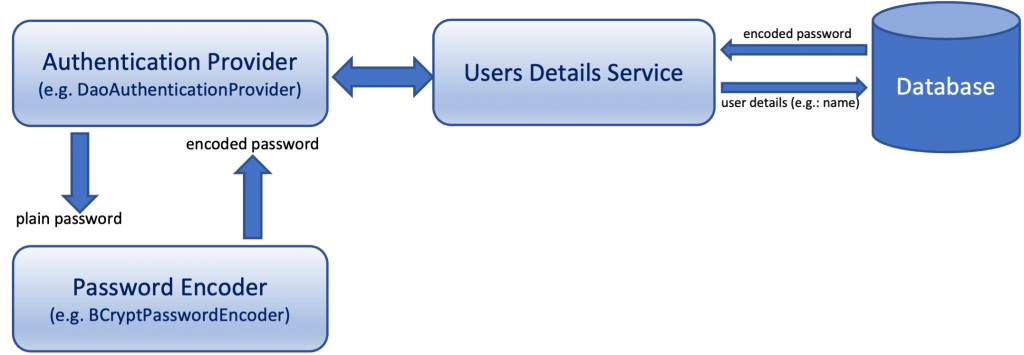
Spring Boot framework, offers a number of ready-made implementations of Authentication Providers, and in my previous posts mentioned above, we have seen a couple of them: the DaoAuthenticationProvider and the LDAPAuthenticationProvider. Some other well-known implementations are also the JwtAuthenticationProvider, ActiveDirectoryLdapAuthenticationProvider and OAuth2LoginAuthenticationProvider providers. Most of those implementations, are also using a UserDetailsService implementation, as well as an PasswordEncoder implementation.
In my previous posts mentioned before, we have used a similar implementation of the UsersDetailsService, and we have also relied on the BCryptPasswordEncoder implementation for bcrypt password encoding, and verification.
Using BCryptPasswordEncoder allows to our Spring Boot application to take the credentials (username and plain password) provided by a user (e.g. via HTTP Basic Authentication), encode the plain password via the bcrypt algorithm, and finally compare the encoded password to the one stored in the database layer and fetched by the UsersDetailsService.

Of course, the whole process takes place via the Authentication Manager being used.
The problem
Generally, the logic remains same for any other salting and hashing algorithm implementations offered by the Spring Boot framework, some of which are listed below:
Pbkdf2PasswordEncoder
Md4PasswordEncoder
Argon2PasswordEncoder
SCryptPasswordEncoder
Those implementations are widely used and they cover most real cases. However, a drawback that someone maybe has to think about, is the fact that the encoding and the verification processes are taken place within the backend application (the middleware), which in our case is a Spring Boot application.
Another option you have is to do this inside the database itself. All of the major databases offer us the necessary capabilities for such implementation. Generally, one has just to use the appropriate database objects, such as triggers and/or stored procedures/functions.
This approach is considered more secure and even more flexible. Some of the reasons one can think of as benefits are listed below:
- You can implement any algorithm and salting schema you wish
- Both, the details of the salting (e.g. the length of the salt, how the salt is added to the encoded password, etc.), as well as the specific algorithm being used, are not exposed outside the database.
- You can use different schemas for specific cases
- You can add more user data beyond the username to check for and retrieve a user
- You can change the backend applications and/or frameworks being used
The solution implementation
What we have to do consists of:
- Preparing our database and creating the necessary database objects (password trigger and verification stored procedure/function)
- Implement a custom AuthenticationProvider and use it with our custom implementation of the WebSecurityConfigurerAdapter.

For your convenience, as the starting point for the coding, and the implementation approaches, we can use the final repository from the Part 2: JDBC Authentication of this series of posts, so you can find and grab it here.
In short, this repo presents the example code of a REST API implementation with a protected endpoint, and how you can handle a user request with Basic Authentication using the DaoAuthenticationProvider and UsersDetailsService.
Let’s start working on them.
1. Working with the Database
The basic concepts we will use are salting & password hashing, triggers, and stored procedures/functions. As our example database, we are going to use MariaDB/MySQL. However, you can use any of the major databases, referencing all the related information I have provided in the following posts of mine:
- Salts and UUIDs for All Databases (Introductory)
- Salts and UUIDs for your MariaDB/MySQL databases
- Salts and UUIDs for your Oracle database
- Salts and UUIDs for your MS SQL Server database
- Salts and UUIDs for your PostgreSQL database
The tables
For our demo purposes, we will use a database/schema named ‘items1’ with 3 simple tables: users, authorities (for user roles), and items. Below, the SQL scripts for creating those tables are given:
Pay attention that we use an 80 characters field for the user password. This is actually what we have also used in the Salts and UUIDs for your MariaDB/MySQL databases
post. And this is because salted and hashed passwords we store into that column are 80 characters long.
The stored password essentially consists of a randomly generated value of 8-bytes (16hex characters) as salt, followed by a real SHA-256 hash value, which always has a 32-byte (64 hex characters) length.
The salt is also being used for the calculation of the SHA-256 hash value. It is usually added to the plain password (either before or after). This has nothing to do with the way we add the salt to the calculated hash value in order to create the whole value to be stored in the ‘password’ column. Here, we will put the 16 characters of the salt in the front of the calculated hash value, but one can always use other approaches e.g: at the end, split half and a half or differently, etc.

Using triggers
As we have said, we are not going to use our Spring Boot application via a PasswordEncoder to encode a plain password before it is sent to the database. This should be done by the database itself, automatically, for every new record inserted or updated into the users’ table.
For that purpose, we have to use a trigger. Here, we are going to use the following scripts to create the 2 triggers we need: one for the insertion of a new user record and one when the user password is changed (updated):
As you can see, first we use the RAND() function which is one of the MATH functions offered by the MariaDB/MySQL database and which returns a random floating-point value. We use it to create a random salt. Next, we use the SHA2() function, making also use of the CONCAT() and SUBSTR() functions.
The stored function for password verification
The final step while working with the database is to create a stored function for password verification. Later on, we will see how we can call/use this password verification function from our Spring Boot application via the CustomAuthenticationProvider.
The sql script for creating such a function is given below:
The function accepts 2 parameters for username and plain password. First, it obtains the existing stored hashed password using the username provided. (We have defined the username column as UNIQUE, so only 1 user can be retrieved with the username provided).
Of course, instead of the username, you can use any other user data you wish in your own implementation of such a verification function (e.g: email).
Then, the function extracts the salt, which is actually the string of the first 16 characters of the password. Next, re-calculates a new hash value using the same algorithm. And finally compares the newly calculated hash value with the existing hash value which is the last part of the existing password string (from 17th character till the end). It returns an integer value (actually here we use the MariaDB/MySQL tinyint(1) type). The returned value is 1 (TRUE), only if there is a match, otherwise it returns 0 (FALSE).
Spring Boot Data initialisation
Our essential work with the database ends here. What is missing is just some demo data, which can be provided with for database data initialization.
As you probably are aware, Spring Boot allows us to initialize our database by using a number of approaches such as using the CommandLineRunner/ApplicationRunner component, and @PostConstruct interceptor. However, here we will follow the quite common approach of using just 2 different SQL script files for schema and data.
So, we can put all of our SQL DDL scripts in the schema.sql file and all of the demo data insert SQL commands in the data.sql file. You can find both of them below.
? What is important here, and you should pay some attention to, is the fact that besides the scripts for tables creation, we have also put the scripts for the triggers creation as well as the SQL script for the stored function for password verification, inside the schema.sql file.
Actually, this is achieved because we have used a special SQL script block separator, which as you can see, in our case is the ampersand @ symbol.
Both of the files should be placed in the resource folder of our project (where the application.properties files also exists).
The application.properties settings
We use almost identical settings to those we have used in Part 2: JDBC Authentication repo mentioned before. However, here the first 3 uncommented lines concern the data initialization.
As you can understand, we use those first 3 lines for the following:
- the data initialization process will take place always, i.e. every time the application starts
- the application initialization process will stop when any data initialization error occurs, i.e. because of SQL scripts failure
- theampersand @ symbol is set as the SQL script block separator
A final notice: As you can see, a schema/database with the name ‘itemes1’, and a user with username ‘user1’ and password ‘upassw1’ should have already been created in your MariaDB/MySQL running instance. And moreover, all privileges on database/schema ‘items1’ should have been granted to ‘user1’. So, if you haven’t already done this, you can log in to your running database instance as a ‘root’ user and then use the following commands:
CREATE DATABASE `items1`
USE `items1`
GRANT ALL PRIVILEGES ON items1.* TO 'user1'@'%' IDENTIFIED BY 'upassw1';
FLUSH PRIVILEGES;
Now, we are ready to start working with the code in our repo.
2. Working with code
As we have already said, we are going to use this repo here as our starting code base. This repo implements a REST API exposing just the GET ‘/api/items’ protected endpoint. Only authenticated users having the role “ADMIN” are allowed to access that endpoint requesting all items stored in ‘items’ table. The repo uses 2 repositories for items and users respectively in order to communicate with the database layer and database objects (tables, stored functions, etc.). The ItemsRepo and the UsersRepo. Both of the repositories reside into the project’s folder (package): “Repositories”.
UsersRepo – Create a method for password verification by calling the stored function
As you have been aware, the UsersRepo repository uses pure (raw) SQL queries via the JdbcTemplate. An instance bean of the JdbcTemplate has automatically been created by Spring Boot, on the basis of the settings we have provided in the application.properties file. So, what we do inside the UsersRepo is to “autowire” it into the UsersRepo by using the @Autowire annotation.
Until now, the UsersRepo consists of the 3 methods: “findById()”, “findByName()” and the “getUserRoles()”.
So, first, what should be done, is to modify a bit the UsersRepo repository by just adding the necessary method for calling the stored function for password verification. Let’s give it the same name “isUserPasswordValid” as the stored function to be called. Similarly, this function accepts 2 string parameters for username and (plain) password. Here we name them “uname” and “uppassw” respectively. The function returns a Boolean value which is true only in the case the stored function returns 1 (an Integer value), which means the password provided corresponds to the one that has been salted and hashed and stored in the database.
There are several options to call a stored procedure or function. Some of them are listed below:
SimpleJdbcTemplate (deprecated since Spring 3.1 in favor of JdbcTemplate)
SimpleJdbcCall
CallableStatementCreator
CallableStatement
Here, we prefer to use a CallableStatement. It allows us to use a standardized SQL string for calling a stored procedure or function, and also to set up the passing in parameters, as well as the output (the returned) object, before executing it.
Please note, that it works on the datasource connection level, however we can obtain the datasource, and thus the connection object via the JdbcTemplate instance.
This is the whole example code of the “isUserPasswordValid()” you should add to the UsersRepo:
Custom AuthenticationProvider implementation
If you take a look at the CustomSecurityConfiguration class (into the project’s Configuration folder/package), you will see that, it uses a “standard” DaoAuthentication bean with a custom implementation UserDetailsService and the BCryptPassword encoder.
However, here our intention is to perform a custom authentication using our stored function for that purpose. So, what actually we need (before modifying accordingly the CustomSecurityConfiguration class), is to define/create a new @Component annotated class implementing the AuthenticationProvider interface.
Any of the Authentication Providers offered, should implement the AuthenticationProvider interface. This is also true for our CustomAuthenticationProvider. And thus, all the job required has to be done by overriding the 2 methods defined in that interface. Those 2 methods are: “authenticate(…)” and “supports(…)”.
The second one “supports(…)”, generally, is the method that returns true if this Custom AuthenticationProvider supports the indicated Authentication object, i.e.: a standard authenticated token object (UsernamePasswordAuthenticationToken), which is actually what is returned from the first one: the “authenticate(…)”. So, usually, we can return this class
The first one, the “authenticate(…)” is the most important part and performs authentication implementing the same contract as AuthenticationManager.authenticate(Authentication). So, we have actually to focus on it.
Before to proceed, we have to “autowire” our UsersRepo, in order to have access and call its methods, and more precisely to the “isUserPasswordValid()” method we have created before.
Now, what we have to do is to work in overriding the first “authenticate(Authentication authentication)” method.
First, we have to get the username and the plain password provided via the Basic Authentication from the user request, and then we have to call the repo’s “isUserPasswordValid()” and pass those values to it as parameters.
Doing so, our CustomAuthenticationProvider class should look like:
Note that here, where we are implementing our own AuthenticationProvider, it is not necessary to also implement or use a UserDetailsService, as we have with DaoAuthenticationProvider and LdapAuthenticationProvider.
UserDetailsService is usually used to provide a standard DAO for loading the necessary user information. In such cases, in order to authenticate a user (using her/his username and password), one has to instantiate a DaoAuthenticationProvider and inject in it a UserDetailsService (as well as a BCryptPassword encoder Bean).
Since here we don’t need it, we can entirely remove the UsersDetailsService class from our project which actually has been located in the project’s “Services” folder/package. We can also remove the package folder itself since there are no other files there.
Now it’s time to make the necessary adjustment to our CustomSecurityConfiguration class, to reflect the changes we made.
Modifying our CustomSecurityConfiguration class.
First, we can remove the code concerning the Bean of PasswordEncoder and the DaoAuthenticationProvider.
Next, we can adjust a bit the http.configurer for the antMatcher for our protected endpoint /api/items, and allow only users having just the Role “ROLE_ADMIN” to access it.
The above changes so far, are adequate for our project. Spring is “smart” enough to trace our classes and find out that the only Authentication Provider in our app is the CustomAuthenticationProvider. Thus, it can automatically provide it as a bean which then can be used for our CustomSecurityConfiguration class. So, our code till now is absolutely runnable.
However, for the shake of our code completeness and code readability, we can add a Bean for our CustomAuthenticationProvider. Then we can to override the AuthenticationManagerBuilder configurer, or even better to add a bean for a AuthenticationManager, passing the instance of our CustomAuthenticationProvider to it.
So, the whole code our CustomSecurityConfiguration class becomes as the one below:
That’s it! You did it!
? Find the final outcome repo of this post here.
That’s it for now! I hope you enjoyed it!
Thanks for reading ? ! and stay tuned!
P.S.: Find the parts of this series about Spring Boot Security below:


