
Node.js version adventures using nvm

240111
Intro
NVM, or Node Version Manager, is a well-known script-based and widely-used command-line tool that allows you to manage multiple Node.js versions on your system. It simplifies the process of installing, switching between, and managing different versions of Node.js for different projects.
In this post, I will go through the important points of using nvm, and also, we will also see how you can automate the process of switching Node.js versions.
Installation or update
You can find the latest version at:
https://github.com/nvm-sh/nvm?tab=readme-ov-file#install–update-script
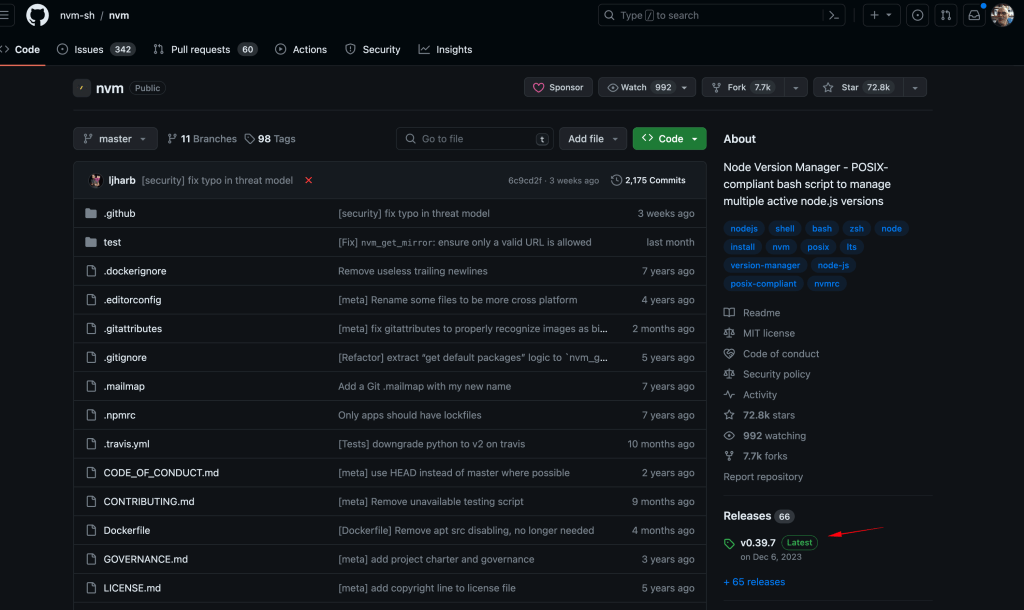
The latest version when this post was writing, it was the 0.39.7.
You can use either curl or wget to install it. For instance, you can use the curl, in a zsh terminal window, like this:
curl -o- https://raw.githubusercontent.com/nvm-sh/nvm/v0.39.7/install.sh | bash
Note, that with the above command, the nvm is installed for any shell, however, it updates the shell configuration file only for the current shell, e.g. if you are using the zsh, then the ~/.zshrc is the one that the nvm updates, if you are using the bash, then the ~/.bash_profile is updated.
What the nvm actually does in a shell configuration file, is to add -at the end of the file- the following script:
. . .
export NVM_DIR="$HOME/.nvm"
[ -s "$NVM_DIR/nvm.sh" ] && \. "$NVM_DIR/nvm.sh"  # This loads nvm
[ -s "$NVM_DIR/bash_completion" ] && \. "$NVM_DIR/bash_completion"  # This loads nvm bash_completion
Note that this allows us to use the nvm.sh script as the ‘nvm’ command in a terminal shell, but probably fails in subshells. Thus, you might need to source that script in subshells.
After the installation, in order to start using it, you have to close and open again a terminal session or source your ~/.zshrc or ~/.bash_profile.
The nvm (nvm.sh) script and, all the related files, are installed in the ~/.nvm folder:
Now we can use it to manage the node version we like to use. Bellow, are some of important points, that one should know about using nvm. Let’s see them.
1. Use nvm to install a version of the Node.js you wish.
You can install the latest version of Node.js. by just running the command, without specifying the version number:
nvm install node
However, you can access the long list of the available versions of Node.js, and select the version you want to install via nvm by running the command:
nvm ls-remote
Towards to the end of the list, you canalso find the latest LTS (stable) node version, e.g.:
	...
       v20.6.1
        v20.7.0
        v20.8.0
        v20.8.1
        v20.9.0   (LTS: Iron)
       v20.10.0   (Latest LTS: Iron)
        v21.0.0
        v21.1.0
        v21.2.0
        v21.3.0
        v21.4.0
        v21.5.0
You can install a specific Node.js version, like this:
nvm install 16.20.2
Or, you can install many versions at once, by separating them with commas, e.g.:
nvm install 16.20.2, 12.22.1, 18.10.0 …etc
Note that it doesn’t matter from which folder you run the nvm installation command. Moreover, the first version installed becomes the default. New shell sessions start with the default version.
The node versions installed via nvm are located beneath the nvm folder path. To check it, you can run ‘nvm which <version>’, e.g.:
➜  mydemos nvm which v20.10.0
/Users/zafeiropoulospanos/.nvm/versions/node/v20.10.0/bin/node
➜  mydemos
When you install another version, e.g.: v21.5.0, this version becomes the default one, just for the current opened shell session. E.g.:
If you close the terminal and open it again then the 20.10.0 is the default.
You can use the nvm list command to get the versions of Node.js installed via nvm, and which one is current and which is the system-wide default, e.g.:
A last point here, is that you can always uninstall any version installed via nvm, using the nvm uninstall command, e.g.:
However, note that you can’t uninstall the current version, e.g.:
➜  nvm uninstall 18.10.0
nvm: Cannot uninstall currently-active node version, v18.10.0 (inferred from 18.10.0).
➜
2. Use ‘nvm use’ to change the node version you wish
Now, let’s say we want to switch the version we use in our open terminal shell. We can do this by using the nvm use command, e.g.:
➜  ~ node -v
v21.5.0
➜  ~
➜  ~ nvm use 16.20.2
Now using node v16.20.2 (npm v8.19.4)
➜  ~ node -v
v16.20.2
➜  ~
Again, be aware, that the nvm use command is shell session scoped. This means that it switches to the selected version only for the current open terminal shell. If you open another terminal shell, the system-wide default Node.js version becomes the current node version. So, keep in mind that the node version selected via the nvm use is open-terminal shell-based.
Note that you can always check the current shell version (switched via nvm use), using the command nvm current command:
➜  ~ nvm current
v21.5.0
➜  ~ node -v
v21.5.0
3. Change the default version node version
As we’ve seen the 1st node version you install via the nvm install command, becomes the systemwide default. If you wish to change it, you can use the nvm alias command, like this:
nvm alias default 21.5.0
However, again it doesn’t affect the current shell node version. You have re-run the terminal shell, if you wish to take effect.
➜  ~ node -v
v20.10.0
➜  ~ nvm alias default 21.5.0
default -> 21.5.0 (-> v21.5.0)
➜  ~
➜  ~ node -v
v20.10.0
. . .
Last login: Mon Jan  8 16:36:18 on ttys013
You have mail.
➜  ~
➜  ~
➜  ~ node -v
v21.5.0
➜  ~
4. The nvm and its relation to any existing node version installed via a package downloaded from the official nod site.
As we’ve said, the nvm can be used to install and manage/use any of the available node versions on its own. This means that if you have already installed a node version using the respective downloaded package from the official side (e.g. v18.10.0), this version remains intact, but it is not managed from nvm. Moreover, you cannot use it with nvm, unless you install it using nvm.
However, if you wish to go back and use again the node version ‘officially’ installed, you have to remove (comment out) the added script lines in your shell configuration file (we’ve previously seen) -and re-run the terminal shell.
Another point to consider is that if you have removed the script lines added to your shell configuration file and have been working with the ‘officially’ installed Node.js version, and later decide to reintegrate the nvm added lines to resume working with nvm, you need to specify the Node.js version you want to work with using the nvm use command. Without specifying the Node.js version, via the nvm use command, even though you have restored nvm, the Node.js version will default to the ‘official’ one.
5. Folder-based node version switching via the .nvmrc file
So far, so good. The nvm with the nvm use command does a great job. Though, it seems to be quite odd, if one has always to run the nvm use command every time she/he changes the project and the project folder. However, there is a solution that automates it.
What we can do, is: First, to use a file (a ‘hidden’ one) named .nvmrc inside the project’s folder we want to do this. Creating this file in the root directory of our projects, and passing it to the Node version we wish can be very straightforward, like this:
➜  echo "20.10.0" > .nvmrc
➜  cat .nvmrc
20.10.0
➜
Nevertheless, this on its own is not adequate for our purpose. We need to make our shell ‘sense’ if there is a file named ‘.nvmrc’ whenever we change our current folder, and if it exists, then it has to grab the string version from it, and finally switch to this node version, by running the nvm use command.
There are some dedicated packages, that can be installed with the help of our node package manager (e.g. npm), like the old avn package, or the nvm-auto package that switches to the node version that matches engines.node field of the package.json file, to do the automation for us. However, here I will remain stuck with the .nvmrc file in conjunction with an appropriate shell script that we can also add to our shell configuration file.
Below, you can find 2 example scripts that you can add to your ~/.bash_profile, or ~/.zshrc shell configuration file, for the bash and the zsh shell respectively.
For Bash (~/.bash_profile or ~/.bashrc):
For Zsh (~/.zshrc):
Both scripts are pretty similar. Each one defines a function (check_nvmrc) that checks if a .nvmrc file exists in the current directory and, if so, reads the version specified. If the specified version is different from the currently active version, it uses nvm use to switch to the specified version.
The cd (for Bash) or chpwd (for Zsh) function is overridden to call check_nvmrc after changing directories.
If you wish, you can keep informed about the node version activated by removing the –silent flag. Removing the –silent flag, could be also useful for some cases, e.g.: where the version inside the .nvmrc has not yet been installed via nvm. One possible tweak for such cases could be to automatically install the missing version, e,g. by:
nvm use || nvm install "$nvm_version" #--silent
But I don’t recommend it.
Note, that after adding the respective script to your shell configuration file, restart your shell or run source ~/.bashrc for bash, or source ~/.zshrc for Zsh to apply the changes.
Now, when you navigate into a directory with a .nvmrc file, the script will automatically switch to the specified Node.js version.
Let’s try it:
➜  mydemos node -v
v21.5.0
➜  mydemos nvm current
v21.5.0
➜  mydemos
➜  mydemos cd angular1
Found '/Users/DEV/PROJ/AngularProjects2/mydemos/angular1/.nvmrc' with version <20.10.0>
Now using node v20.10.0 (npm v10.2.3)
➜  angular1 nvm current
v20.10.0
➜  angular1
This is cool. Isn’t it?
A bit more to add here is if you open a terminal window directly for the specified folder (e.g. via UI), then the version is not switched automatically to the one pointed out in the .nvmrc file. Using just the nvm use (without version parameters) we can switch to the version of the .nvmrc. The same is true after you have changed the system default version, e.g.:
➜  angular1 node -v
v18.10.0
➜  angular1 nvm current
v18.10.0
➜  angular1 nvm alias default 20.10.0
default -> 20.10.0 (-> v20.10.0)
➜  angular1 nvm current
v18.10.0
➜  angular1 nvm use
Found '/Users/DEV/PROJ/AngularProjects2/mydemos/angular1/.nvmrc' with version <20.10.0>
Now using node v20.10.0 (npm v10.2.3)
➜  angular1 nvm current
v20.10.0
➜  angular1
But, again, running again and again the nvm use is not the best we can do.
6. Run the check_nvmrc function, every time a new terminal session is started
My approach for avoiding running the nvm use might not be the best, but it is quite simple. What we have to do, is to call the check_nvmrc function, every time a new terminal session starts. To do so, add the following to your ~/.bash_profile, and/or ~/.zshrc shell configuration file, (you can add it after the end of the scripts we’ve seen earlier), and restart your terminal shell.
. . .
# The b
asic function also is called when a bash session is started
# e.g. when a new terminal window is opened
# This also works every time a new VS Code bash integrated terminal opens.
check_nvmrc
It’s worth mentioning, that this works fine, and moreover, it works with VS Code integrated terminal, as well! Otherwise, -for VS Code- you probably had to install one of some extensions that can do the job, e.g.:
Or to try to setup a custom terminal integrated profile via user settings.json file, which can be proved painful enaugh.
Conclusions
Using nvm, you can:
- Install Node.js: Easily install different versions of Node.js on your machine.
- Switch Between Versions: Quickly switch between installed Node.js versions to match the requirements of specific projects.
- Set a Default Version: Specify a default Node.js version for your system.
NVM helps developers maintain a consistent and flexible development environment, and especially when working on projects that require different Node.js versions.
So, that’s it!
For your convenience, you can find below the final script that is added in you shell configuration file:
Bash:
Zsh:
I hope you enjoyed it!
Thanks for reading and stay tuned!