MongoDB in Docker
221001
Intro
MongoDB is a free and open-source cross-platform document-oriented database program. Classified as a NoSQL database program, MongoDB uses JSON-like documents with schemata. MongoDB is developed by MongoDB Inc. and is published under a combination of the Server Side Public License and the Apache License.
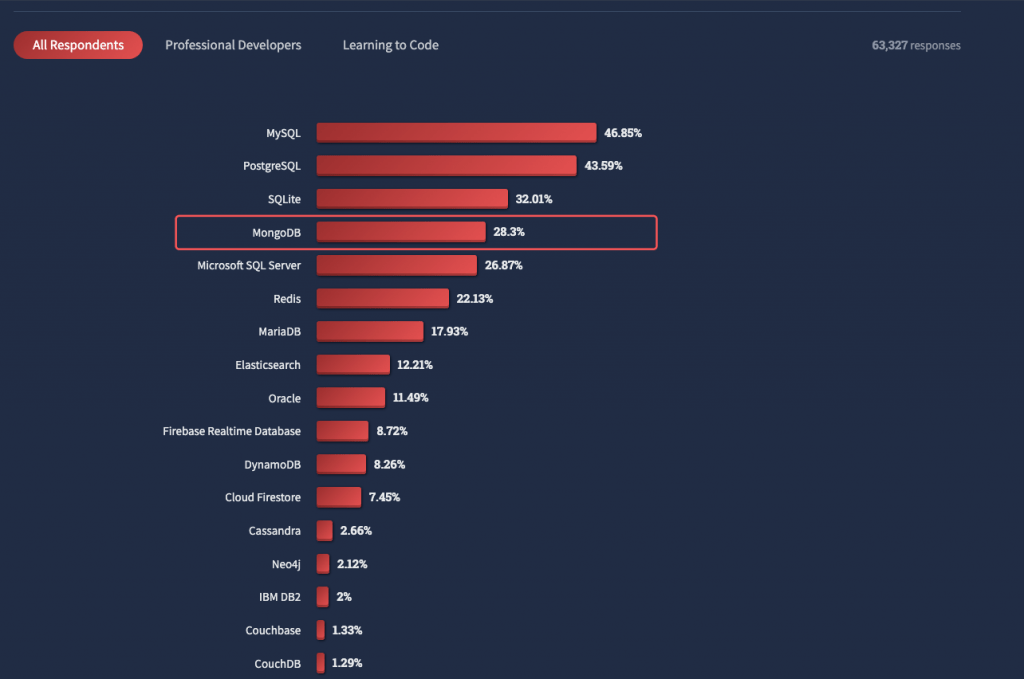
MongoDB is well recognized by developers and it ranks in 1st place amongst NoSQL databases, according to the Stackoverflow Developer Survey 2022.
The flagship of MongoDB is the MongoDB Atlas, a PaaS-based, multi-cloud developer data platform. However, here we are going to deal with MongoDB’s Community Server Edition, a good option for your development experiments with MongoDB.
Below, you will see how easy and fast is to set up a Docker working environment for your MongoDB development projects. And, of course, we are going to use the latest official MongoDB repos at DockerHub.
Prerequisites
- You have to be familiar with Docker, Docker Images, and Containers, and Docker should be installed in your system (preferably a Linux system or a macOS)
Pulling the image
Before pulling the image, it is worth taking a look at the DockerHub. Find the official MongoDB docker images at DockerHub here.
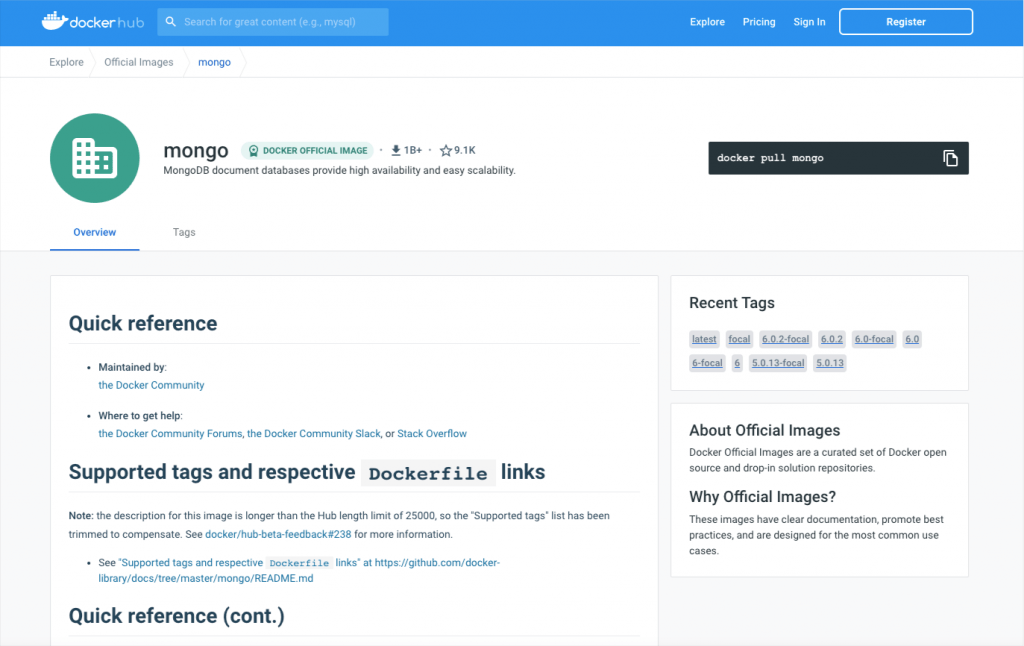
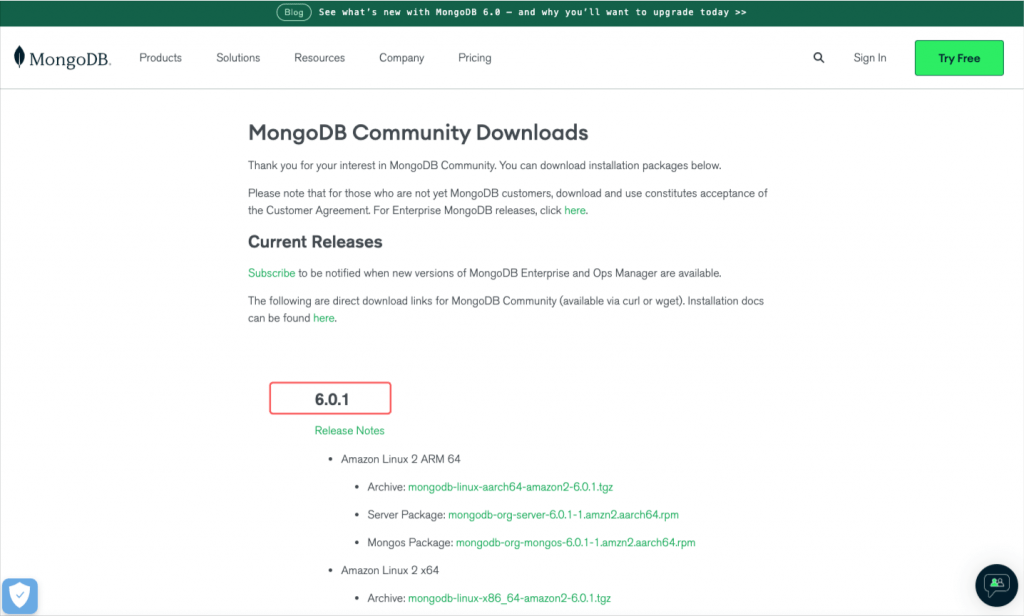
As you can see above, the most recent version available for a docker image is the 6.0.2 version, even the fact that the official MongoDB page, the latest version is the 6.0.1 (as it was when I was writing this post on Oct.1, 2022):
Before proceeding, I think, that it is worth visiting the official page Docker and MongoDB which offers quite detailed yet introductory information.
Pull the image
docker pull mongo
? Note: When you pull an image without specifying a tag name, Docker will try to pull the image tagged latest. in our case, this is about version 6.0.2.
Check that the image has been created in your local Docker repository
docker images
Create a working MongoDB container
$ docker run -d --name mongodb602 -p 27417:27017 -e MONGO_INITDB_ROOT_USERNAME=ruser1 -e MONGO_INITDB_ROOT_PASSWORD=rpassw1 -v $HOME/DOCKER/dockerMongoDB/datafiles602:/data/db mongo:latest
The parameters used here are given to the following table:
| –name: | The name of the container (default: auto-generated). Here we use the container name: “mariadb1093” |
| -d | It runs the container detached – in the background and prints the container ID |
| -p | The port mapping of the host port to the container port. Here we map the default 27017 MariaDB port to the 27417 port of our local host. |
| -e | Here we use 2 environment variables (-e): theMONGO_INITDB_ROOT_USERNAME and MONGO_INITDB_ROOT_PASSWORD to create a user with root permissions with the name “ruser1” and password “rpassw1”. |
| -v | The data volume to use for the database data and log files. Here we use the local folder “$HOME/DOCKER/dockerMongoDB/datafiles602”. The folder has to have been set up with permissions accessible by other users e.g. “sudo chmod -R o+rw datafiles602”. If omitted the database will not be persisted over container recreation. |
After the container creation, you will see the container’s id and also you can check it via the docker ps command:
You can stop the container and start it again using standard docker commands, i.e.:
docker stop mongodb602
docker start mongodb602
Access the container shell.
Access the container shell by executing:
$ docker exec -it mongodb602 bash
Get some info about the Linux distro being used (it’s a Debian/Ubuntu-based version)
Running mongosh from within the container
MongoDB offers us a nice command line tool, the MongoDB Shell (mongosh). mongosh has replaced the Legacy mongo shell, it is included in the docker container implementations, and it is ready for use. According the official documentation:
“The MongoDB Shell, mongosh, is a fully functional JavaScript and Node.js 16.x REPL environment for interacting with MongoDB deployments. You can use the MongoDB Shell to test queries and operations directly with your database.”
? Note that the mongosh is also available as a standalone product and it can be downloaded and installed in your system (e.g. your host system). You can download it here, and you can find more info here on how to use it to connect to a MongoDB instance.
Connect via mongosh as user “ruser1” and provide the root’s password “rpassw1”:
root@b3d392e5067f:/# mongosh --username ruser1 --password rpassw1

Fundamental information
Below, I provide just a few examples of how to start using it from within the container. Note, that by default the mongosh is initially connected to the “test” database:
That’s it for now! You have a working MongoDB Docker container!
Note: You might also be interested in how one can use some rules to validate a MongoDB schema, so the following post of mine deals with this subject:

I hope you enjoyed it ? !
Thanks for reading and stay tuned!
