
‘Official’ WordPress installation on a Synology NAS Server using the Package Center

190919
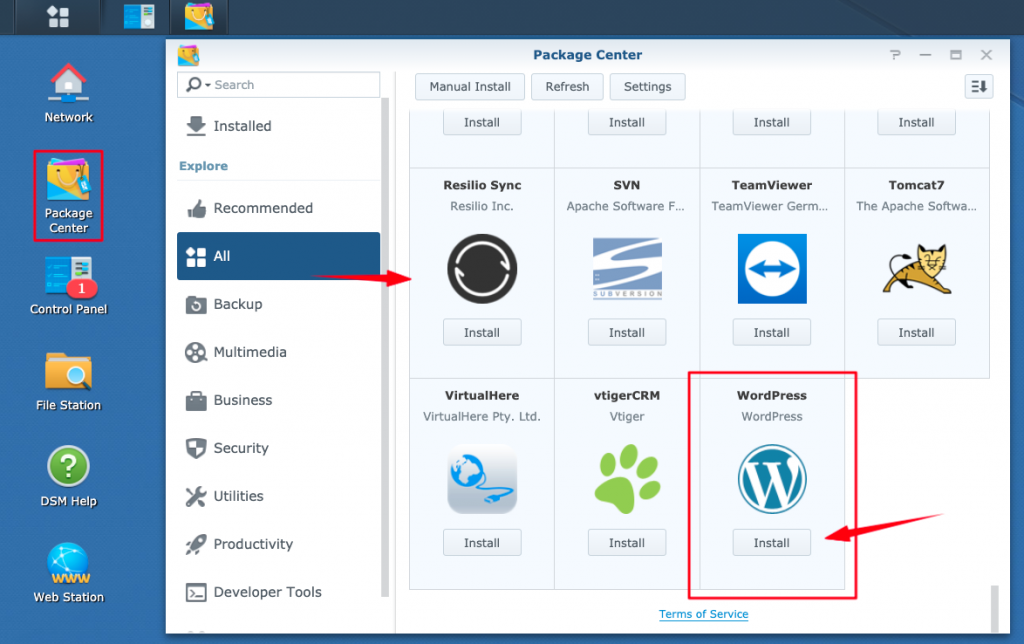
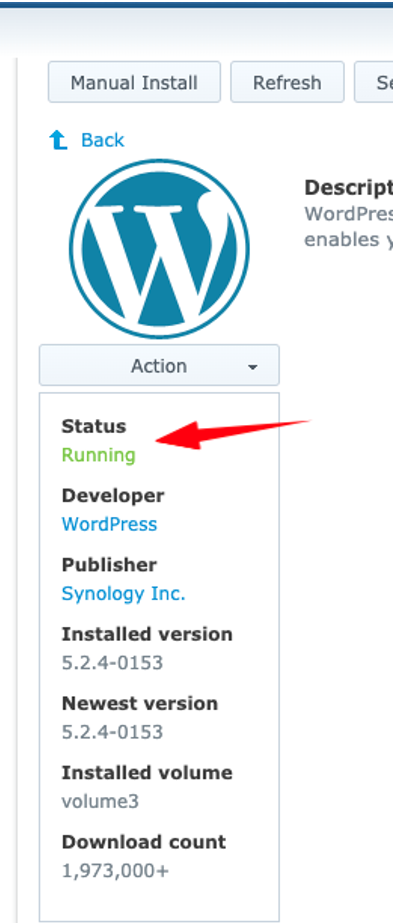
Use your browser and access the web GUI of your Synology NAS server. Open the Package Center, find the WordPress package, and click Install.
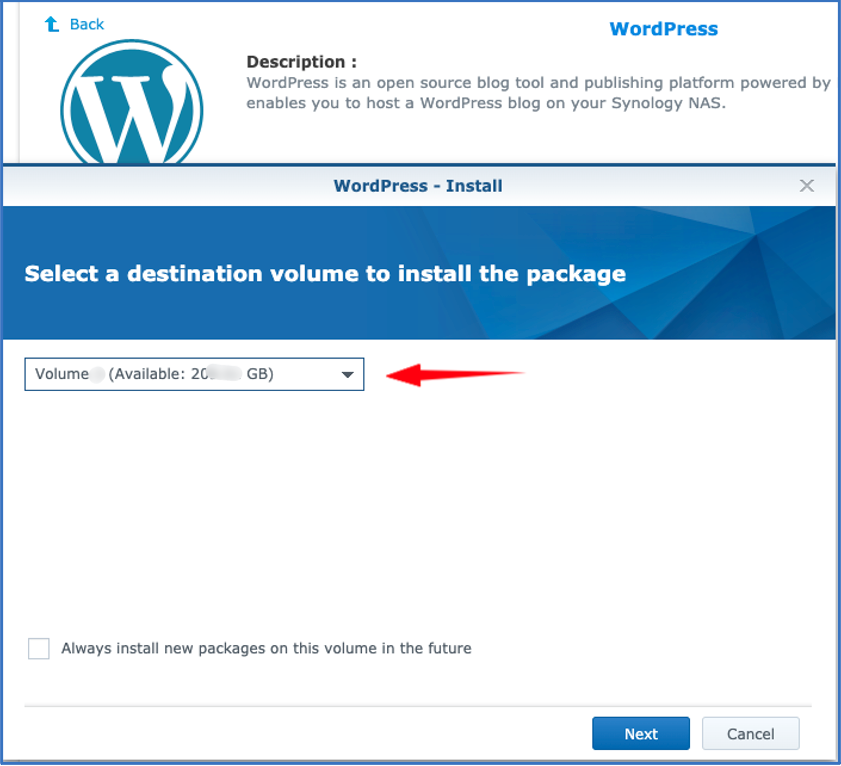
If you will be warned that other packages are also required, then accept their installations, too. After that, the installation process is quite simple, and you can just follow the instructions:
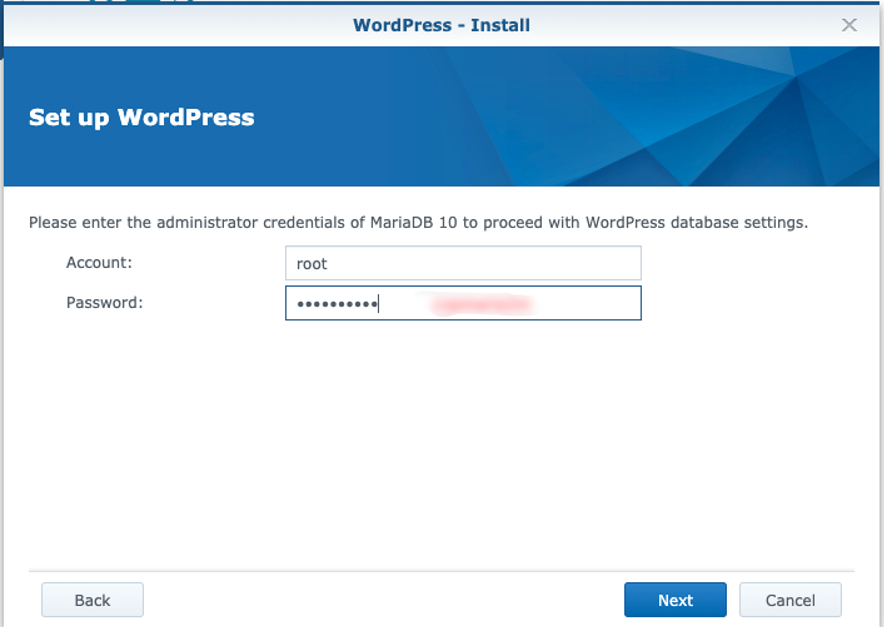
You will have to provide the administrator (root) username and password for MariaDB.
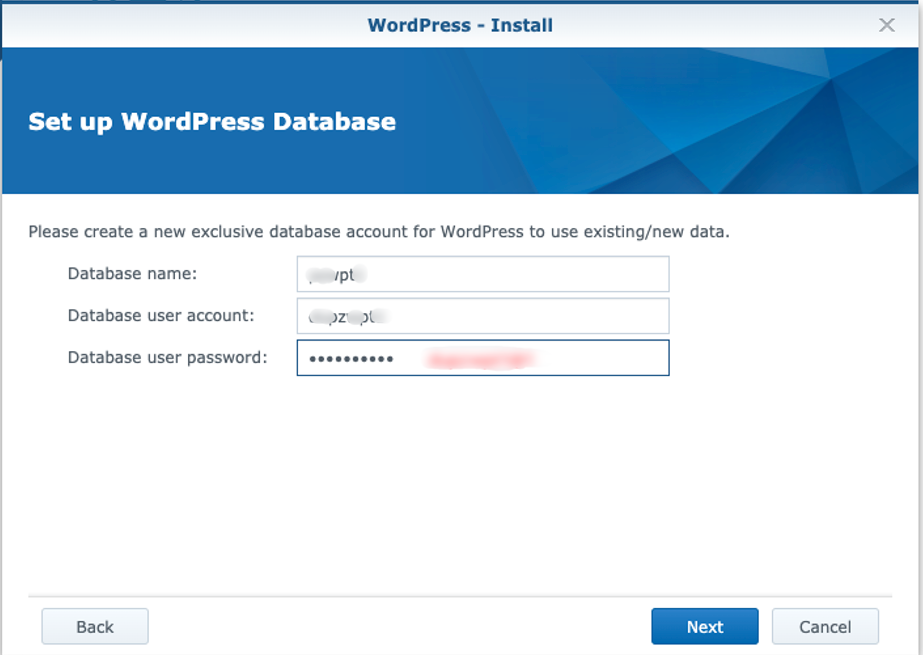
Next, you will have also to provide the MariaDB database name, as well as the owner and his/her password for that database. This actually, will be your site’s database.
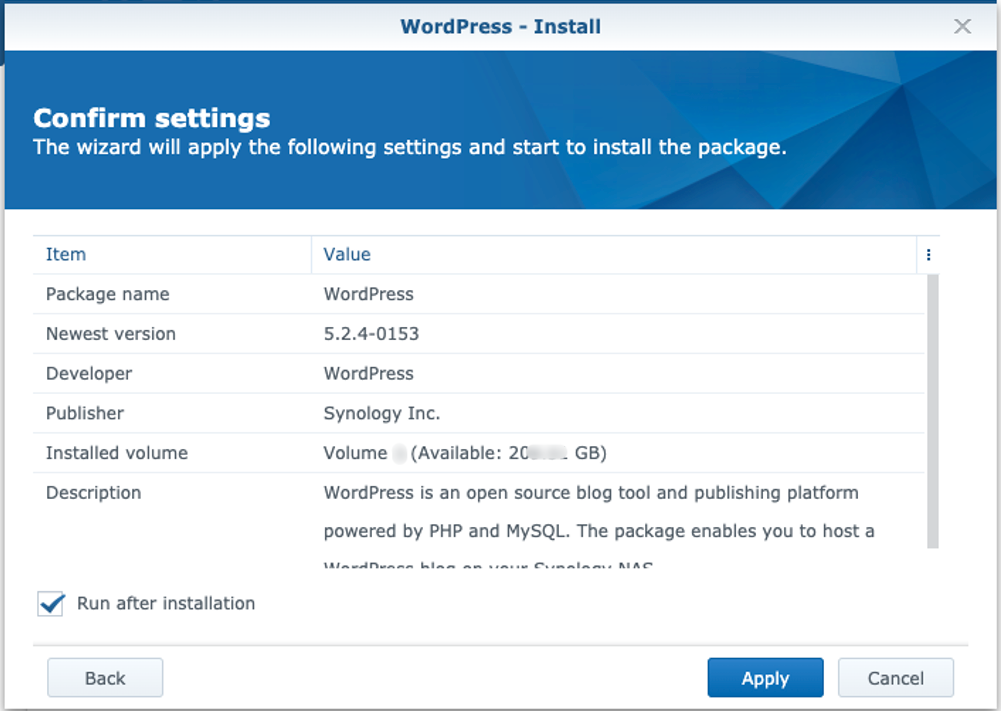
Finally, you will have to confirm your choices.
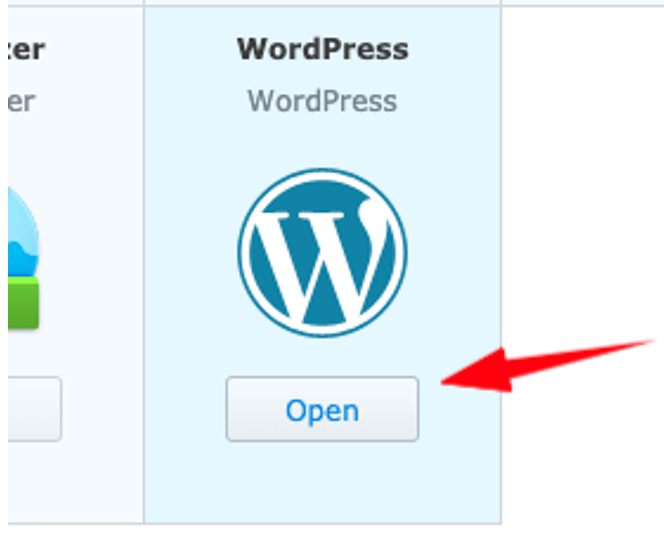
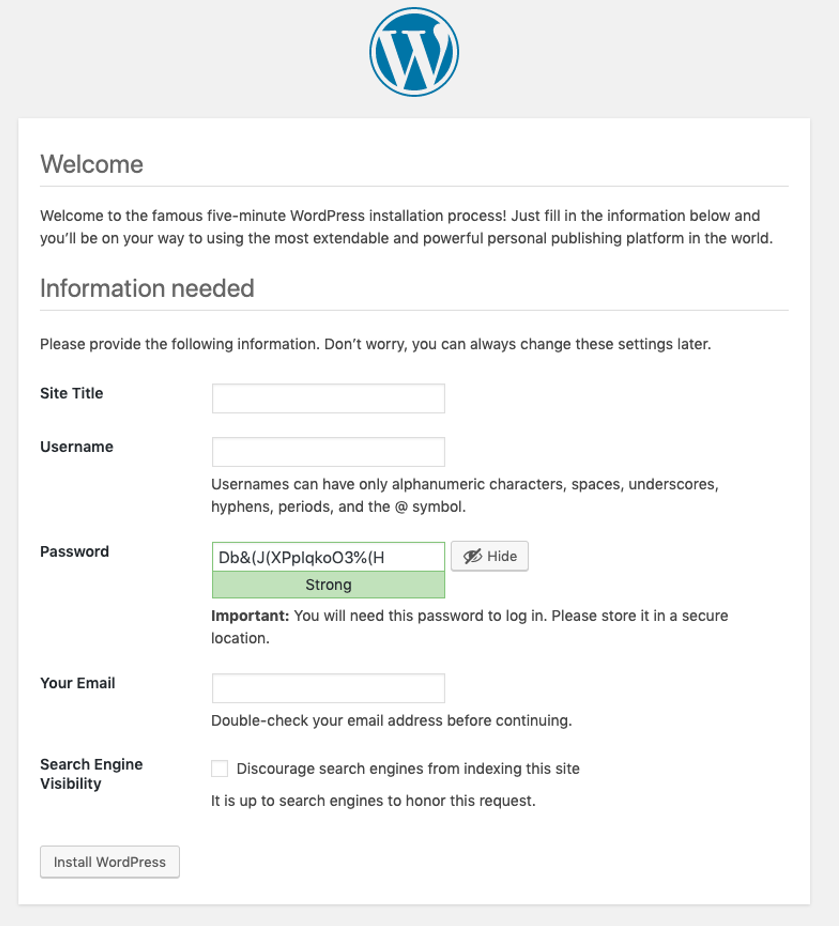
Clicking Open above, fires the last step of the installation, which is actually the main part of the ‘famous 5 minutes installation’. What it does, is just to open the install.php script in your browser, e.g.:
http://192.168.1.214/wordpress/wp-admin/install.php
or
http://192.168.0.214/wp-admin/install.php
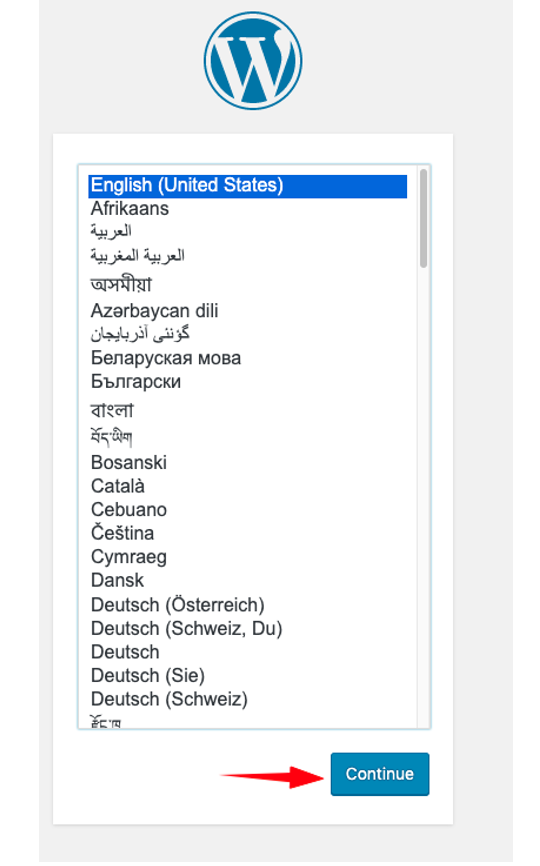
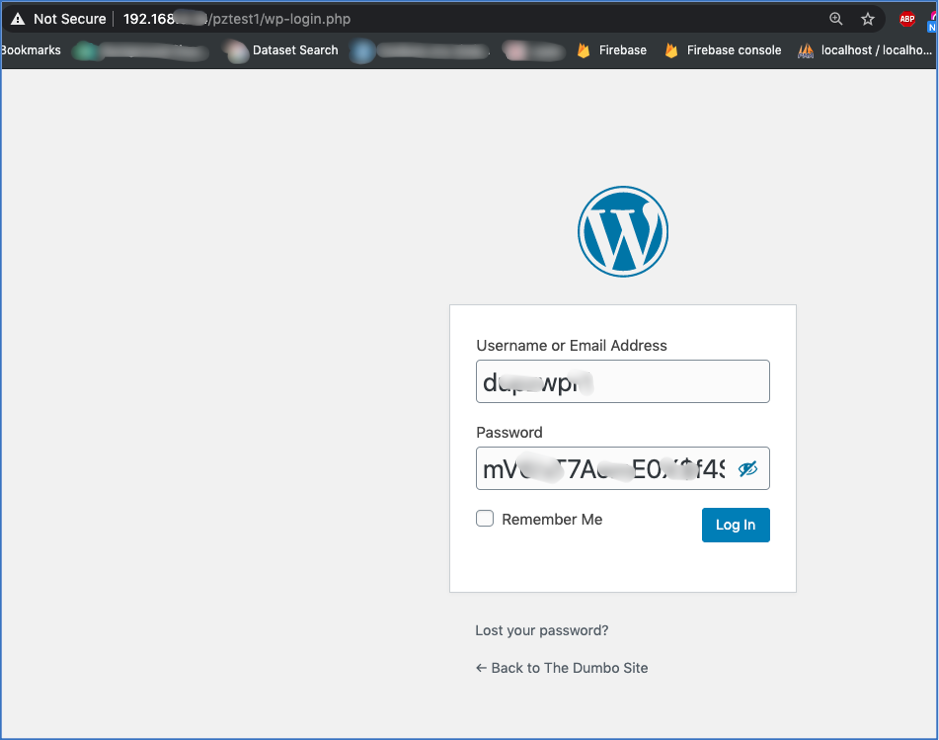
Then you will be asked for WordPress admin username and password:
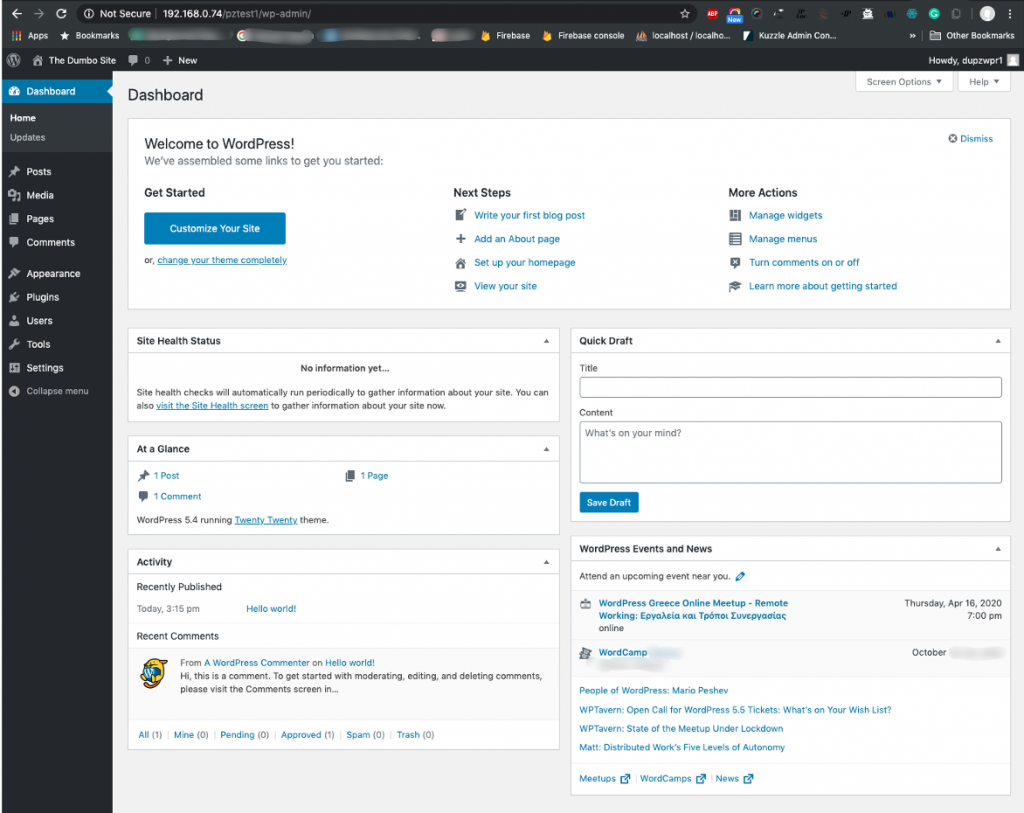
After that, you will be able to login and see the WordPress site’s Dashboard
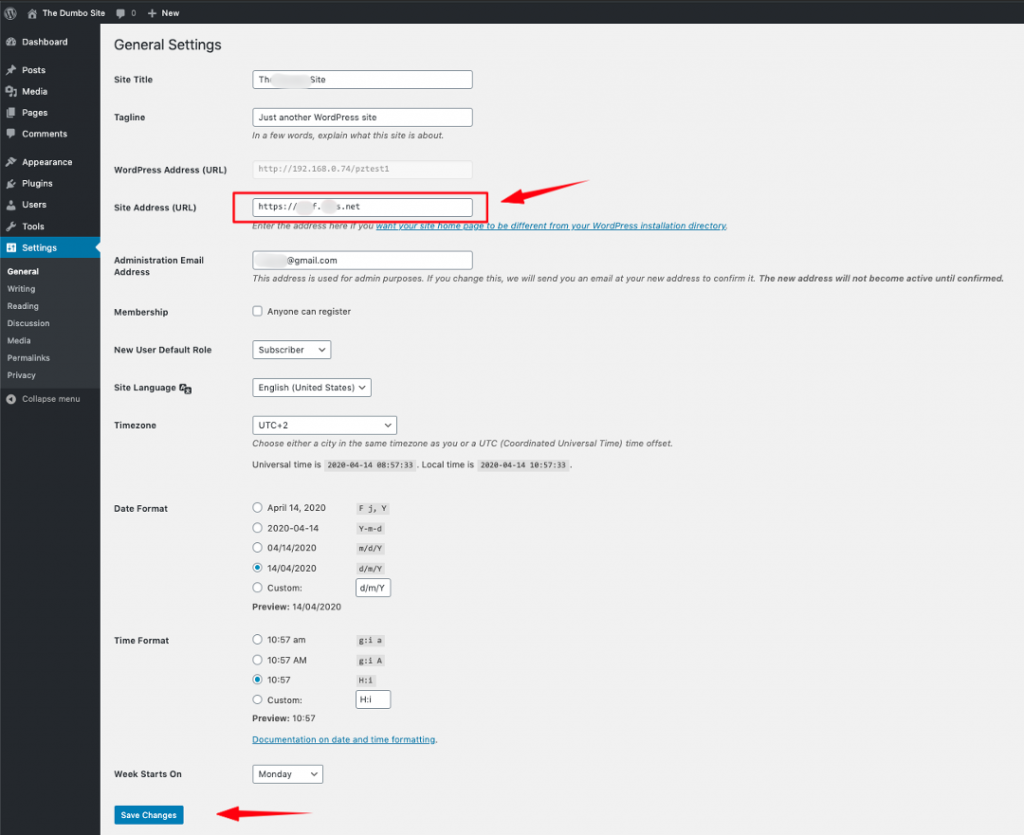
Finally, you can continue setting up your site, providing all the necessary inputs, e.g. Site Title, Tagline, WordPress and Site Address URL, administrator’s valid email, Site Language, Date and Time Format, etc.
That’s it!
Thank you for reading!