Install / Update a new Apache (httpd) server (version 2.4.462) on MAC Mojave using Homebrew
201117
A. Check/inspect preinstalled Apache server on MAC
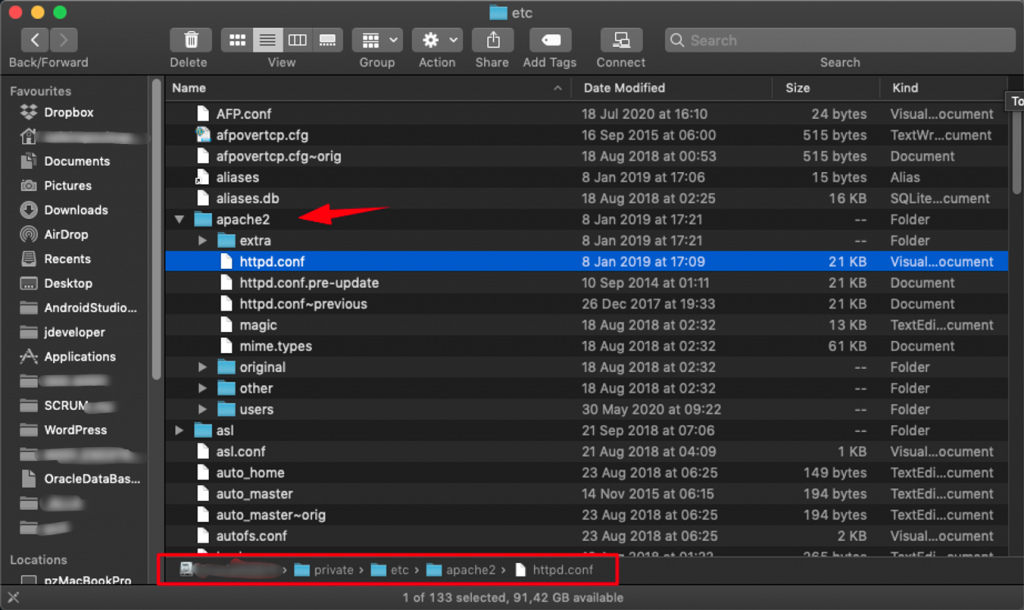
The macOS Mojave comes with Apache pre-installed. The preinstalled Apache version for [Mojave 10.14.5 (18F132)] is Apache/2.4.34 (Unix), and it is located into /etc/apache2 folder.
Check its version:
$ httpd -v
sh-3.2#
sh-3.2# httpd -v
Server version: Apache/2.4.34 (Unix)
Server built:   Feb 22 2019 20:20:11
sh-3.2#
sh-3.2#
sh-3.2# apachectl configtest
AH00558: httpd: Could not reliably determine the server's fully qualified domain name, using pzMacBookPro.local. Set the 'ServerName' directive globally to suppress this message
Syntax OK
sh-3.2#
sh-3.2#
sh-3.2#
Stopping / Starting Apache server
$ sudo apachectl stop
$ sudo apachectl start
sh-3.2#
sh-3.2# apchectl stop
sh: apchectl: command not found
sh-3.2# apachectl stop
sh-3.2#
sh-3.2# httpd -v
Server version: Apache/2.4.34 (Unix)
Server built:   Feb 22 2019 20:20:11
sh-3.2#
sh-3.2# apachectl start
sh-3.2#
sh-3.2#
See / Check Apache Configuration file – httpd.conf
/etc/apache2 is the default main Apache server folder.
So, the full pathname is: /private/etc/apache2/httpd.conf
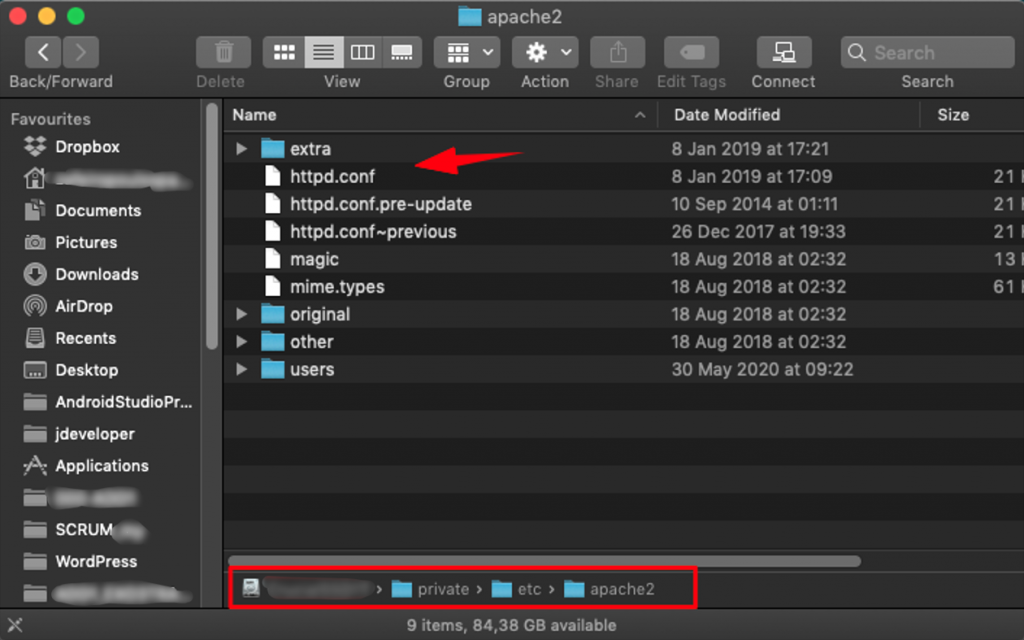
You can find the full httpd.conf file here.
Start (built-in) Apache server and check via localhost
Start built-in Apache Server
➜  ~ apachectl start
This operation requires root.
➜  ~ sudo su
Password:
sh-3.2#
sh-3.2# apachectl start
sh-3.2#
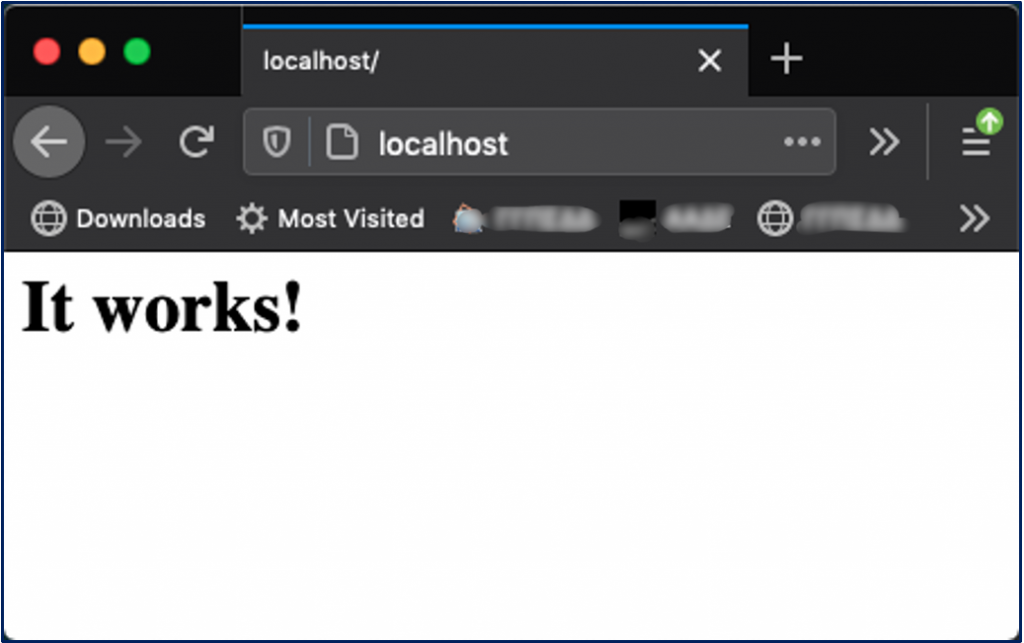
Check if Apache server works OK by using a browser:
http://localhost/
Fundamental httpd / apache server commands:
apachectl start
apachectl stop
apachectl restart
apachectl configtest
httpd -v
B. Disable built-in Apache Server and Install a new Apache server via brew – Homebrew
As we have said, Mac OS X 10.14 Mojave comes with Apache pre-installed. However, instead of using the delivered version, we’re going to install Apache via Homebrew and then configure it to run on port 80.
Here, we are going to disable the distributed (pre-installed) version of Apache and use a setup entirely from Homebrew.
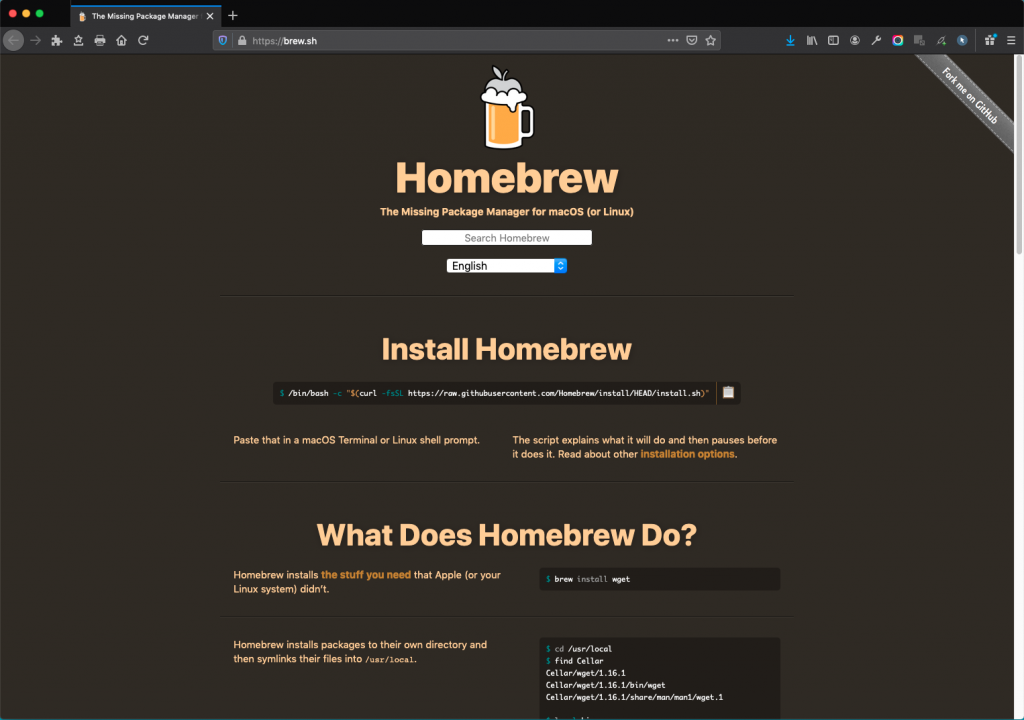
Such an approach allows more flexibility for versioning and will continue to work across all macOS versions. That means that we can very easily keep updating with the newest versions of packages installed via Homebrew – independently of the MC OS X updates.
Disable built-in Apache server from being automatically started
The first we have to do is to disable the pre-installed Apache from running automatically. The following commands, first start it, and then unloads it from autostart tup.
$ sudo apachectl start
$ sudo launchctl unload -w /System/Library/LaunchDaemons/org.apache.httpd.plist 2>/dev/null
You can confirm it by looking at disabled.plist file:
$ cat /private/var/db/com.apple.xpc.launchd/disabled.plist
The output of the command must contain something like:

You can also double-check that it is disabled by:
$
$ ps ax | grep httpd
60162 s000  S+     0:00.00 grep httpd
$
$ ps ax | grep apache
60167 s000  S+     0:00.00 grep apache
$
So, we have disabled httpd from the autostarting process. Now we will proceed with a fresh Apache installation.
Prerequisites and obtaining initial information
Prerequisites
- Updated XCODE version for the MAC OS X version being installed
- Xcode Command line tools
e.g.
$ xcode-select –install
- Updated brew (Homebrew) version
e.g.
$ /bin/bash -c "$(curl -fsSL https://raw.githubusercontent.com/Homebrew/install/master/install.sh)"
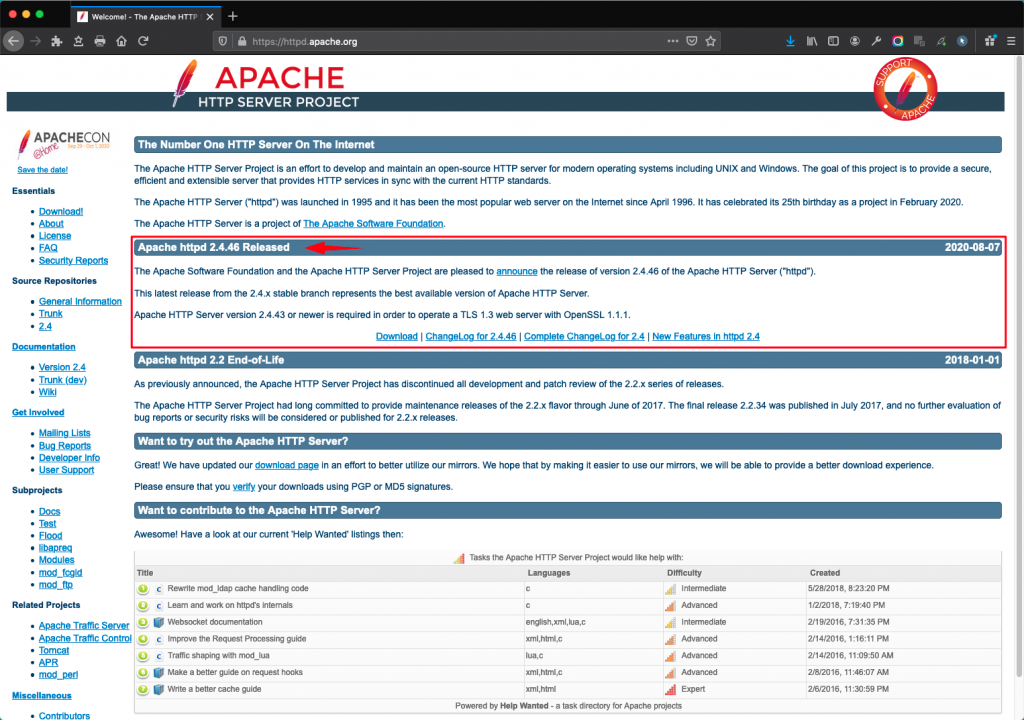
Now we can check the latest Apache server version at:
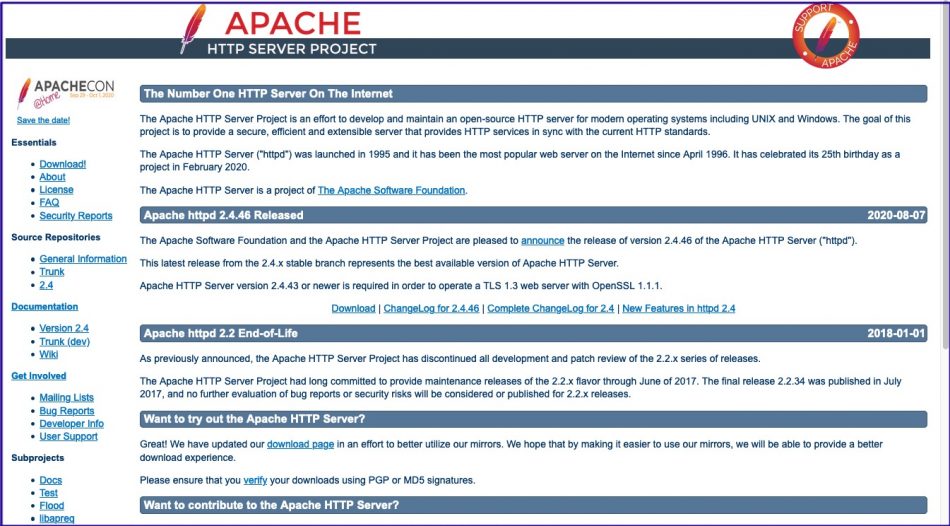
https://httpd.apache.org/
Worth to check also:
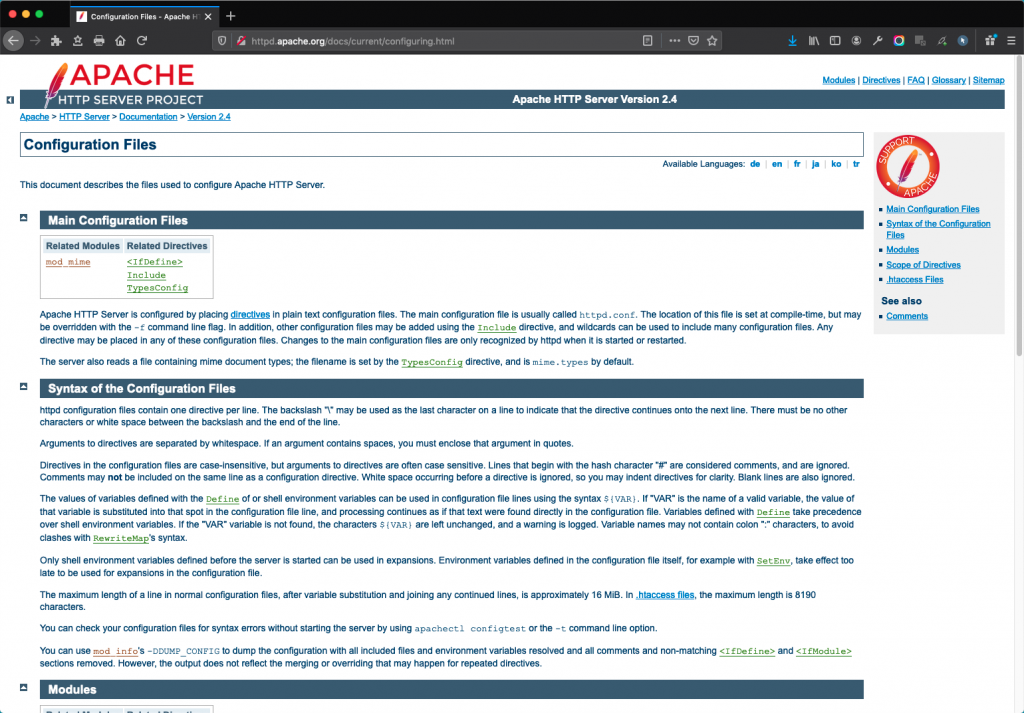
Apache configuration files
http://httpd.apache.org/docs/current/configuring.html
Take a look also at:
https://formulae.brew.sh/formula/httpd

Installation
$ brew install httpd
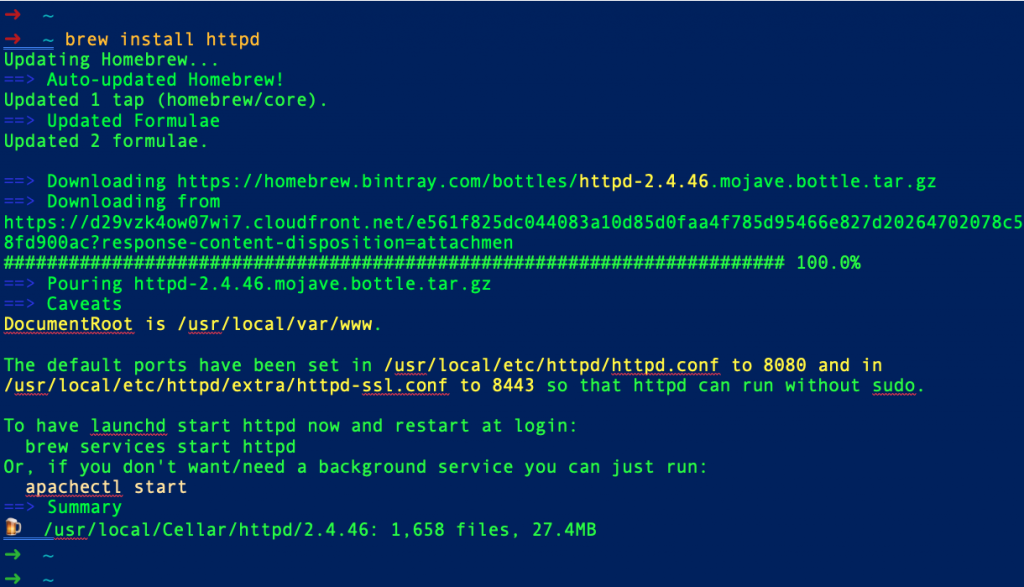
Start it and make it starting automatically:
$ brew services start httpd

Alternatively, you can start it by:
$ apachectl start
Now you can check whether the new Apache server works OK by using a browser and the default l8080 port at localhost:
http://localhost:8080

Fundamental httpd / apache server commands
besides the known commands we have previously seen:
apachectl start
apachectl stop
apachectl restart
apachectl configtest
httpd -v
Now we can use the following brew commands:
brew services stop httpd
brew services start http
C. Making configuration adjustments
The new Apache version installed via brew is Apache/2.4.46 (Unix) and the layout of the installation is located at:
/usr/local/etc/httpd
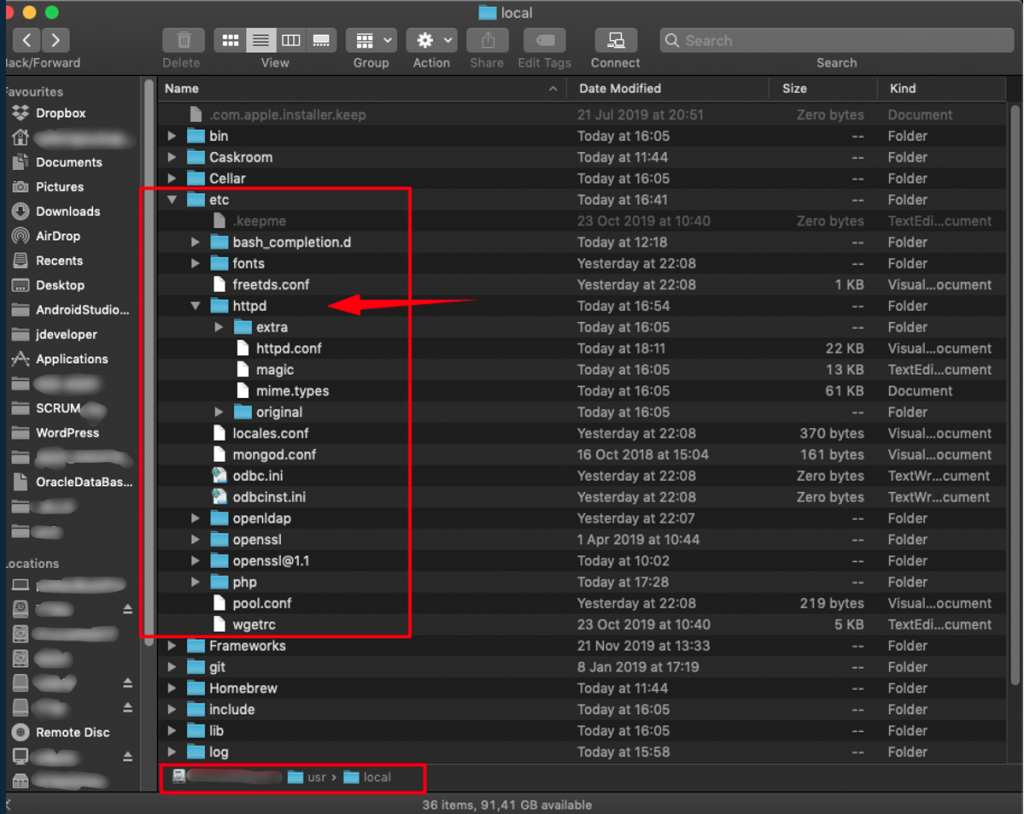
This means, that for Homebrew installations, the default configuration file is:
/usr/local/etc/httpd/httpd.conf

Change listen port from 8080 to 80
“The default ports have been set in /usr/local/etc/httpd/httpd.conf
to 8080
and in
/usr/local/etc/httpd/extra/httpd-ssl.conf
to 8443 so that httpd can run without sudo”.
So, go to /usr/local/etc/httpd/httpd.conf file, open it for editing, find the line ‘Listen 8080’ and change it to ‘Listen 80’.

Check configuration and restart:
$ apachectl restart
$ apachectl configtest
➜  ~
➜  ~ apachectl configtest
AH00558: httpd: Could not reliably determine the server's fully qualified domain name, using pzMacBookPro.local. Set the 'ServerName' directive globally to suppress this message
Syntax OK
➜  ~
➜  ~ apachectl restart
AH00558: httpd: Could not reliably determine the server's fully qualified domain name, using pzMacBookPro.local. Set the 'ServerName' directive globally to suppress this message
➜
Then check in your browser:

Enable the php for Apache
It is supposed that you have also already installed the PHP via HomeBrew. (See the related post at … [tbu]). So, if you have already done it, you probably might have noticed some ‘Caveats’:
==> Caveats
==> php
To enable PHP in Apache add the following to httpd.conf and restart Apache:
LoadModule php7_module /usr/local/opt/php/lib/httpd/modules/libphp7.so
<FilesMatch \.php$>
SetHandler application/x-httpd-php
</FilesMatch>
Finally, check DirectoryIndex includes index.php
DirectoryIndex index.php index.html
The php.ini and php-fpm.ini file can be found in:
/usr/local/etc/php/7.4/
To have launchd start php now and restart at login:
brew services start php
Or, if you don’t want/need a background service you can just run:
php-fpm
So, again, go to /usr/local/etc/httpd/httpd.conf file, open it for editing, find the section containing LoadModule directives, and add the line we saw above:
LoadModule php7_module /usr/local/opt/php/lib/httpd/modules/libphp7.so

NB: Please be aware that you have to keep updating this line with correct libphp.so file. Here, we’ve used the libphp7.so file, but this could not be the correct version after PHP update to a newer version. So, in case you receive an error like:
httpd: Syntax error on line 186 of /usr/local/etc/httpd/httpd.conf: Cannot load /usr/local/opt/php/lib/httpd/modules/libphp7.so into server
This is most likely that there is an update version of PHP installed in your system. i.e. version 8.0.3, like in the example below:
➜  ~ php -v
PHP 8.0.3 (cli) (built: Mar  4 2021 20:39:15) ( NTS )
Copyright (c) The PHP Group
Zend Engine v4.0.3, Copyright (c) Zend Technologies
    with Zend OPcache v8.0.3, Copyright (c), by Zend Technologies
➜  ~
To use the correct libphp.so file, please check for it into the /usr/local/opt/php/lib/httpd/modules folder:
➜  ~ ls -al /usr/local/opt/php/lib/httpd/modules
total 28128
drwxr-xr-x  3 zafeiropoulospanos  staff        96 Mar  2 18:37 .
drwxr-xr-x  3 zafeiropoulospanos  staff        96 Mar  2 18:37 ..
-r--r--r--  1 zafeiropoulospanos  staff  14398788 Mar 27 13:27 libphp.so
➜  ~ apachectl start
➜  ~
Then you can use the one found there and load it in you Apache httpd.conf configuration file i.e.:
LoadModule php_module /usr/local/opt/php/lib/httpd/modules/libphp.so
After that, we have again to restart apache:
➜  ~ apachectl restart
AH00558: httpd: Could not reliably determine the server's fully qualified domain name, using pzMacBookPro.local. Set the 'ServerName' directive globally to suppress this message
➜
Ensure that you have properly configured the DocumentRoot directive
Again, inside the /usr/local/etc/httpd/httpd.conf file, locate and ensure that your default DocumentRoot directive points to the appropriate folder (in this case this is the /usr/local/var/www folder.

You can always access your Apache configuration file at /usr/local/etc/httpd/httpd.conf. Moreover, here is an adjusted working version of the httpd.conf. However, below, you can find some points inside this file (colored differently) that are worth paying attention to, for further adjustments.
# ServerRoot: The top of the directory tree under which the server’s
# configuration, error, and log files are kept.
#
# Do not add a slash at the end of the directory path. If you point
# ServerRoot at a non-local disk, be sure to specify a local disk on the
# Mutex directive, if file-based mutexes are used. If you wish to share the
# same ServerRoot for multiple httpd daemons, you will need to change at
# least PidFile.
# Configuration and logfile names: If the filenames you specify for many
# of the server’s control files begin with “/” (or “drive:/” for Win32), the
# server will use that explicit path. If the filenames do *not* begin
# with “/”, the value of ServerRoot is prepended — so “logs/access_log”
# with ServerRoot set to “/usr/local/apache2” will be interpreted by the
# server as “/usr/local/apache2/logs/access_log”, whereas “/logs/access_log”
# will be interpreted as ‘/logs/access_log’.
# Listen: Allows you to bind Apache to specific IP addresses and/or
# ports, instead of the default. See also the <VirtualHost>
# directive.
#
# Change this to Listen on specific IP addresses as shown below to
# prevent Apache from glomming onto all bound IP addresses.
#
#Listen 12.34.56.78:80
Listen 80
# ‘Main’ server configuration
#
# The directives in this section set up the values used by the ‘main’
# server, which responds to any requests that aren’t handled by a
# <VirtualHost> definition. These values also provide defaults for
# any <VirtualHost> containers you may define later in the file.
#
# All of these directives may appear inside <VirtualHost> containers,
# in which case these default settings will be overridden for the
# virtual host being defined.
#
. . .
. . .
#
# ServerName gives the name and port that the server uses to identify itself.
# This can often be determined automatically, but we recommend you specify
# it explicitly to prevent problems during startup.
#
# If your host doesn’t have a registered DNS name, enter its IP address here.
#
#ServerName www.example.com:8080
#
# Supplemental configuration
#
# The configuration files in the /usr/local/etc/httpd/extra/ directory can be
# included to add extra features or to modify the default configuration of
# the server, or you may simply copy their contents here and change as
# necessary.
. . .
. . .
# Virtual hosts
#—————–201120————————————
#Include /usr/local/etc/httpd/extra/httpd-vhosts.conf
Include /usr/local/etc/httpd/extra/httpd-vhosts.conf
#—-——————————————————-
That’s it!
Thank you for reading!
