
IntelliJ IDEA (Community Edition) – working with Spring Boot
 – working with Spring Boot")
220423
Intro
In one of my posts [here], I sow how you can set up VS Code as your development environment for the Java Spring Boot framework As I’ve mentioned there, the IntelliJ IDEA from JetBrains is also an awesome IDE to work with your Java Projects. Though, the free Community Edition lacks built-in support for the Spring Boot framework, something that is true for the paid versions [check the comparison here]. However, if you don’t like to go for the paid version, a solution is to install and use the Spring Intilializr and Assistant plugin.
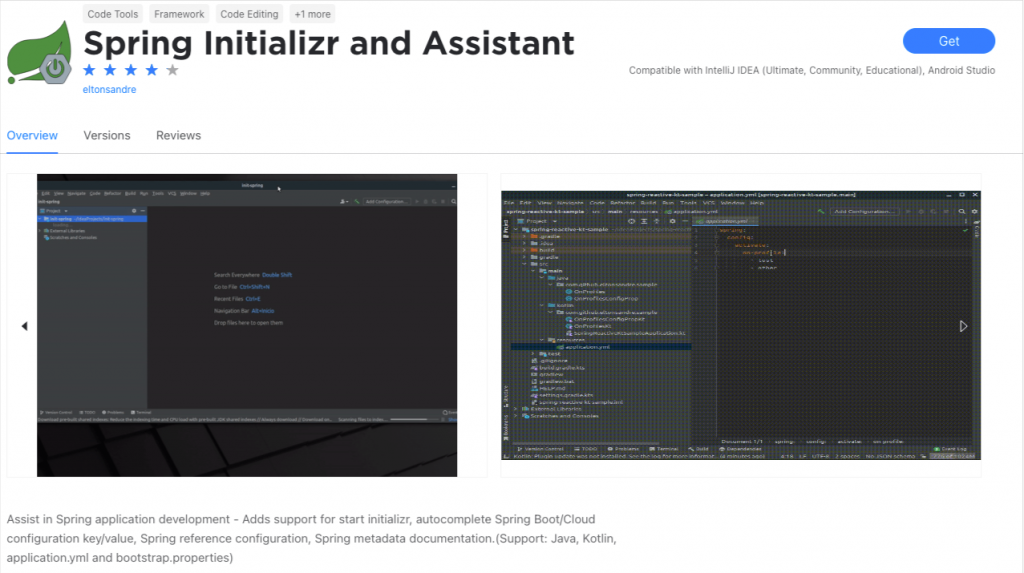
In this post, we will see how we can add the Spring Intilializr and Assistant plugin and how we can use it to set up our Spring Boot development environment, based on IDEA IntelliJ. Note that it is supposed that you have already installed IDEA IntelliJ on your machine and you have gained enough familiarity with it. However, you can always download it here.
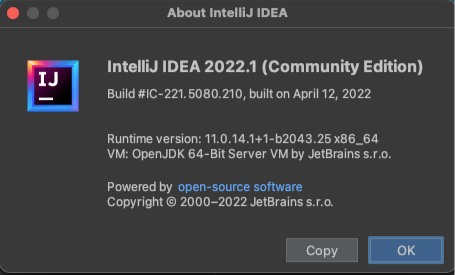
The version which is being in this post is: IntelliJ IDEA 2022.1 (Community Edition) – Build #IC-221.5080.210, built on April 12, 2022:
Spring Intilializr and Assistant plugin installation
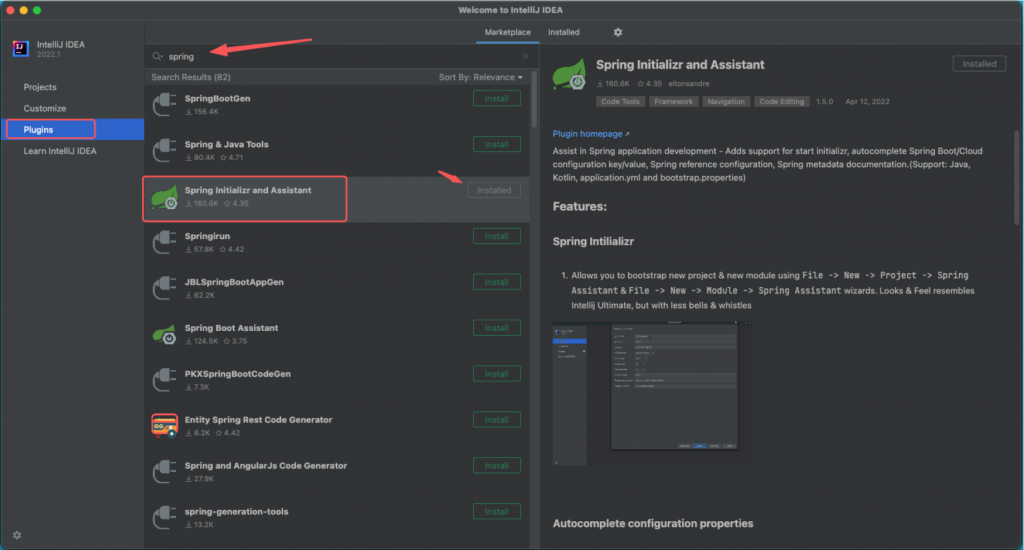
We can add the Spring Intilializr and Assistant plugin very easily without leaving the IntelliJ IDE. Go to IntelliJ Setting/Preferences, select the Plugins tab, on the left, and search for the Spring Intilializr and Assistant plugin in the Marketplace. [To see more about how to add IntelliJ plugins for Marketplace see official documentation here].
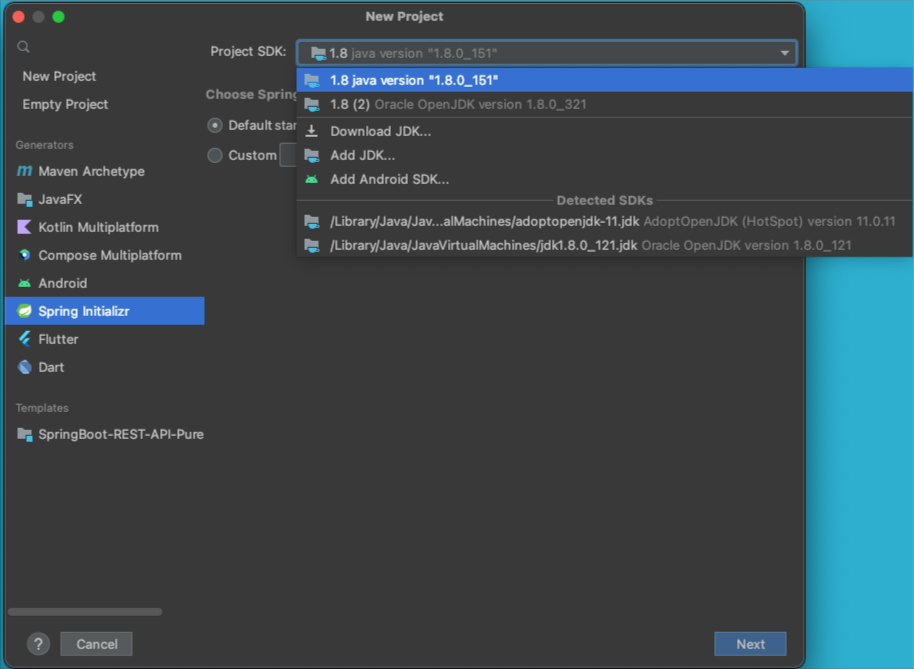
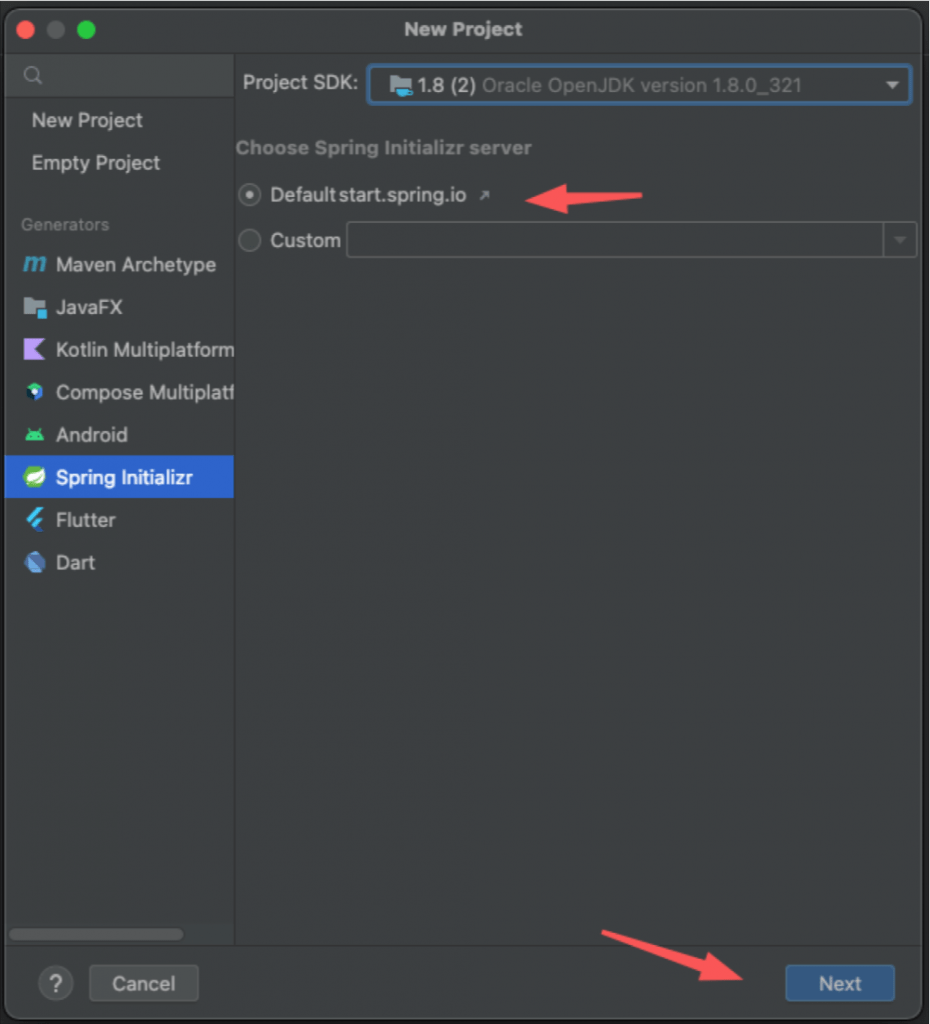
That’s it. We can now start using it by setting uo a new Spring Boot project. To do so, go to File-> New -> Project…
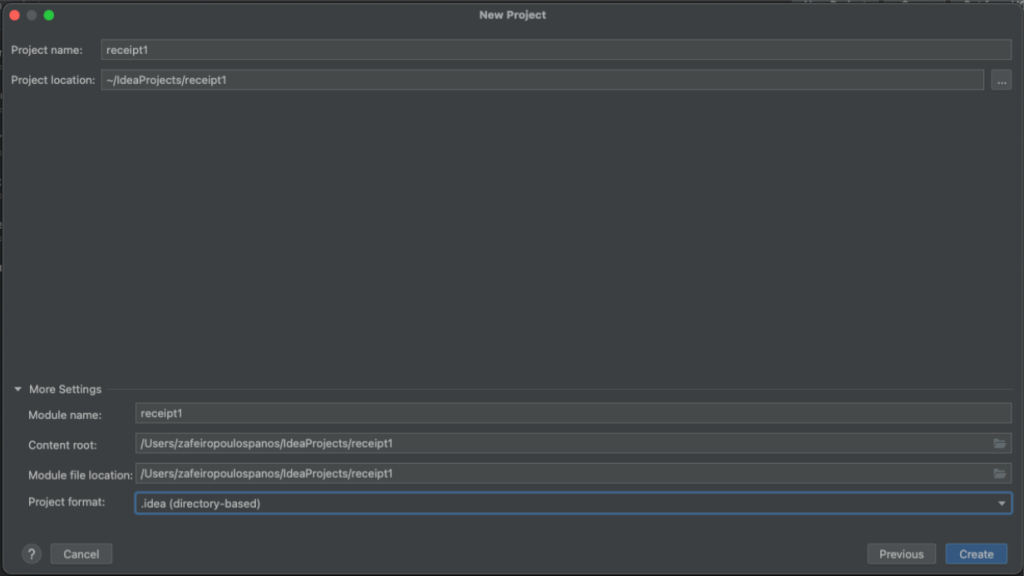
Creating a new Java Spring Boot project with Spring Intilializr


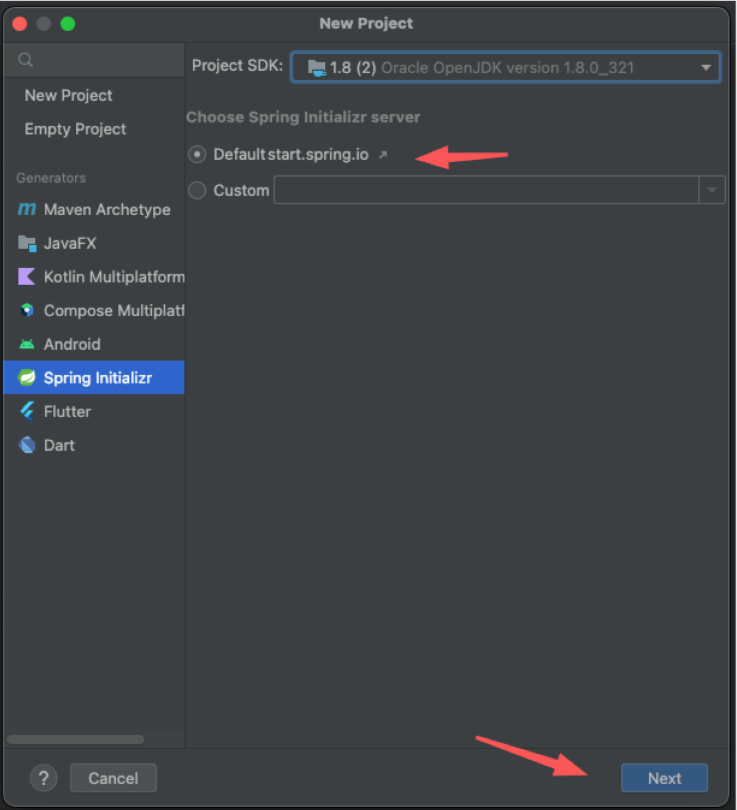
Then, following the wizard, you can select the basic settings for your new project. i.e.:
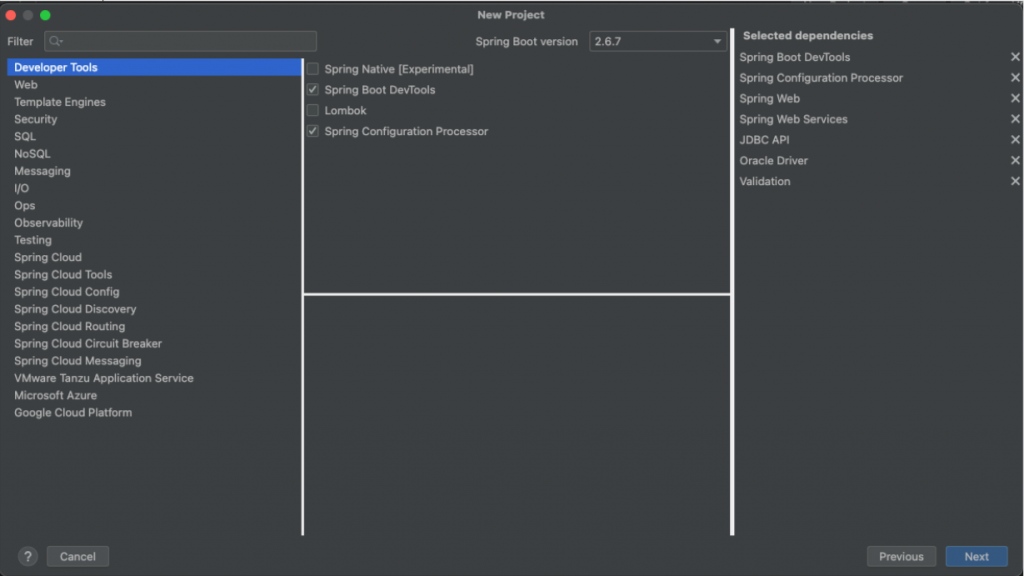
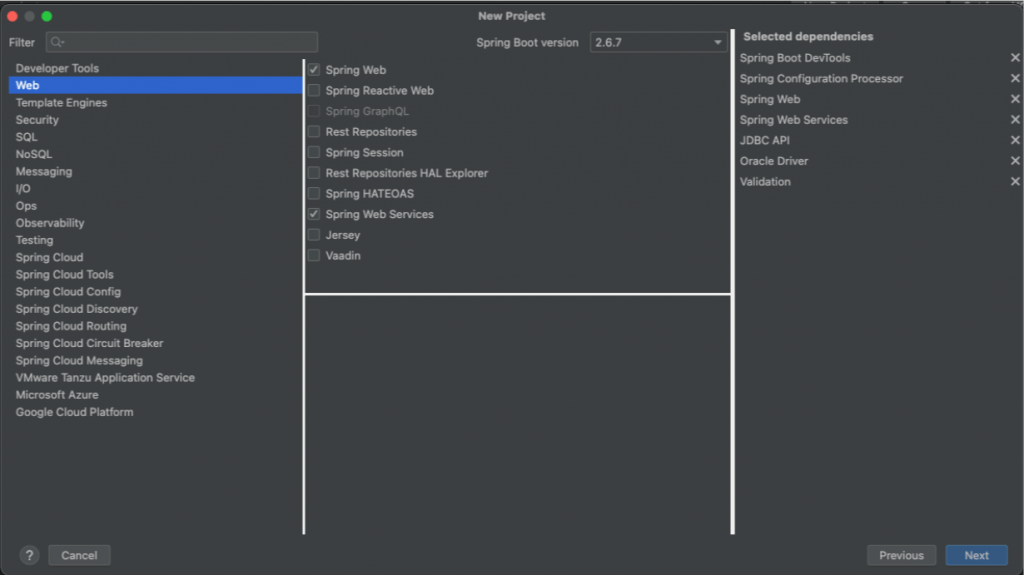
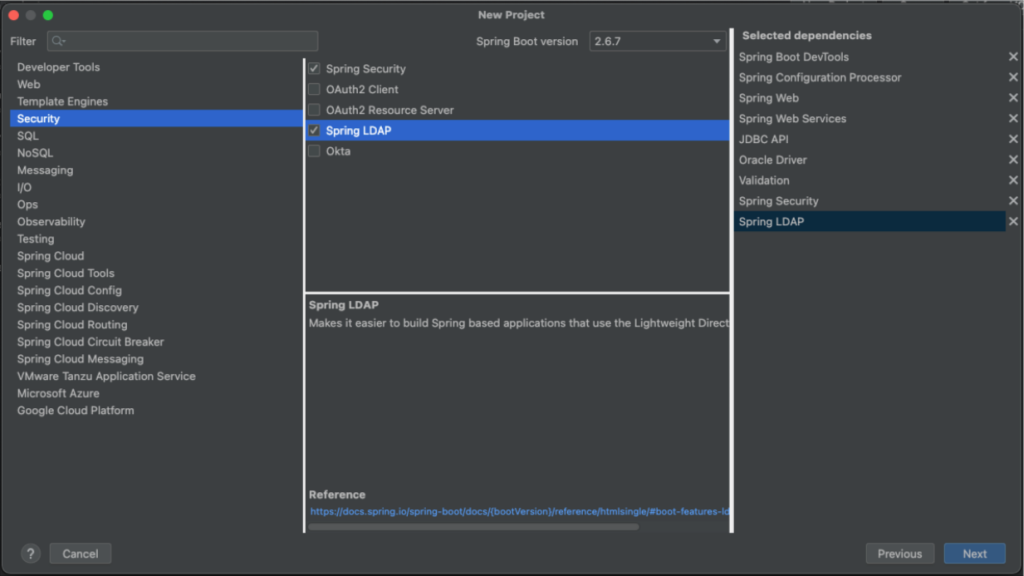
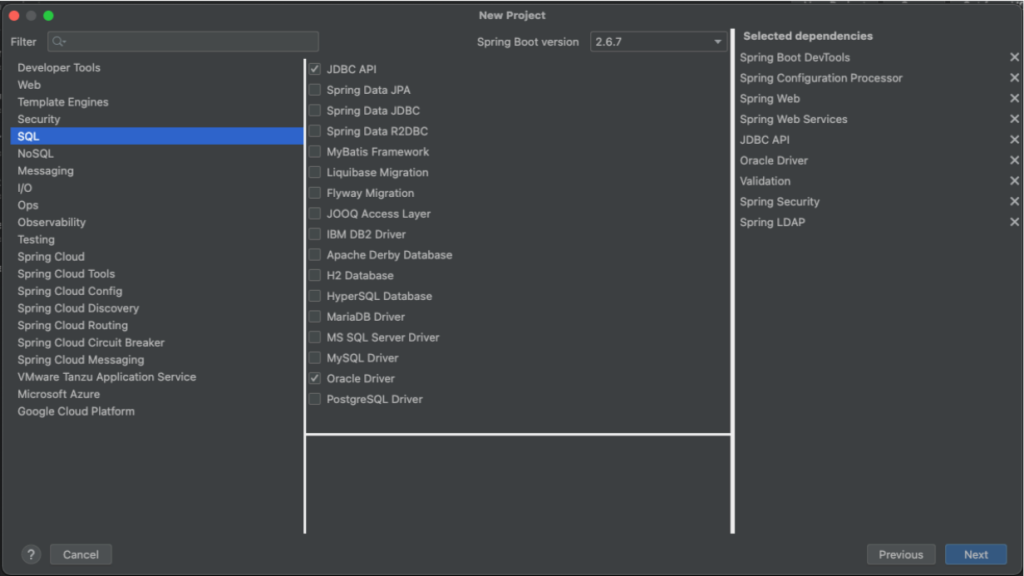
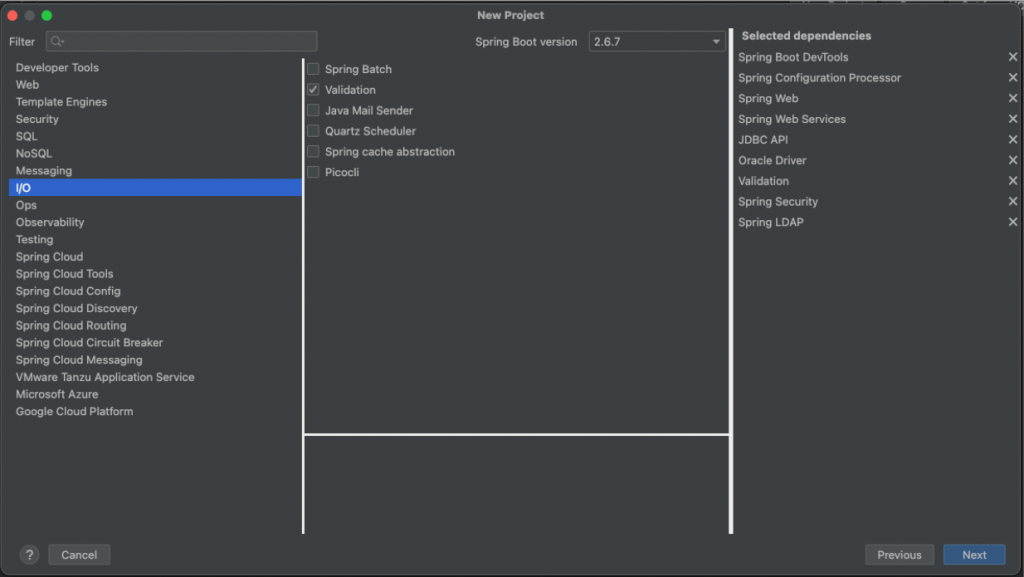
Then you have to select one-by-one the dependencies that are suitable for your project. For instance:
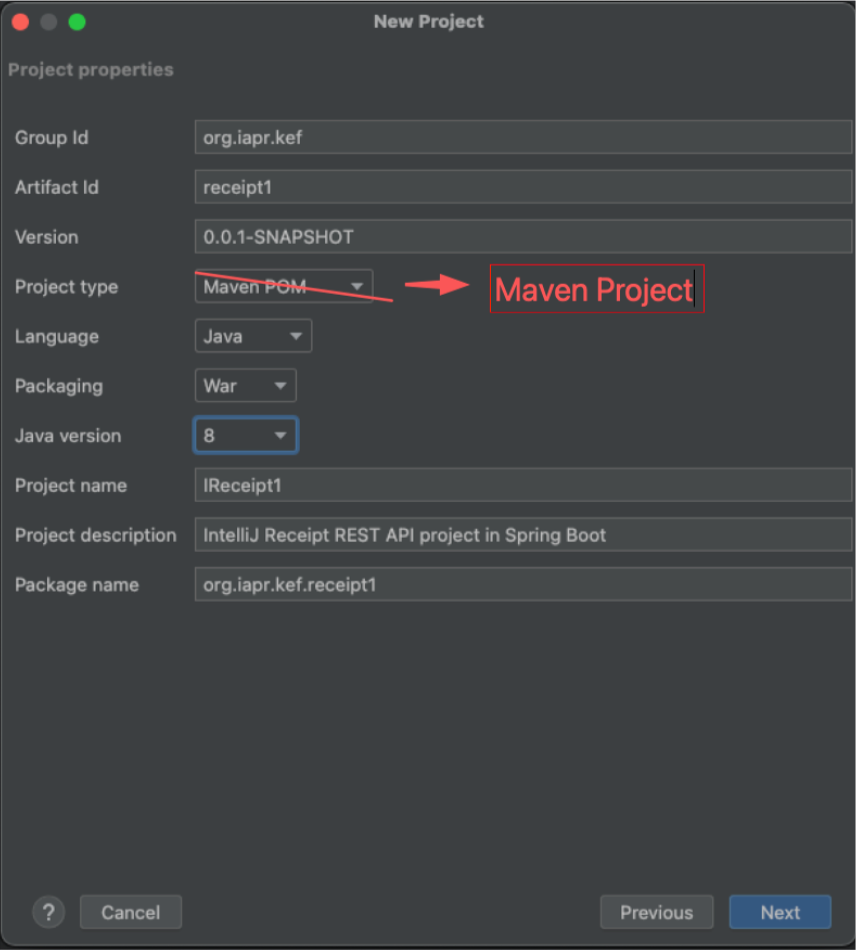
Finally, you have to set up your project artifacts, i.e:
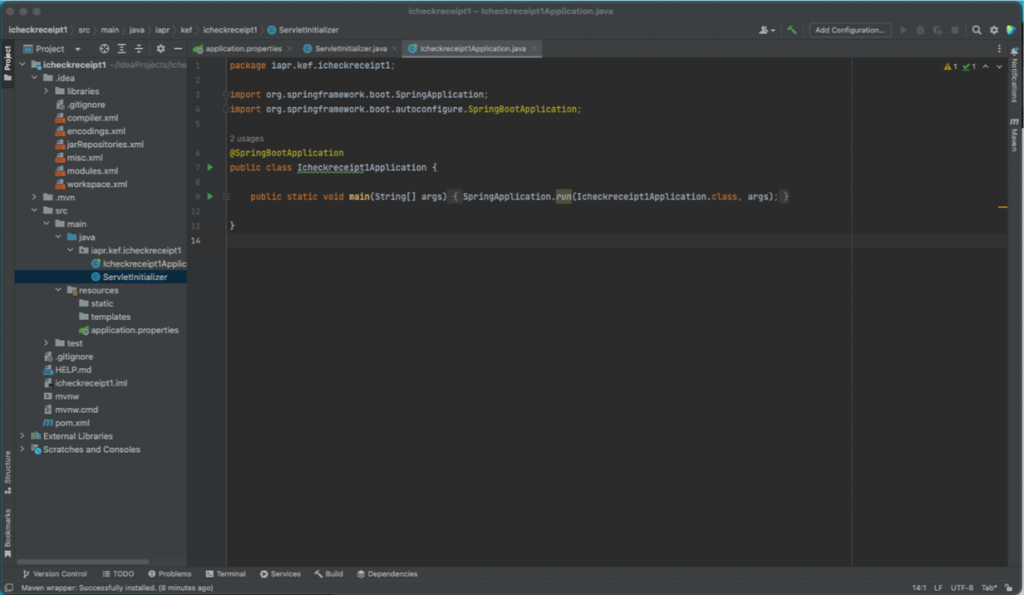
Then you can start coding!
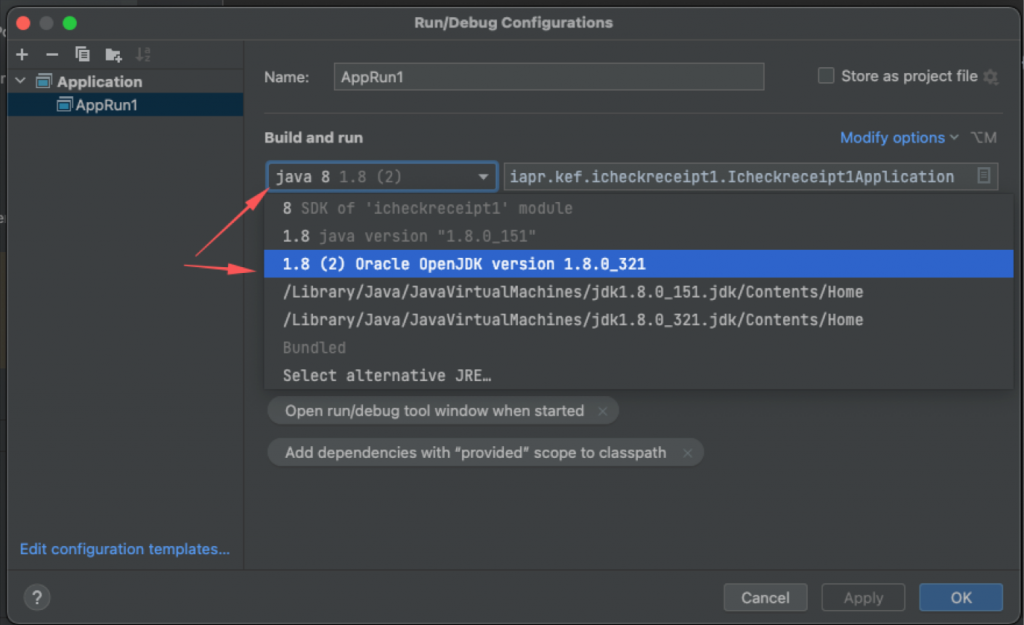
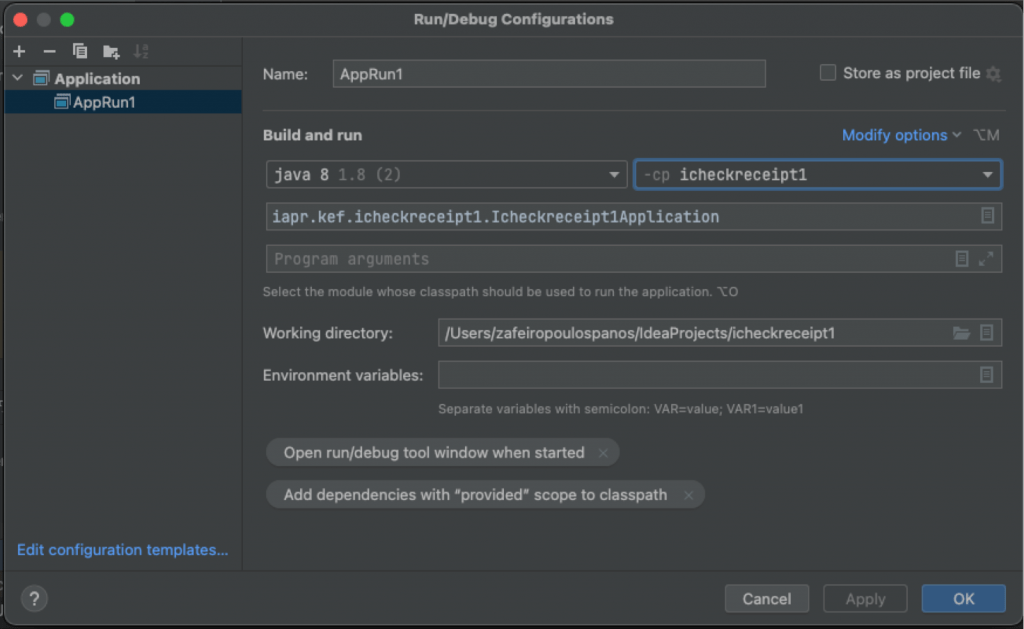
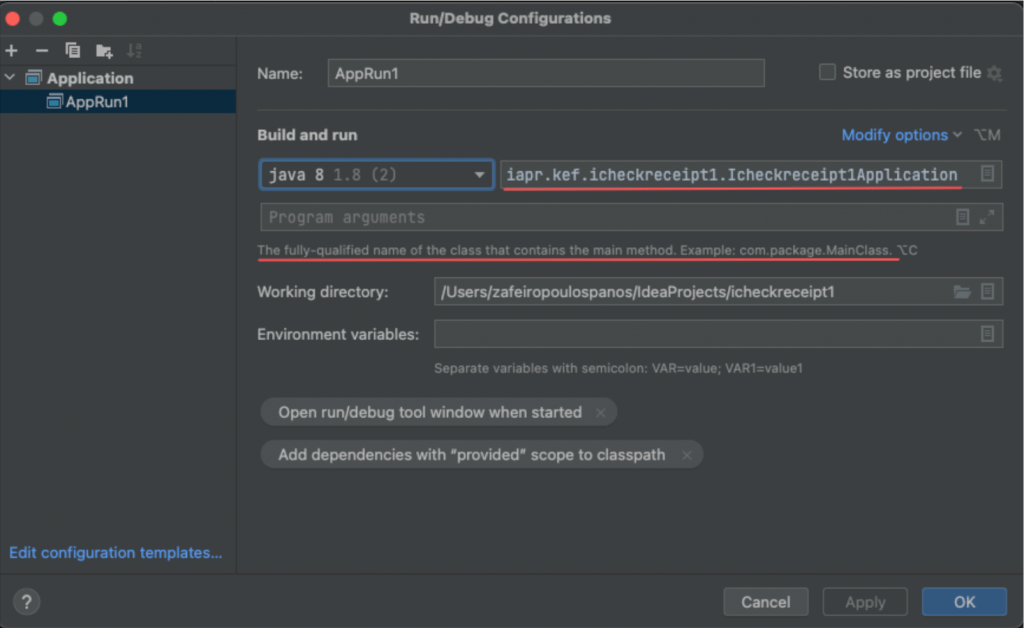
Create a new Run Configuration
One more step is to configure your project Run configuration, e.g. below we show the steps for a Run/Debug Configuration with the name “AppRun1” including also the Tomcat:
or
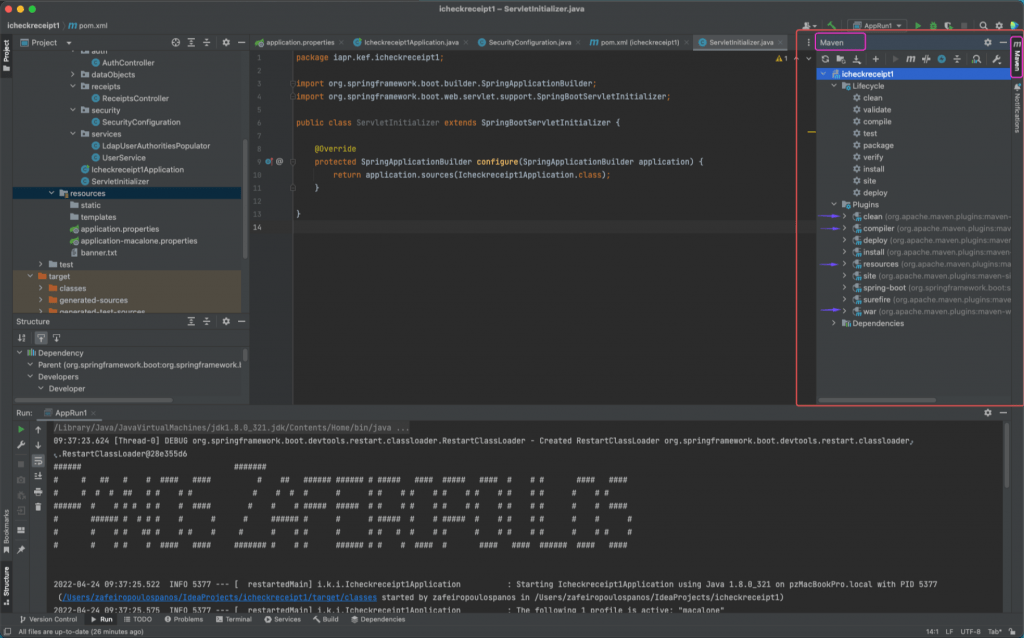
Finally you can run your project/app:
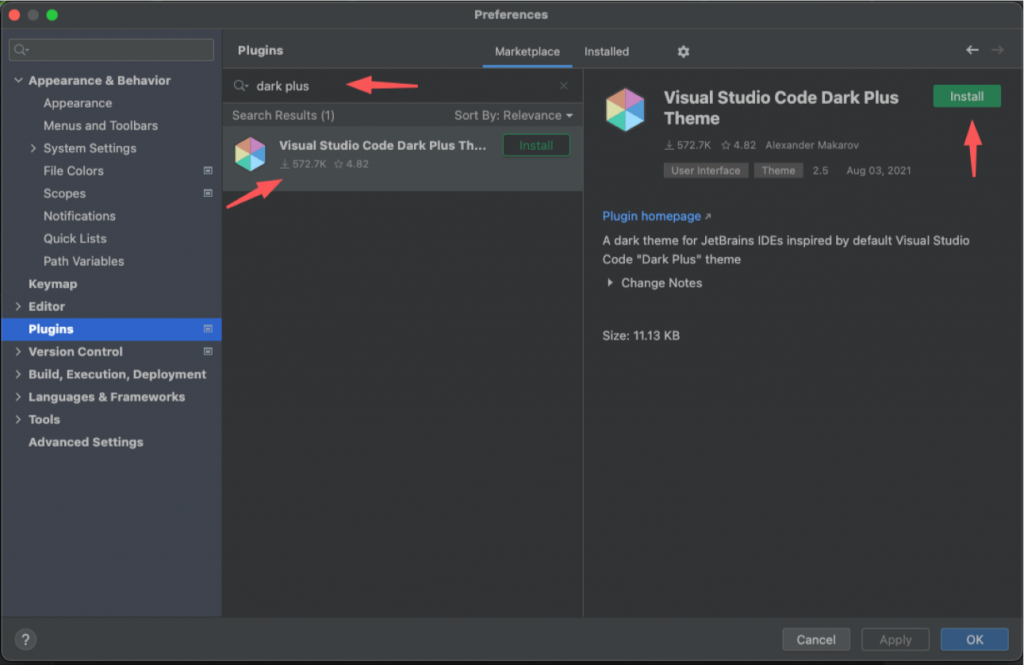
“Bonus 1”: replace the default ‘Darcula’ theme, with the ‘Visual Studio Code Dark Plus‘ theme

Again, go to IntelliJ Preferences -> Plugins and find it
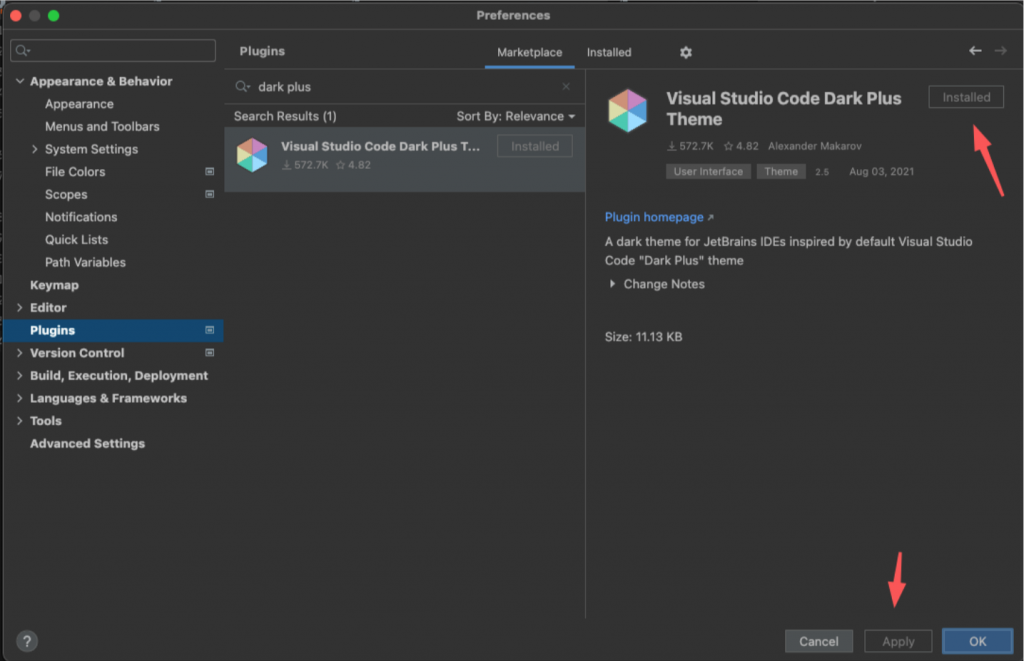
Install AND Apply
Cool!
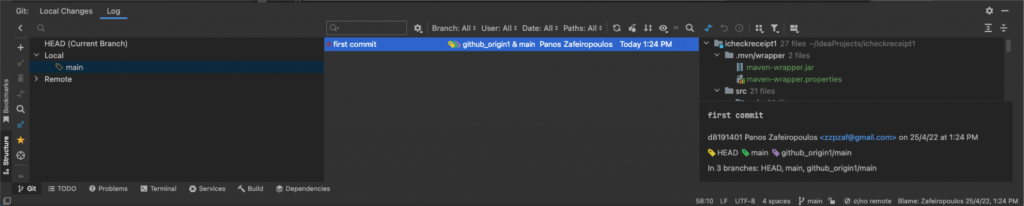
“Bonus 2”: Add GitHub repo to your project
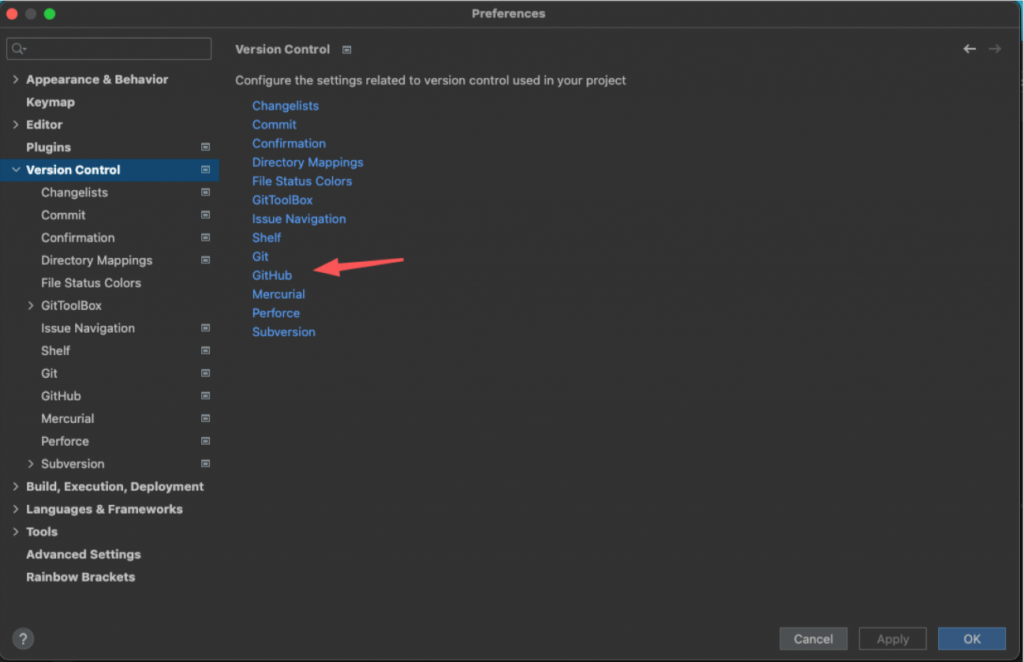
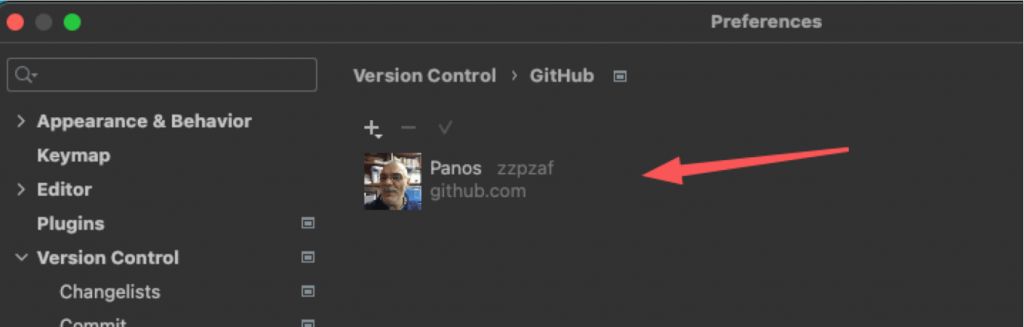
Following the instructions here, first, you have to register your GitHub account:
- Press ⌘ , to open the IDE settings and select Version Control | GitHub.
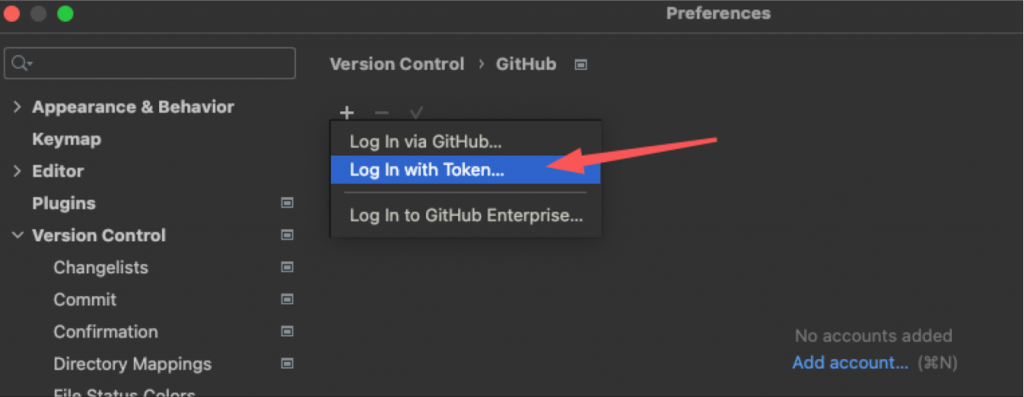
- Click +.
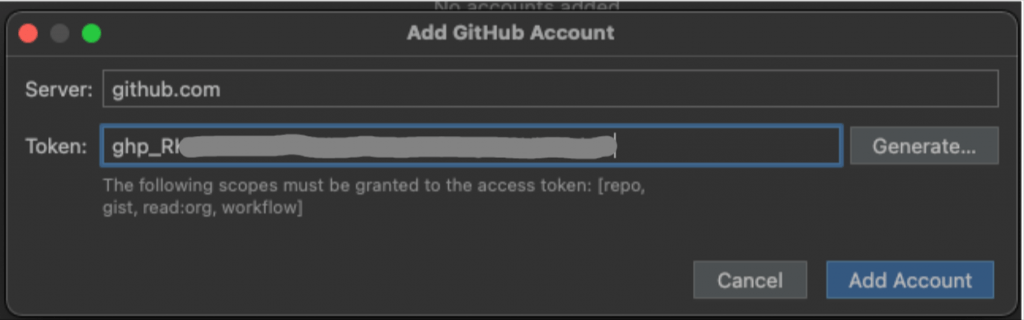
- In the dialog that opens, specify your GitHub server URL (either github.com, or an enterprise instance).
- Do one of the following:
- If you already have a token, click the Use Token link and paste it there.
- If you want to obtain a new token, enter your login and password. If you have two-factor authentication enabled, you will be asked to enter a code that will be sent to you by SMS or through the mobile application. See Creating a personal access token for more details on GitHub tokens.
The token must have the repo, the gist and the read:org scopes enabled in your account permissions (see Understanding scopes).

That’s it!
Enjoy, and thank you for reading!
I didn’t know about the “Spring Boot Helper” plugin. Thanks for sharing.